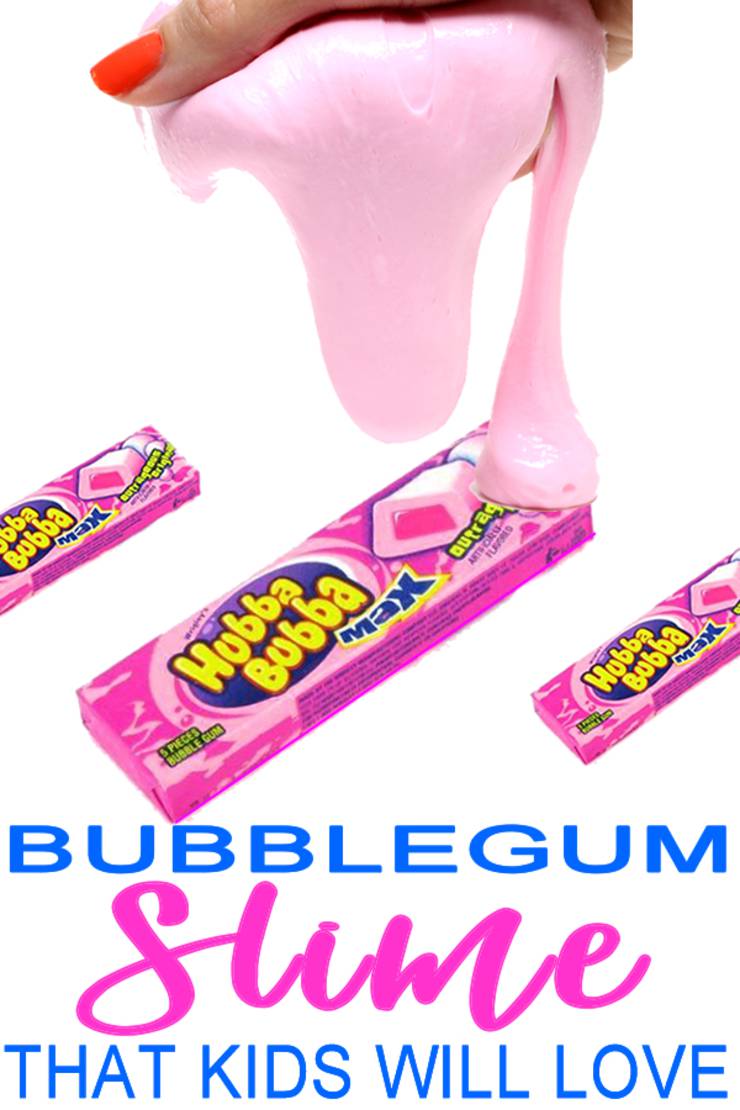
Searching for the best DIY bubblegum slime recipe? Look no further! Here is an amazing homemade bubblegum slime without borax. This slime not only looks amazing but smells wonderful too! Learn how to make pink bubblegum slime with simple ingredients. Follow the step by step instructions or watch the Youtube slime video tutorial. Check out this fun slime activity the kids, teens and tweens will love!
You will need a candy container like this
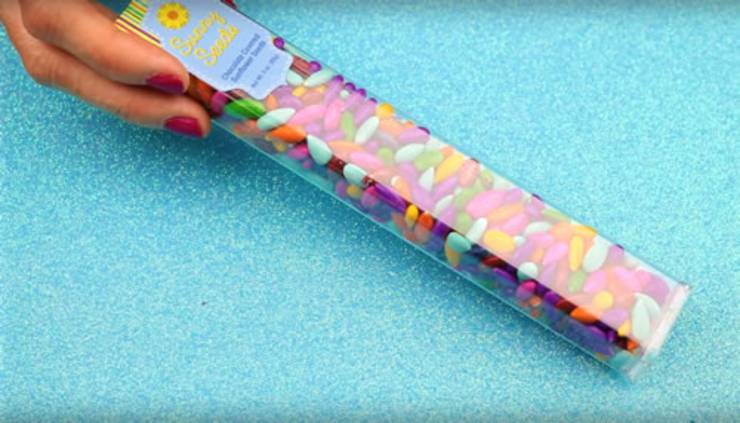
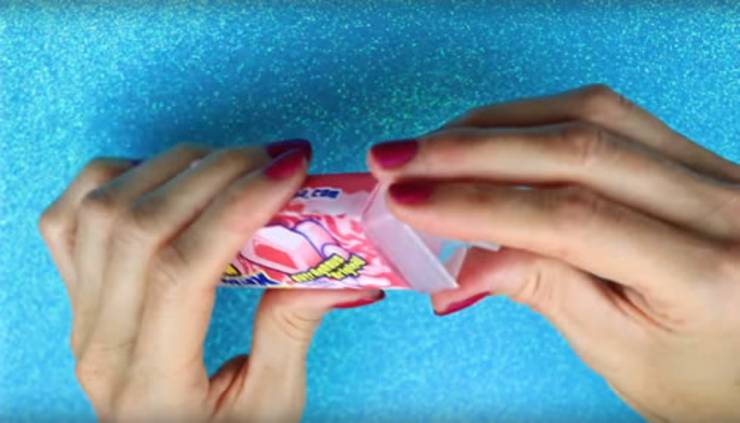
Cut down to the size of a pack of bubblegum
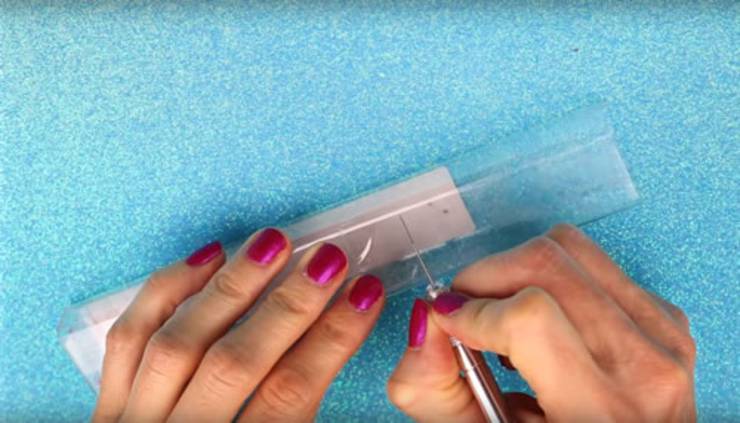
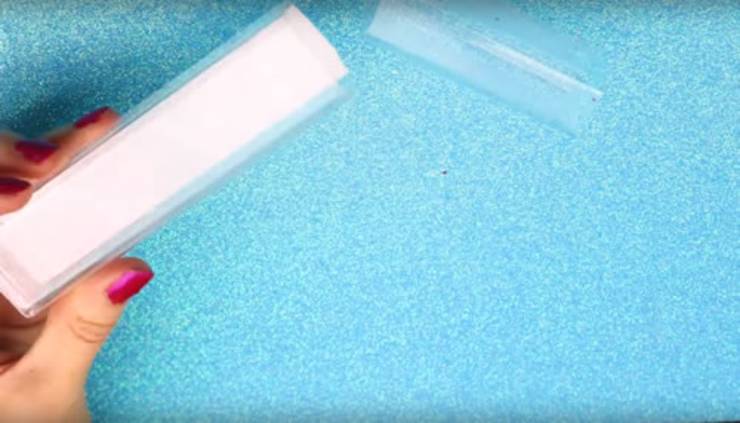
Keep the cap
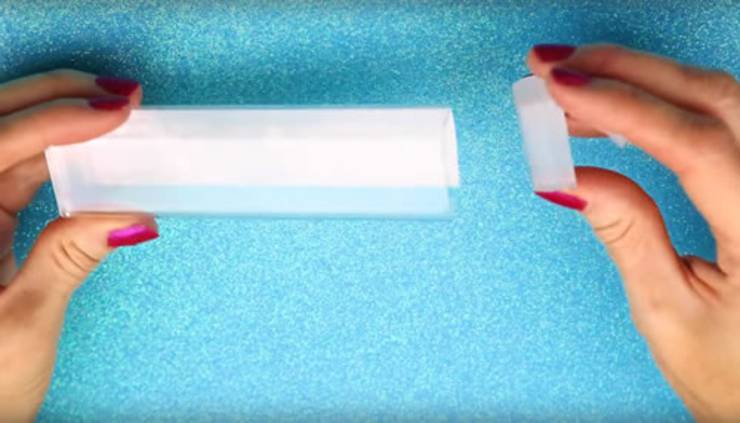
And it will fit on the end that was cut
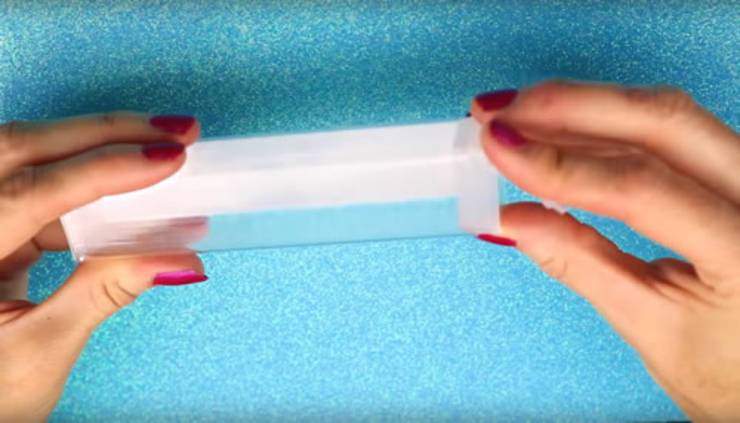
Print out the bubblegum wrapper (get here)
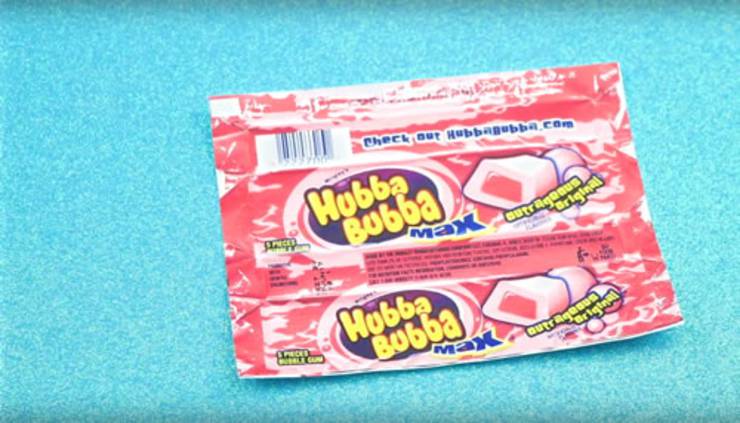
Cut a little bit of end
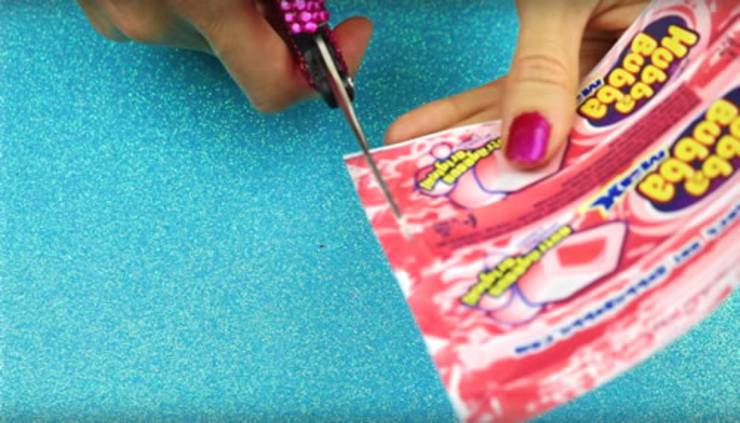
Wrap around candy container
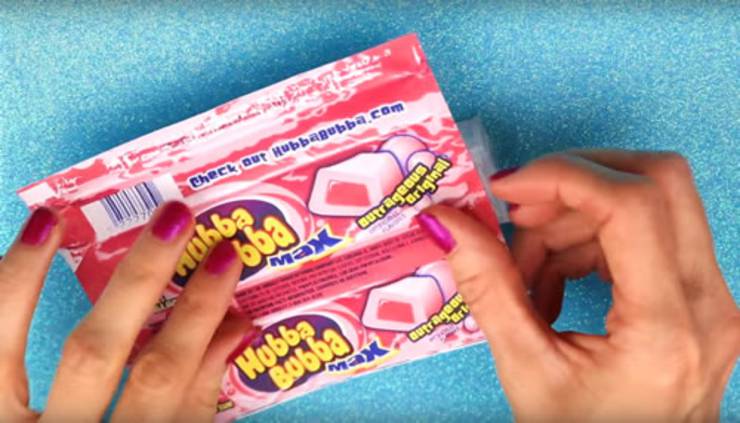
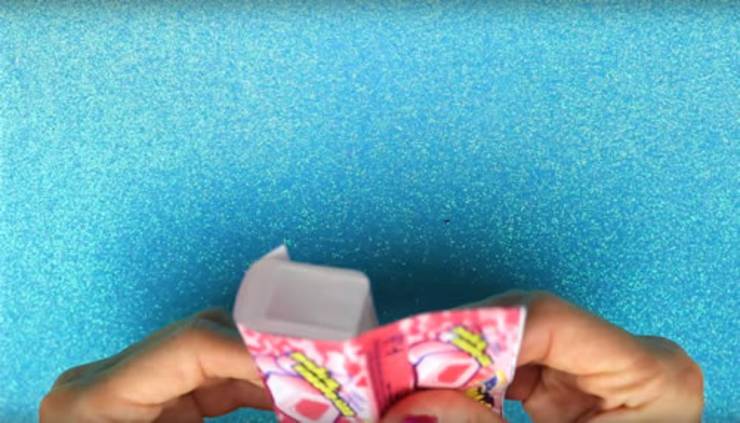
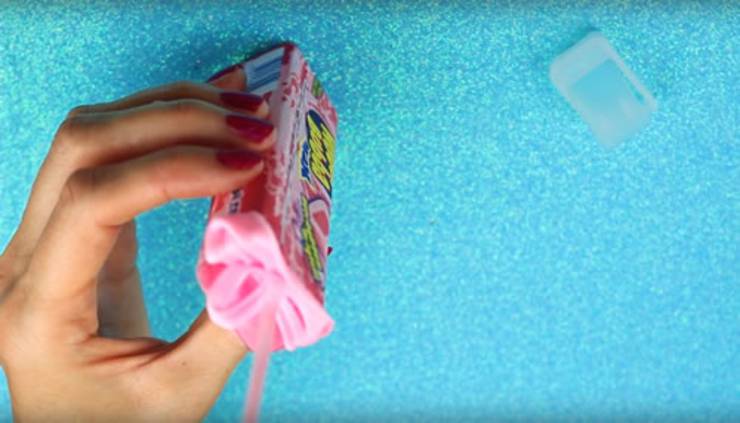
Fold end in like a present
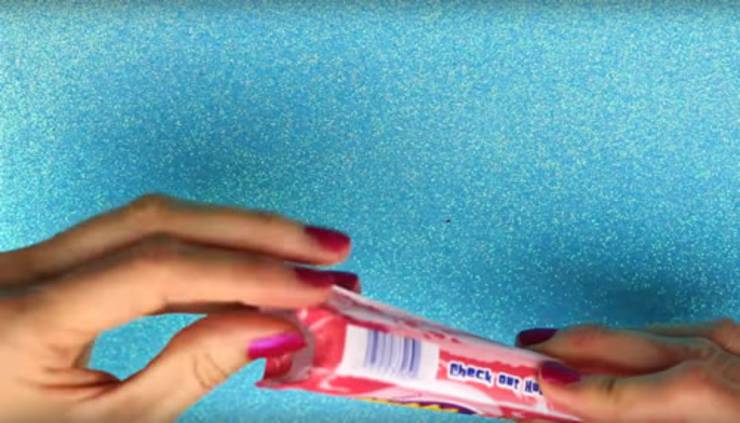
Glue the the back of the wrapper and glue to candy container
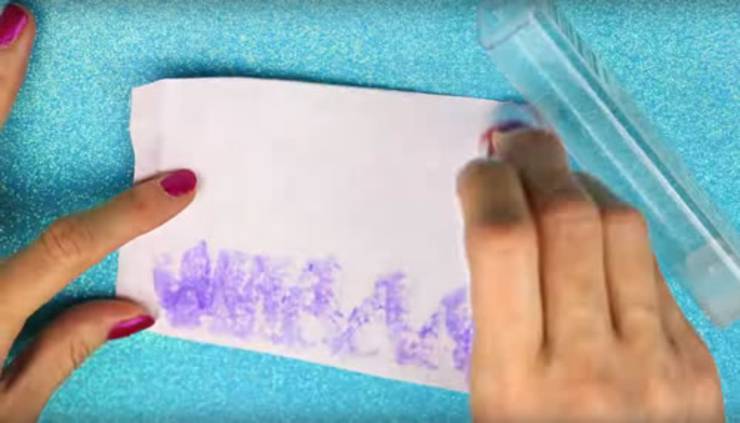
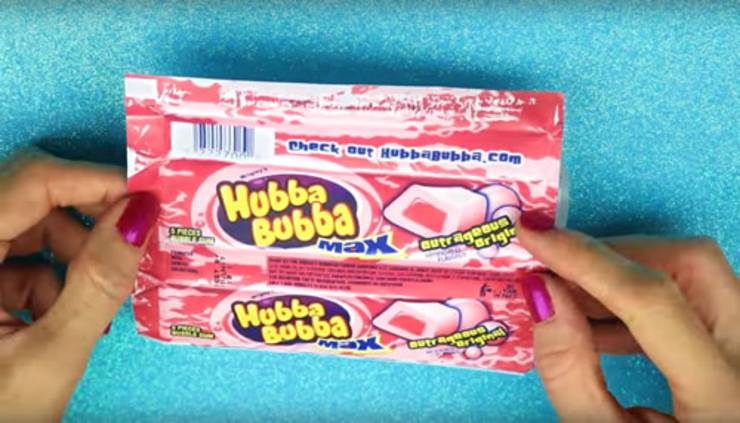
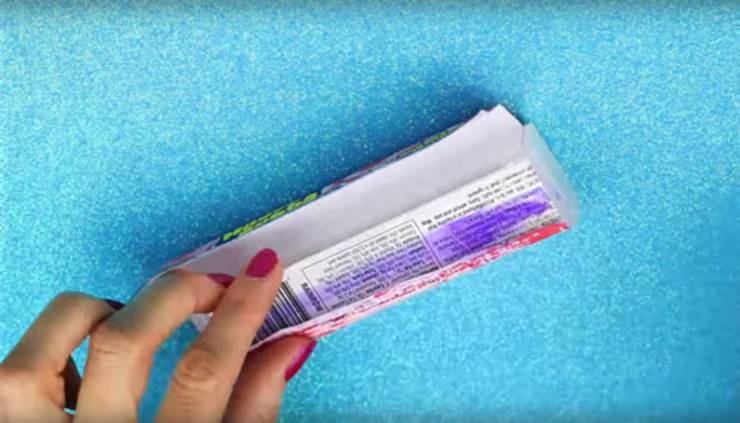
Here is what you should have once its glued
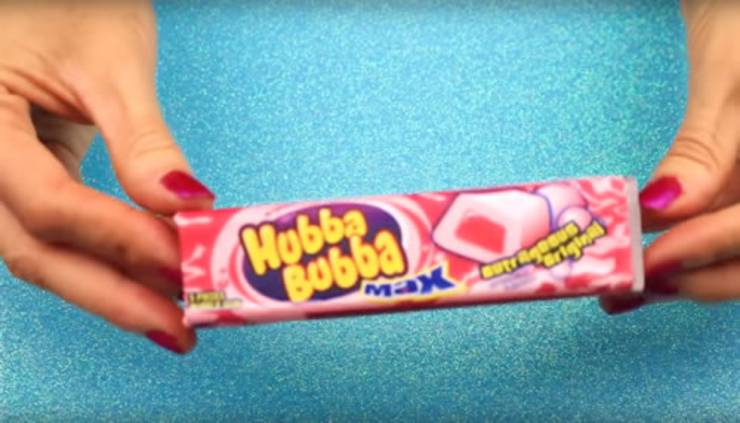
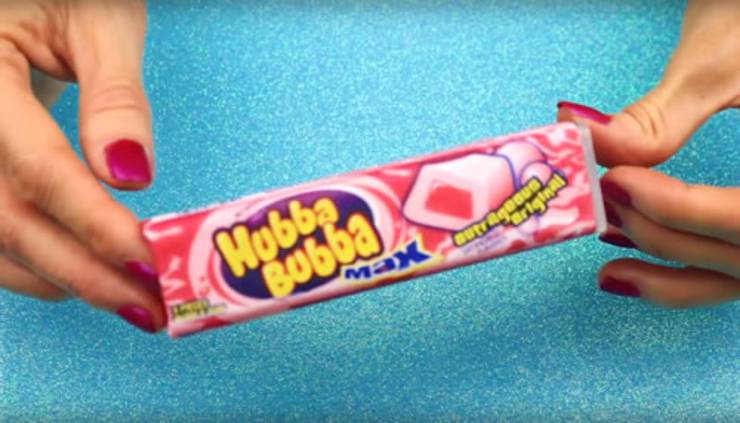
Now to make the DIY bubblegum slime – add some Elme’rs White glue to a bowl
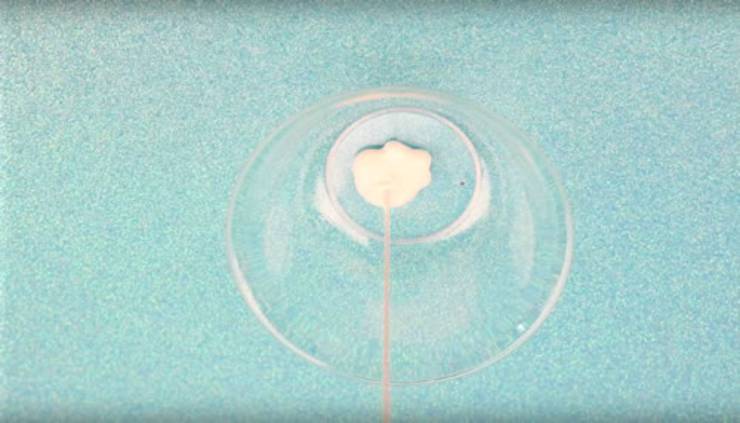
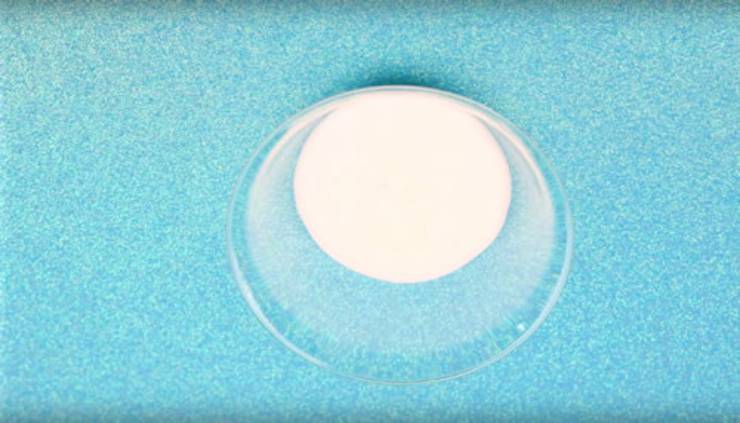
Mix in a bit of pink acrylic paint _ I used glow in the dark pink but any
color pink will work
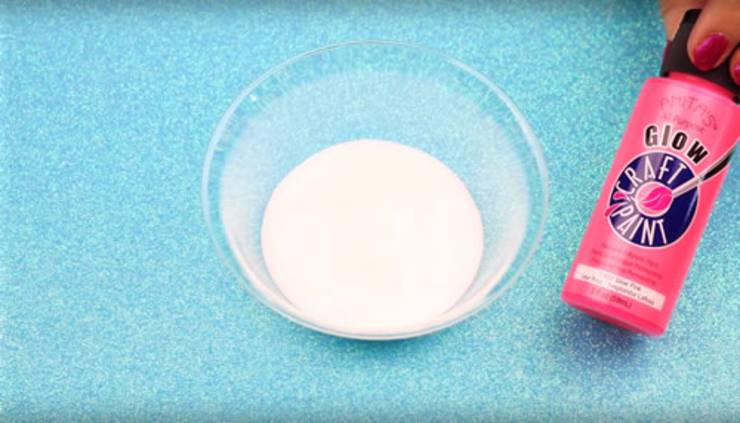
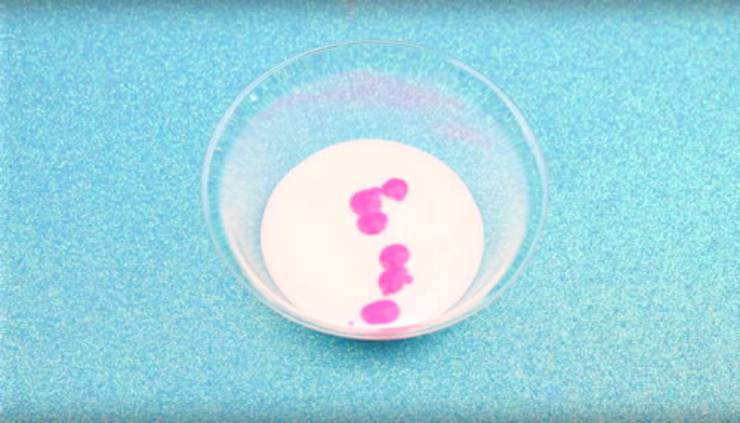
Mix glue and paint together
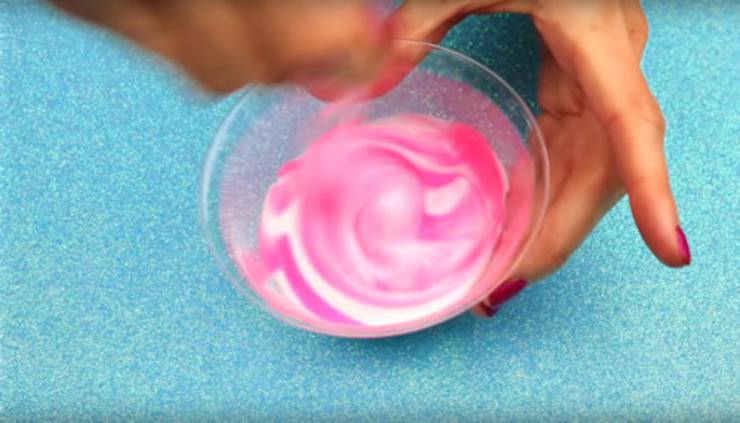
Add in some bubble gum flavoring
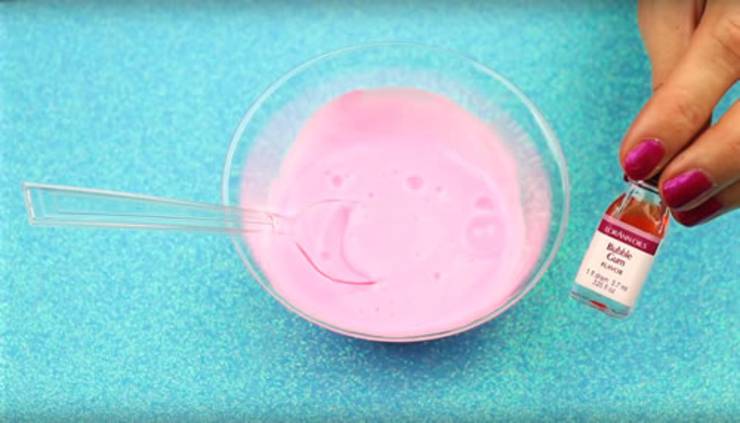
A few drops
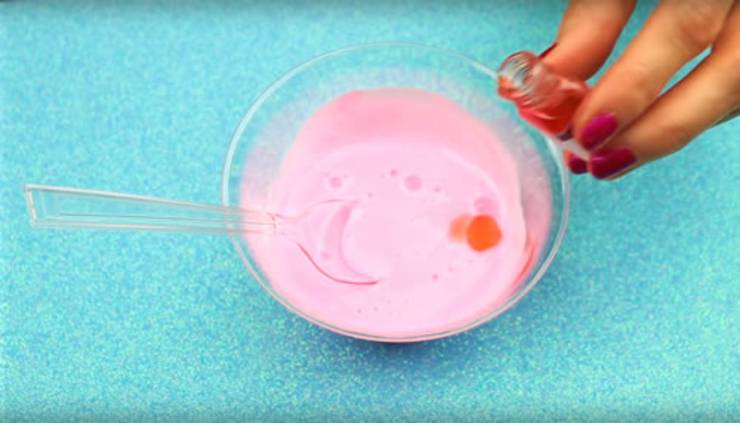
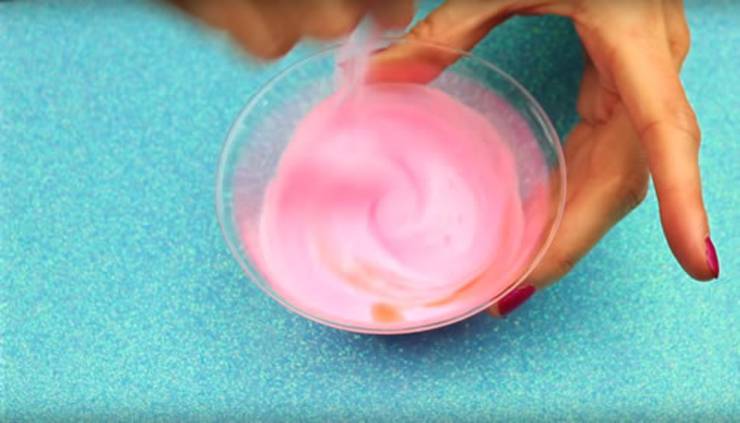
Stir together
Slowly add in liquid starch and stir until it forms slime
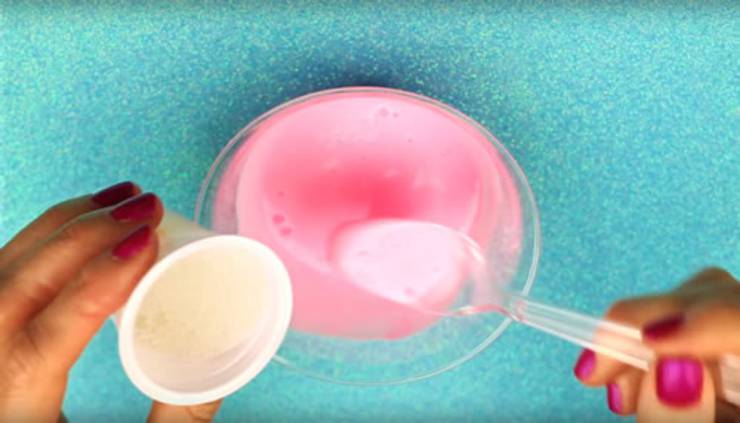
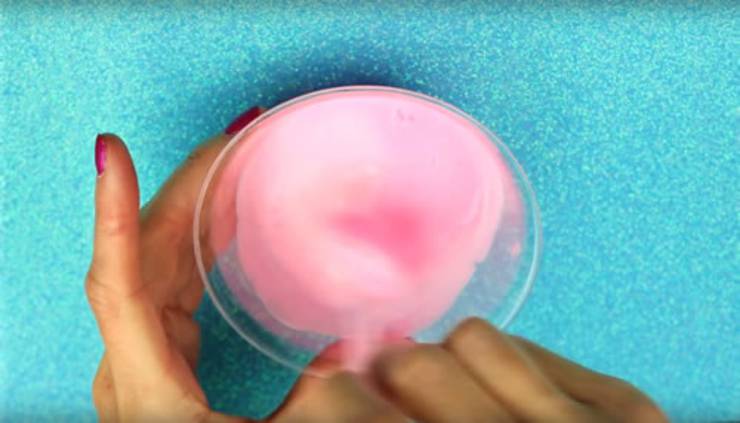
Here is my homemade bubblegum slime
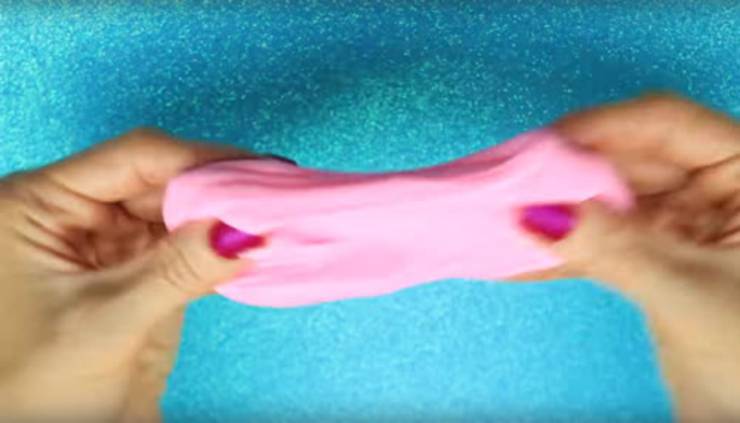
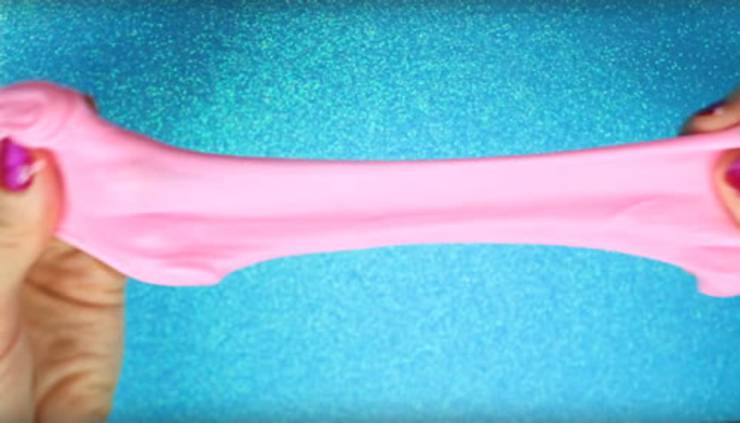
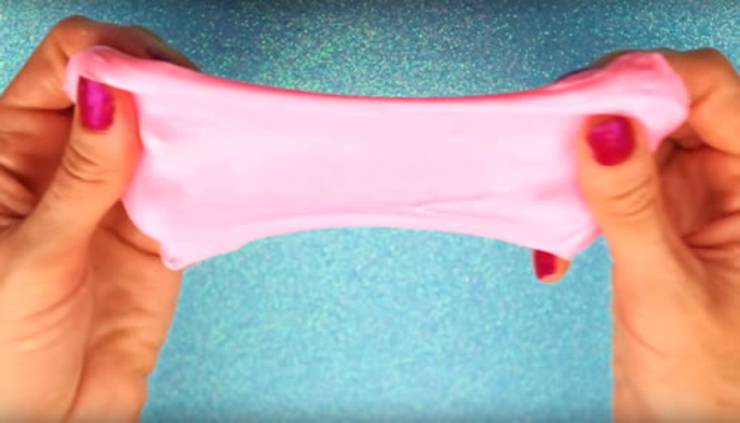
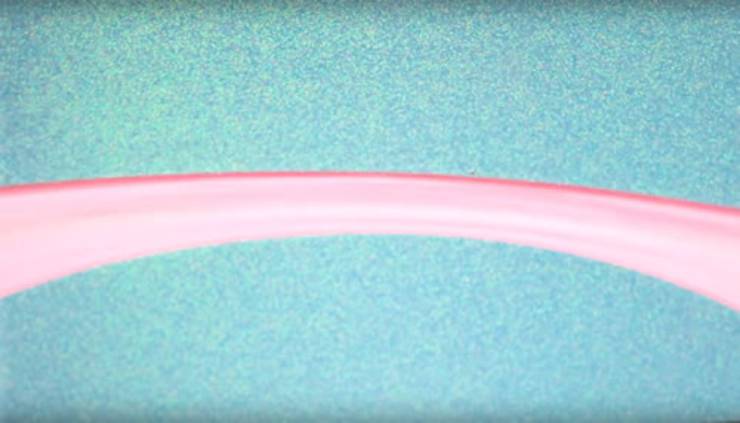
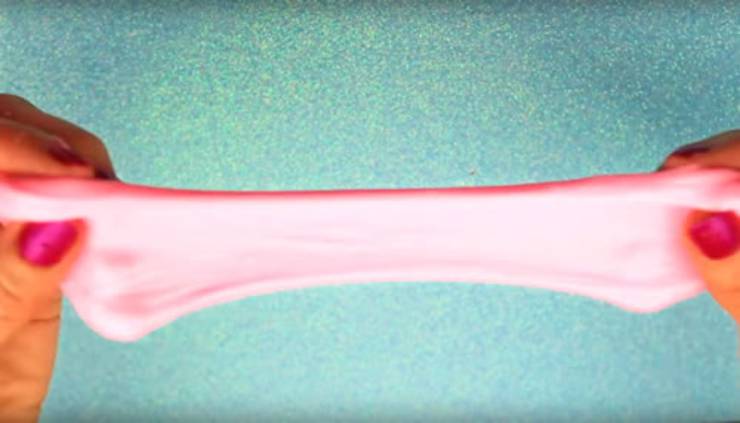
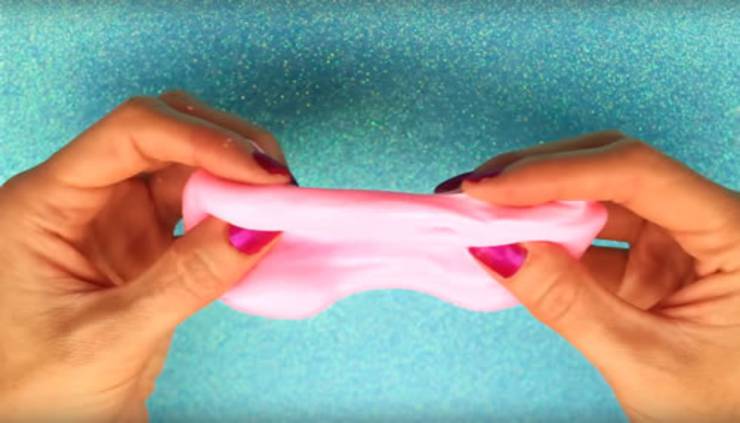
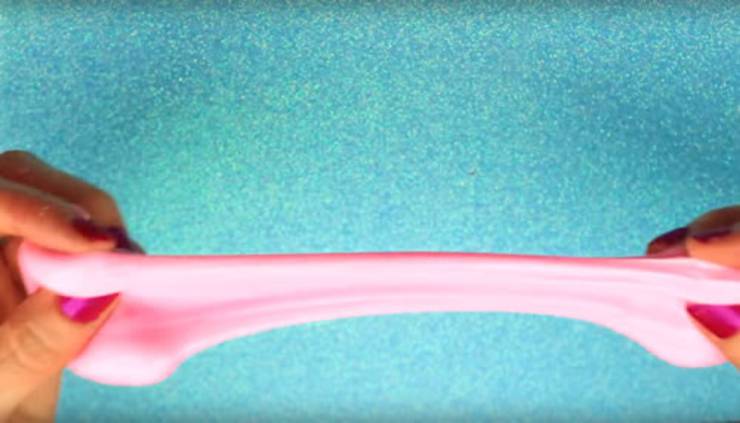
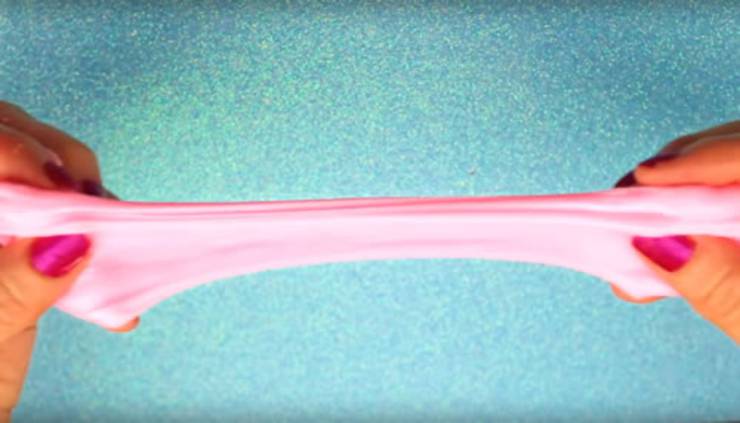
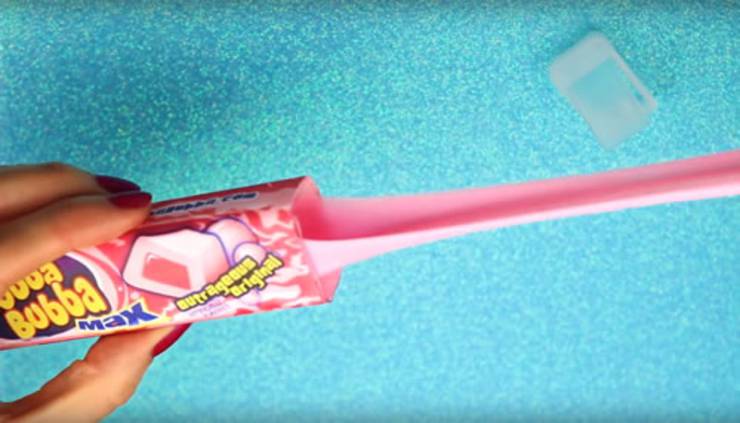
Now take your bubblegum candy container
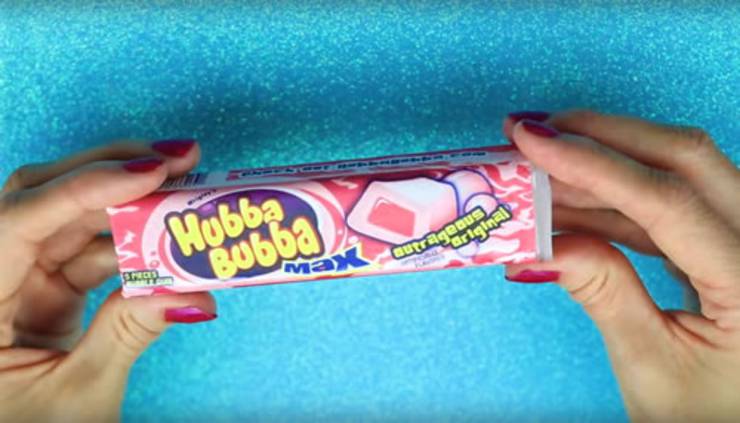
Take the top off
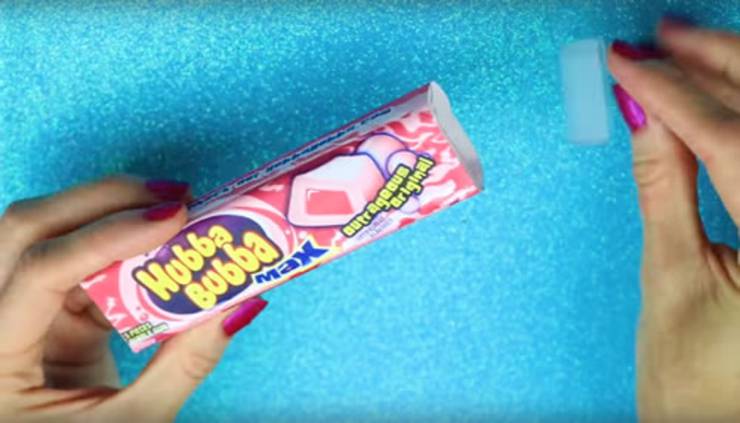
Add your slime
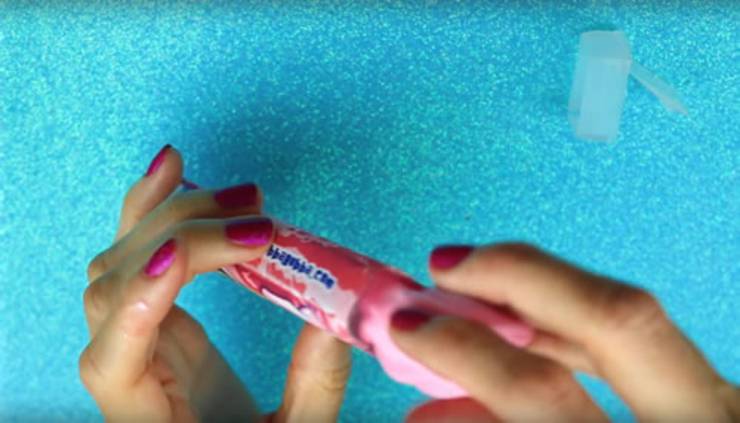
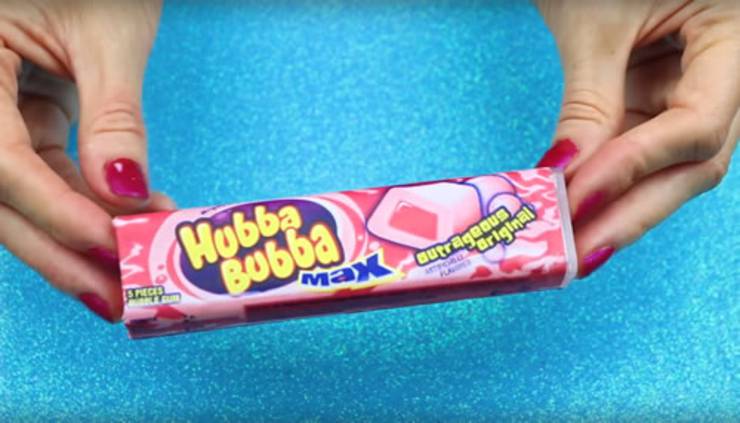
And that’s all there is to this easy DIY bubblegum slime with No borax
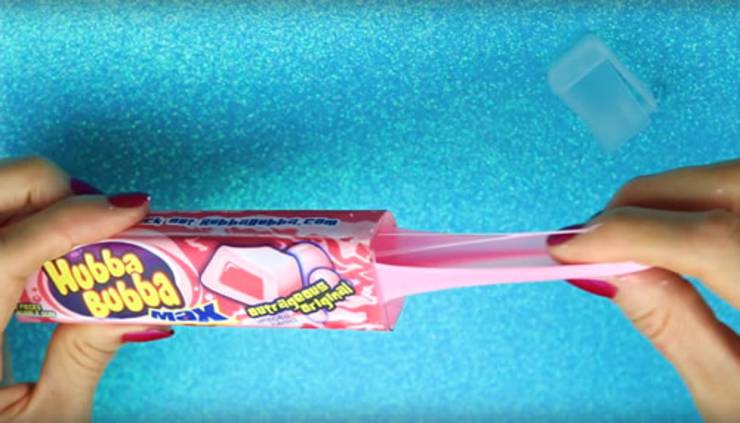
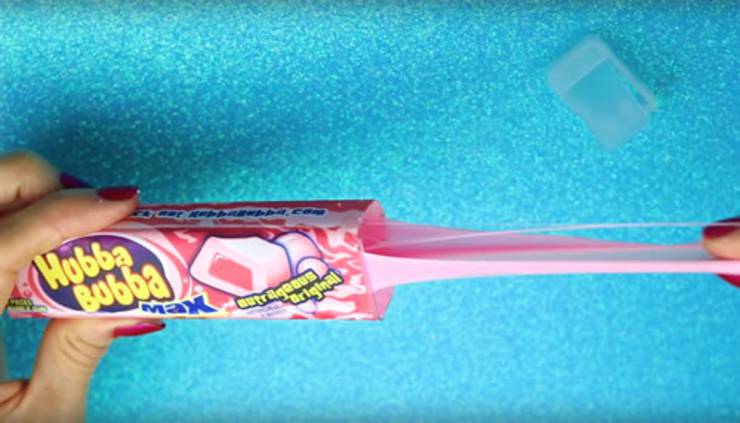
How amazing with this DIY bubble gum slime? It smells exactly like bubble gum (chewing gum). Even though it is NOT edible it is super fun to play with, poke it, pull it and stretch it. You don’t have to stick with pink slime you can make it colorful with a rainbow of colors. I love the DIY slime container that looks exactly like bubblegum to store the slime in – and that is super easy to make too! This is really a super easy and simple recipe that you can make right now. It’s a basic slime recipe and you can add shaving cream to make it a fluffy slime. If you want more slime DIYs or what to learn how to make slime you can check out Pinterest or Youtube. On Youtube you can learn how to make slime for beginners, 2 ingredient slime, fluffy slime, testing slime, no glue slime and much more. I hope you enjoyed this DIY craft project – until next time have a great day!
 Kimspired DIY

Leave a Reply