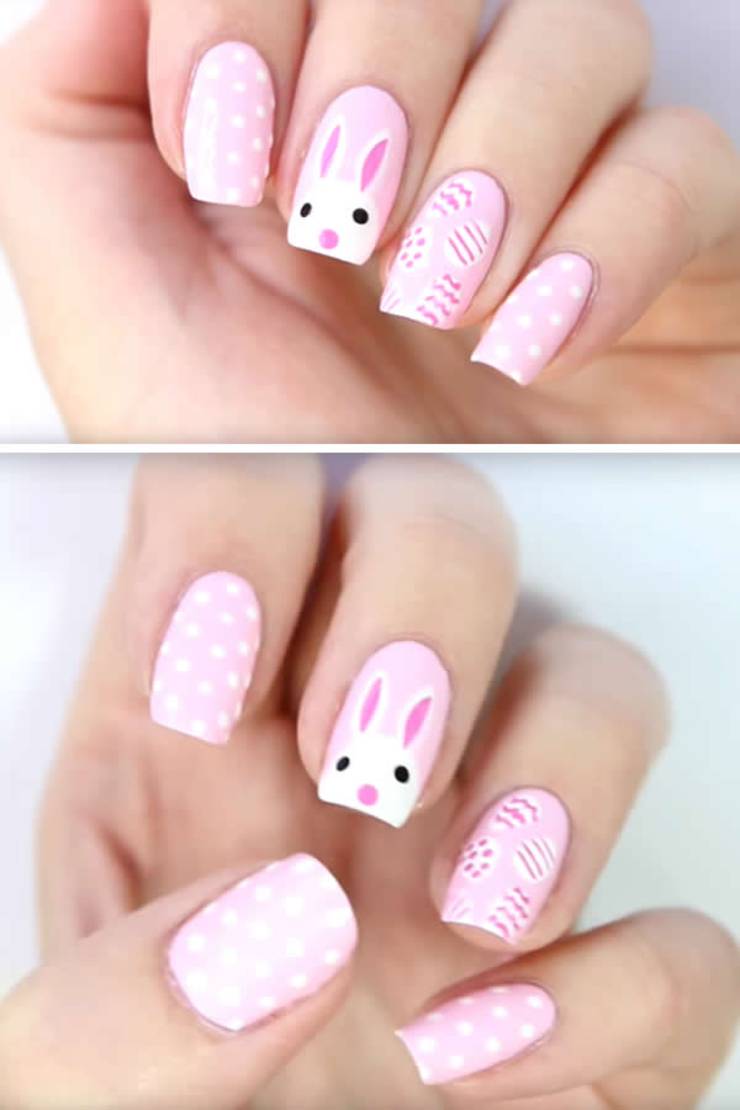
Dress up your nails this Easter with some cute nail art. Learn how to make
Easter bunny and Easter egg nail designs. Quick and simple ways to make
your nails look amazing this Spring. These nail designs are great for kids,
teens, tweens and adults. Add some fun to your nails with these 3 design
ideas. Are you ready to learn how to make Easter nail art?
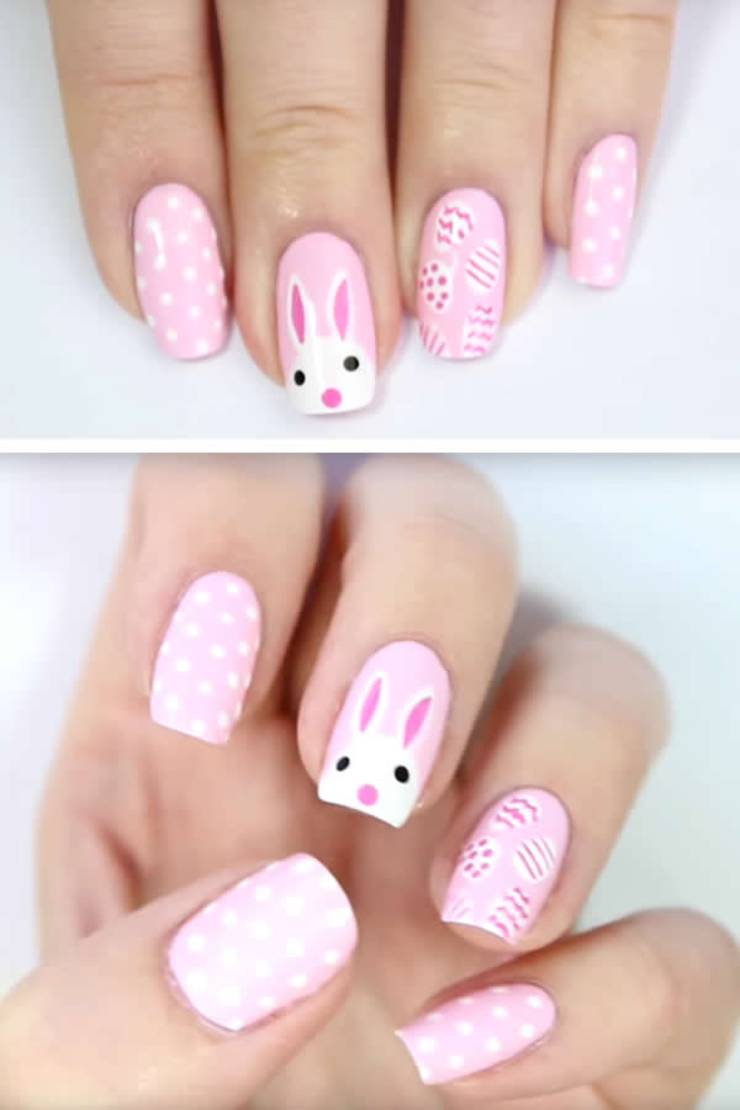
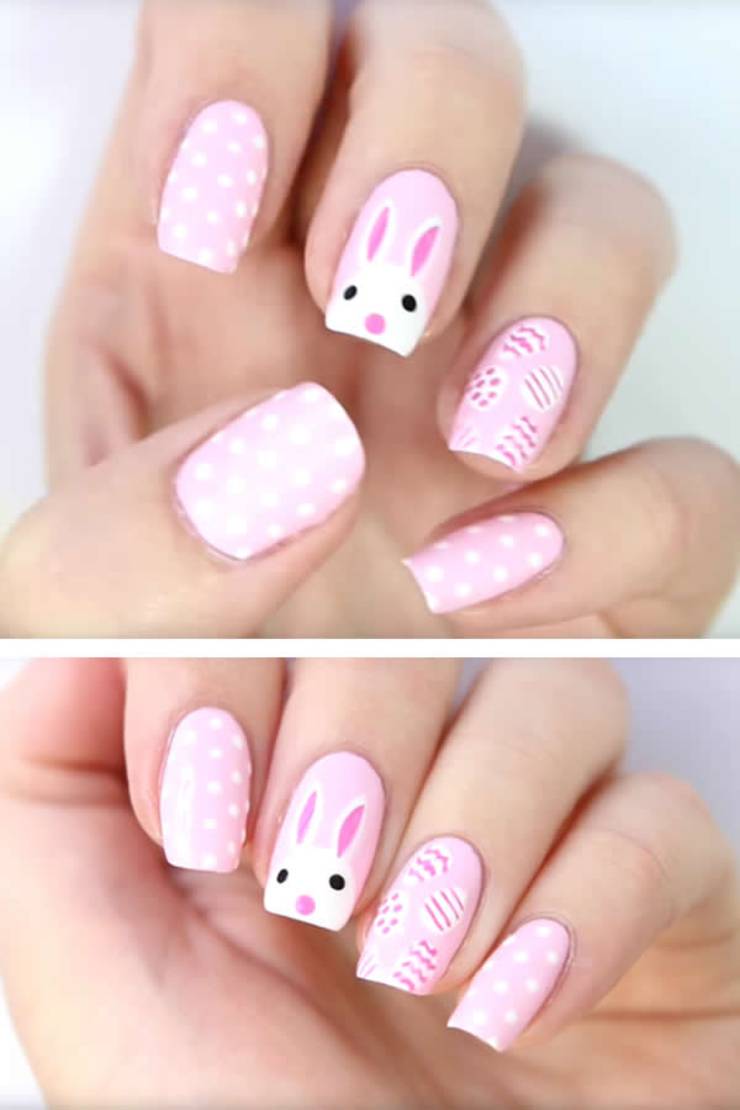
Everyone needs a bunny on their nails for Easter time
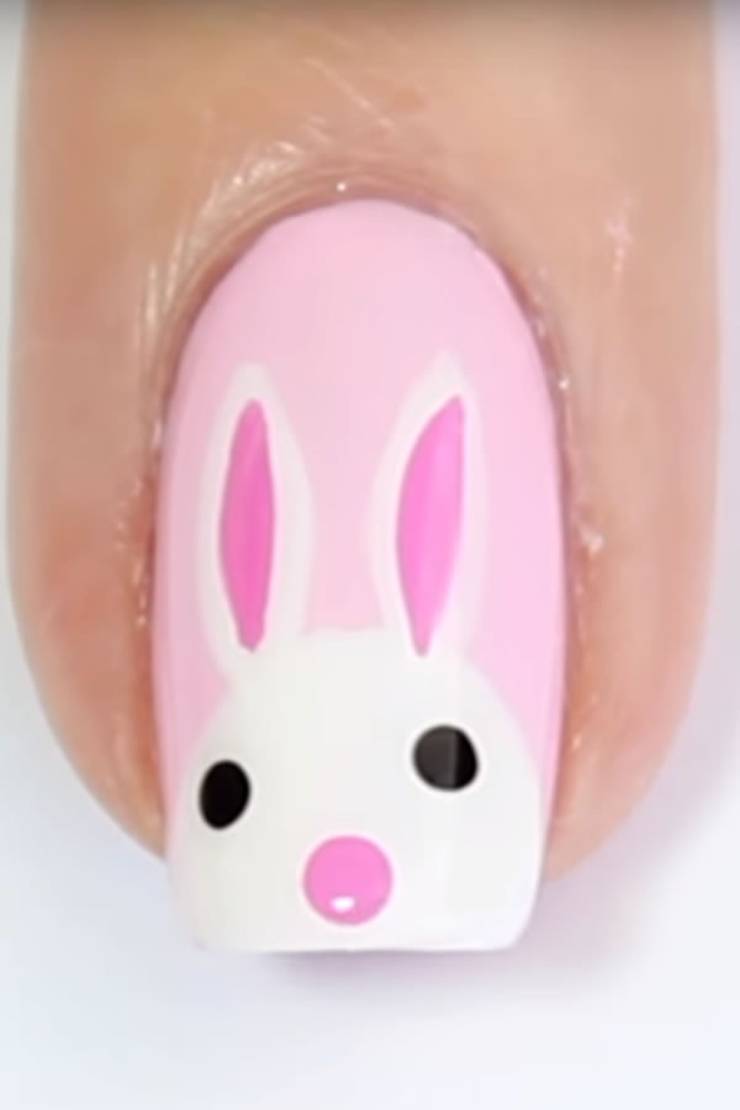
Start by painting your nails pink. Then with white nail polish paint a semi
circle on tip of nail to create bunny head. Then use a fine nail art brush and
paint on ears leaving middle up. In middle of ears paint with darker pink
color. Use the same color as inside of ears and dot on nose with dotting tool.
Dot on black eyes with dotting tool and black nail polish. Paint with clear coat
to finish it off

Dot your nails for Spring or Easter – so cute and fun
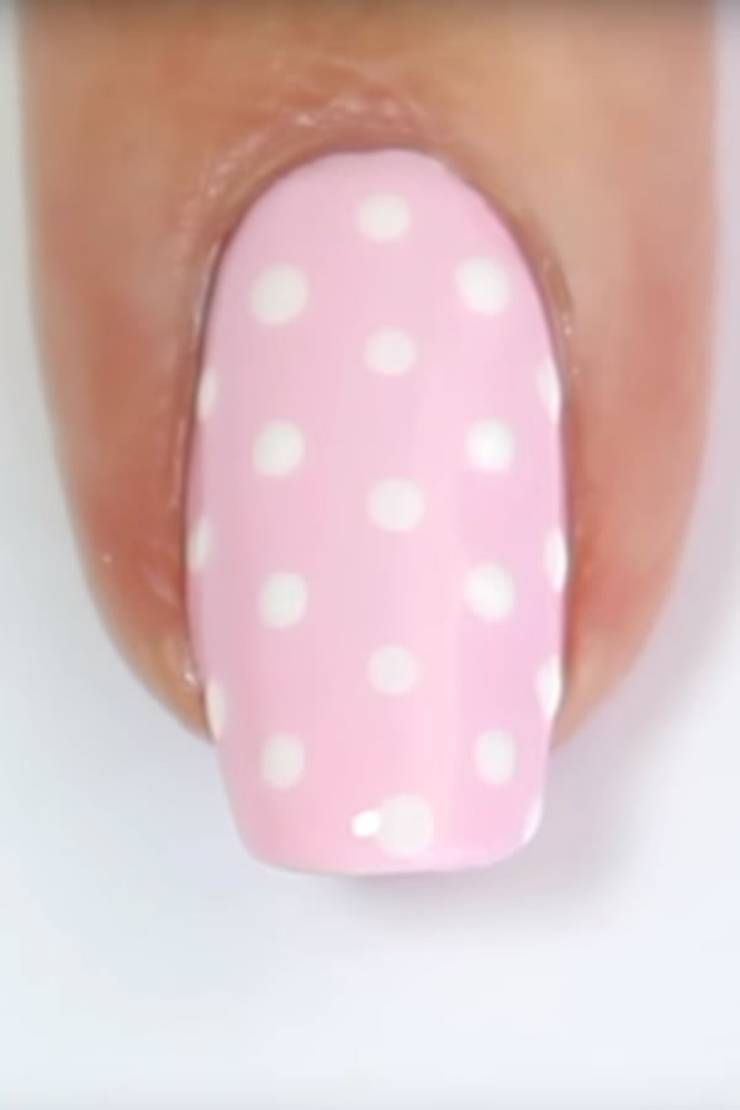
Add tiny white dots with tiny dotting tool and white nail polish. Start by
going down center of nail then add next row and add dots half in between
the first row. Continue that process until nail is full. Finish off with clear coat

Learn how to make Easter egg nail art

Use a fine nail art brush and paint on egg shapes with white nail polish
paint on as many as you can fit on your nail. Then use a dark shade of pink
polish to decorate your Easter eggs. Finish off with clear coat.

Cute & Easy Easter Bunny Nails!
Here is a super cute and easy Easter nail art tutorial.
Polishes used: Vovolicious by I Scream Nails, Arm Candy by Kester Black,
Snow Me White by Sinful Colors, Black Onyx by OPI
 Kimspired DIY
Leave a Reply