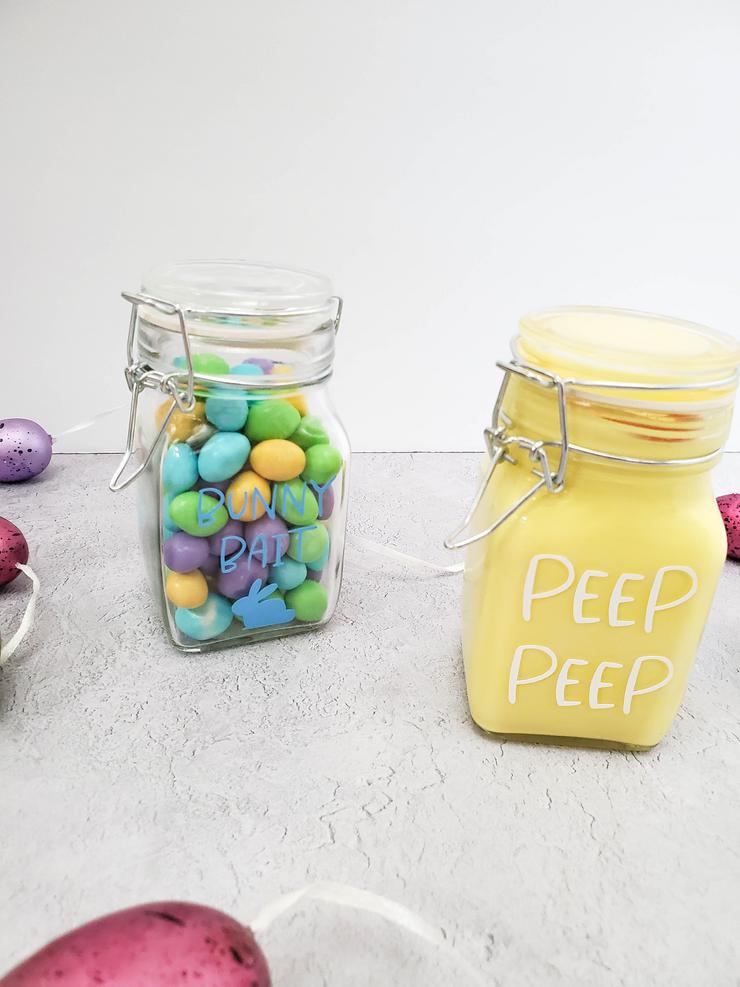
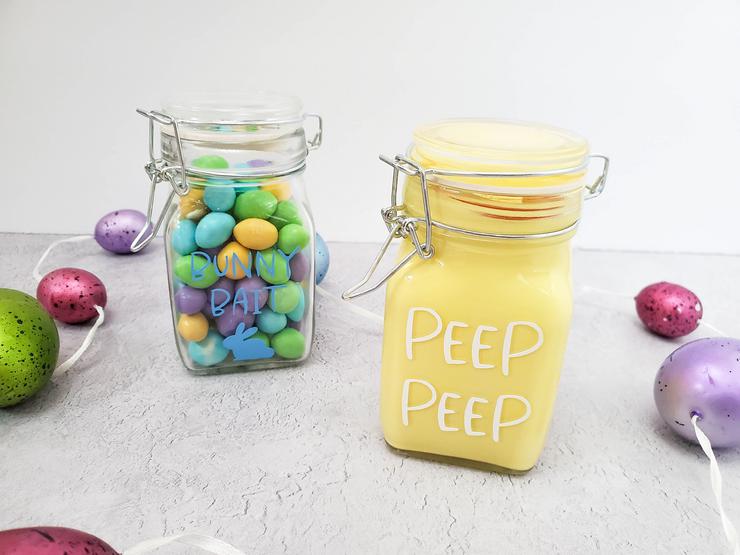
Easter Craft Cricut Candy Jars

How about a fun and cute Cricut Easter craft?
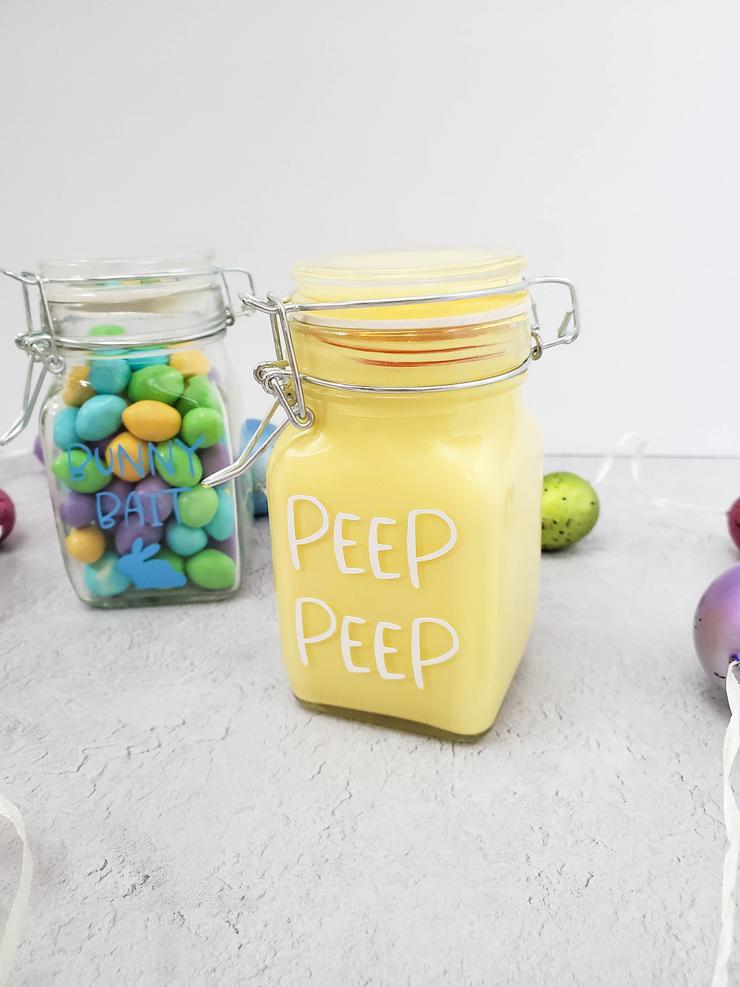
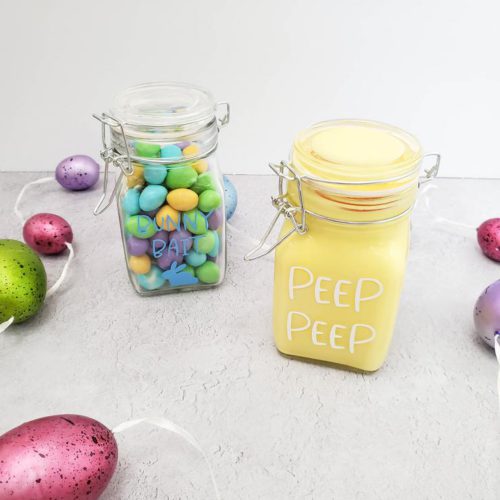
Learn how to make Cricut crafts with this DIY candy jar Easter idea.
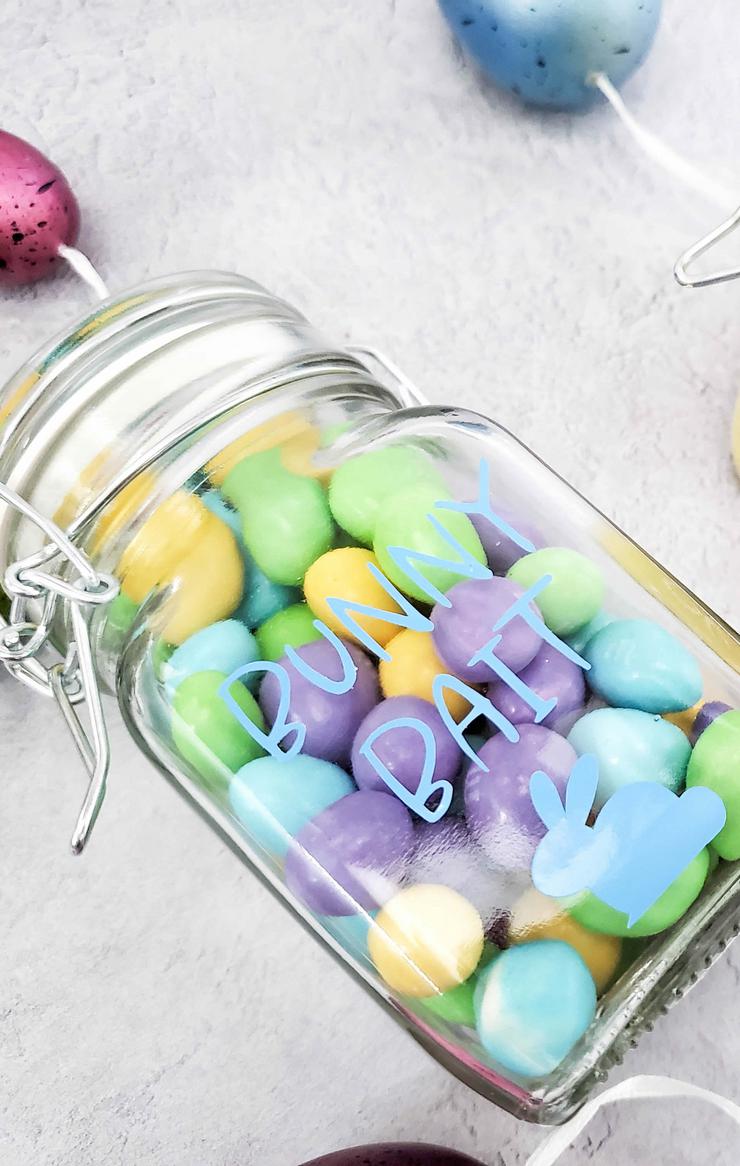
These jar candy crafts make the perfect gift to give to friends, family and loved ones for Easter.
Fill your jar with chocolate M & M’s, Jelly Beans or any yummy Easter candy for a sweet treat.
This super easy Cricut craft project will have your gift recipient in aww – they are that cute.
If you are looking for a free svg file for your Cricut craft projects then check this one out.
Follow the step by step instructions for a simple and quick Easter craft that kids, teens, tweens and adults will love.
Get ready to make the most awesome and BEST Easter Cricut craft project.

What Cricut To Use?
You can use this Cricut here
Want more Cricut craft projects?
Let me know in the comments what you would like to see 🙂
How to Make Easter Craft Cricut Candy Jars
Open Cricut Design Space, and click the “upload” button.

Browse for your image, then click the “upload” button.
Select your image, then click “add to canvas”.
Resize your image to fit your jar. In this case, it was 2.5 inches wide.
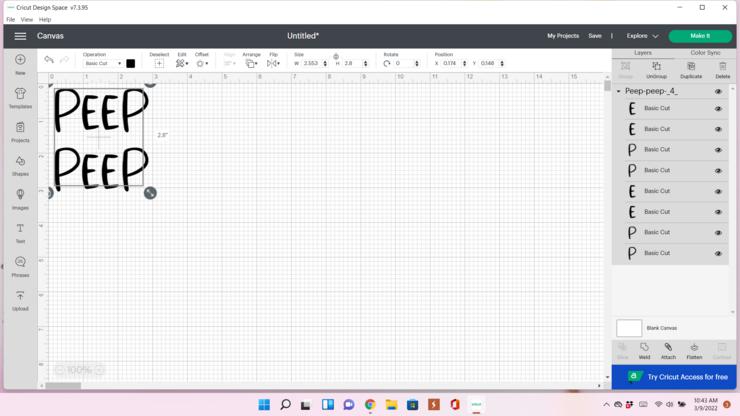
Click on “weld”, then click “make it”, and then click “continue”.

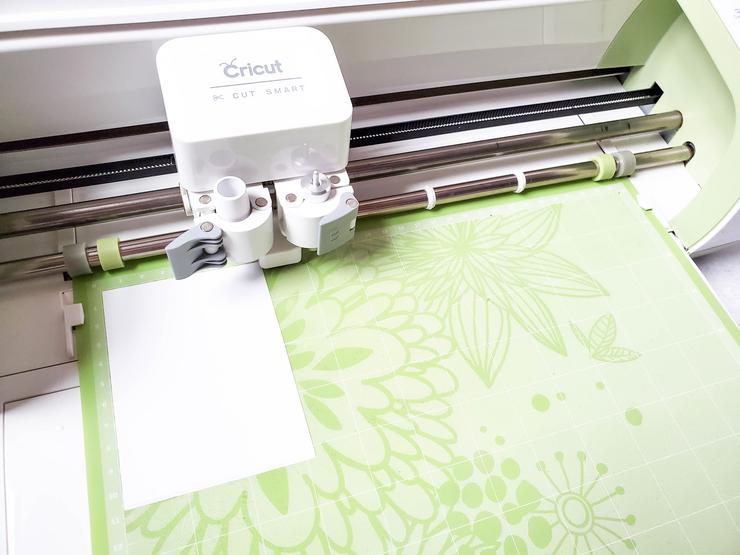
Set your vinyl on the cutting mat.
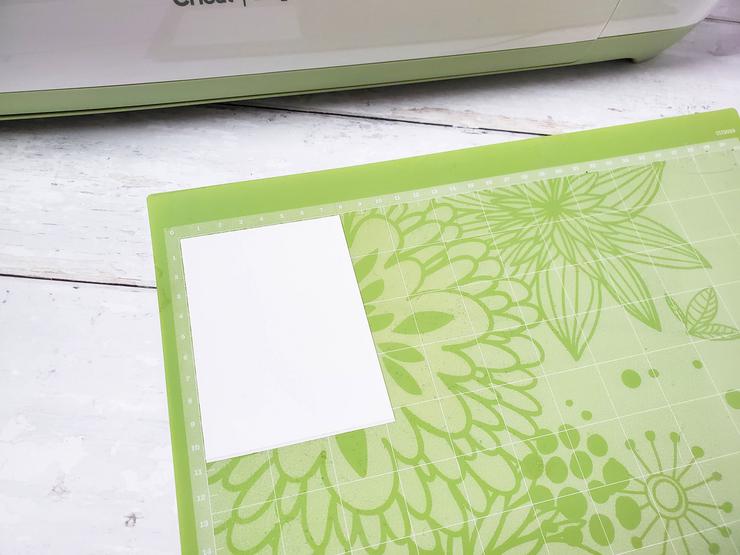
Connect your Cricut machine to your computer, then follow the prompts on the screen to cut your project.
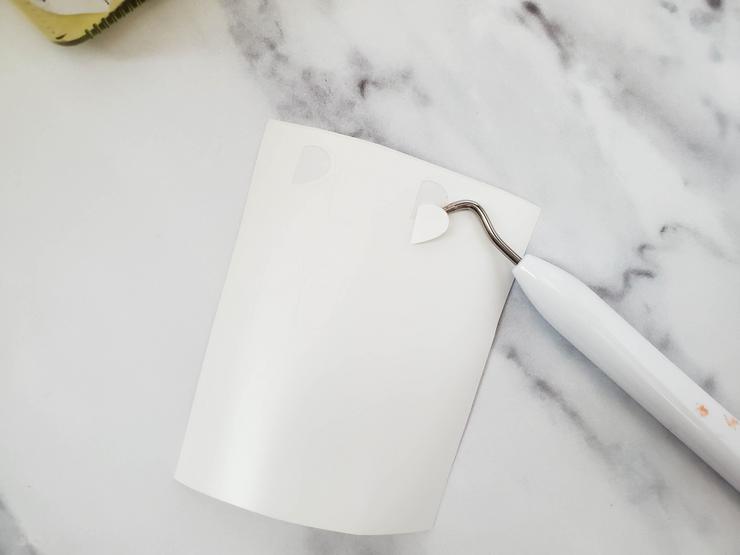
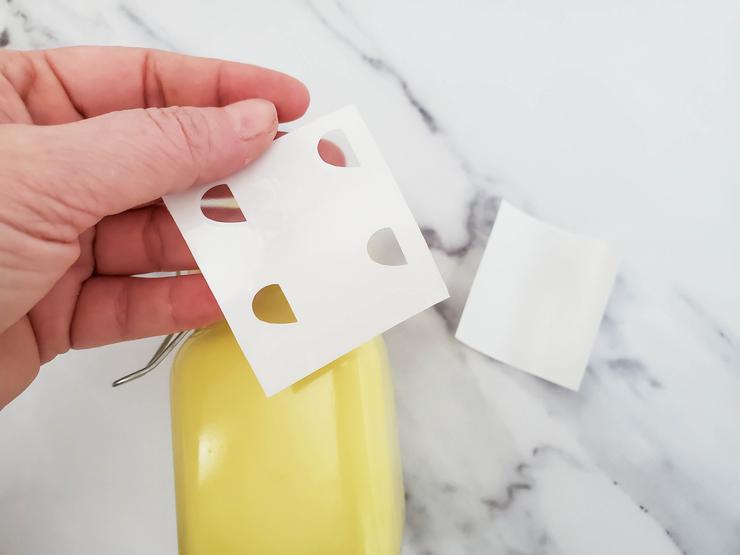
Once your files are cut, weed the letters, then apply the transfer tape, and use the spatula to remove any air bubbles.
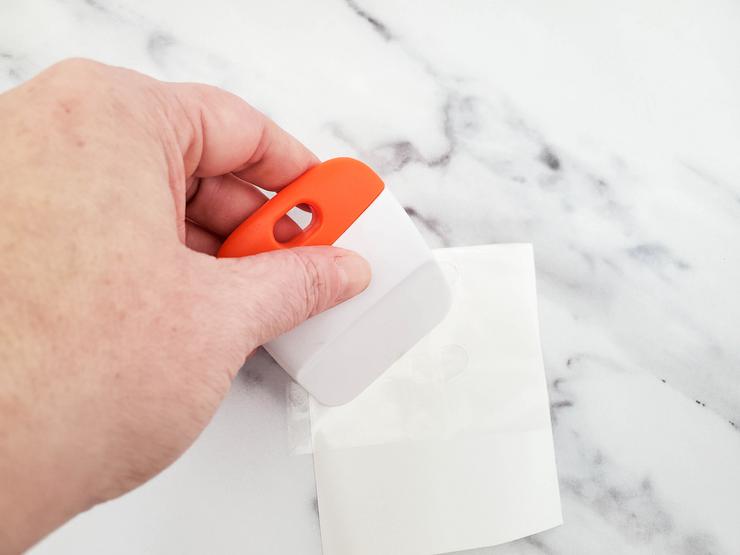
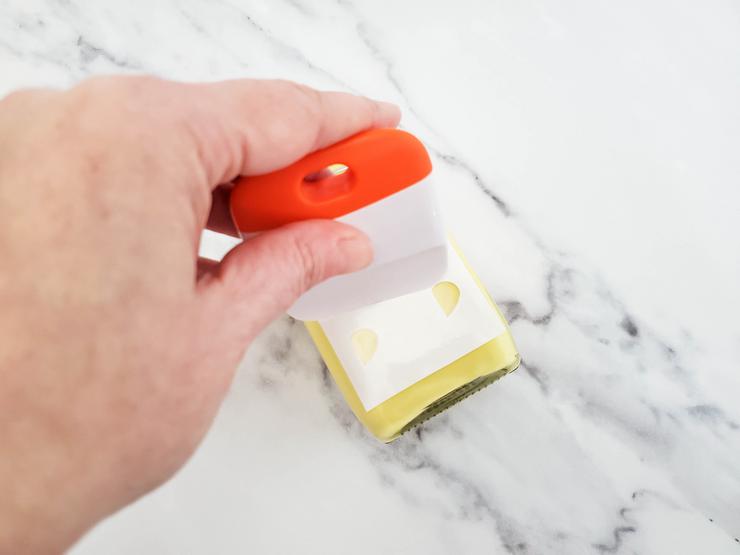
Remove the backing from your vinyl, then apply to your jar, and use the spatula to help adhere it to the glass.
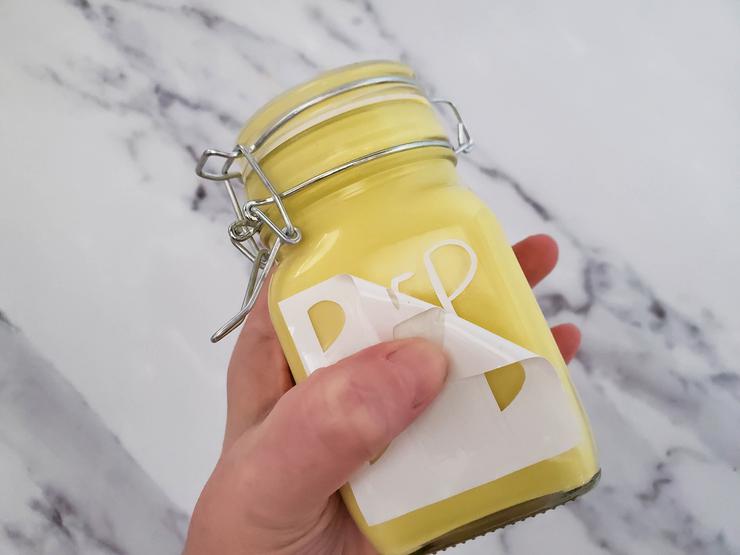
Gently and carefully, remove the transfer tape.
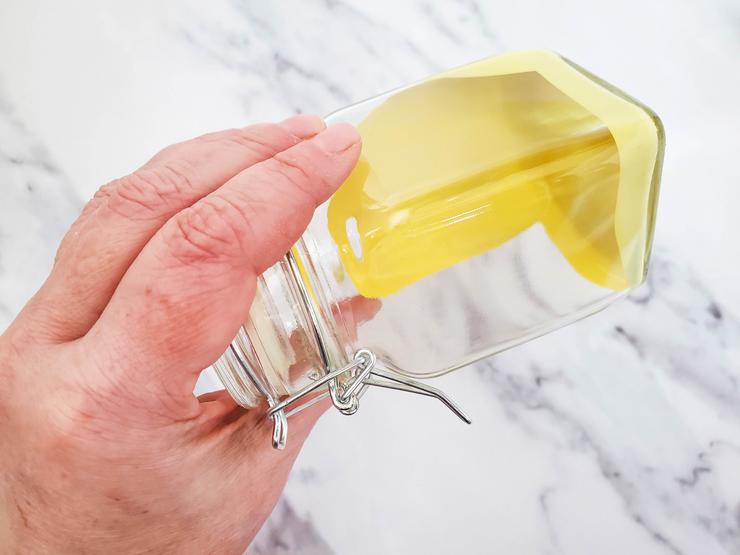
If you want to paint the jar, add craft paint to the inside of the jar,
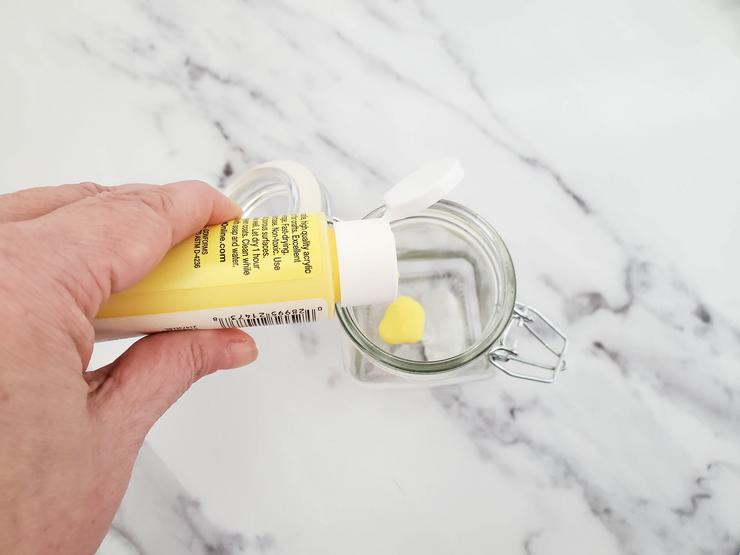
and roll the jar around, until it is all coated.
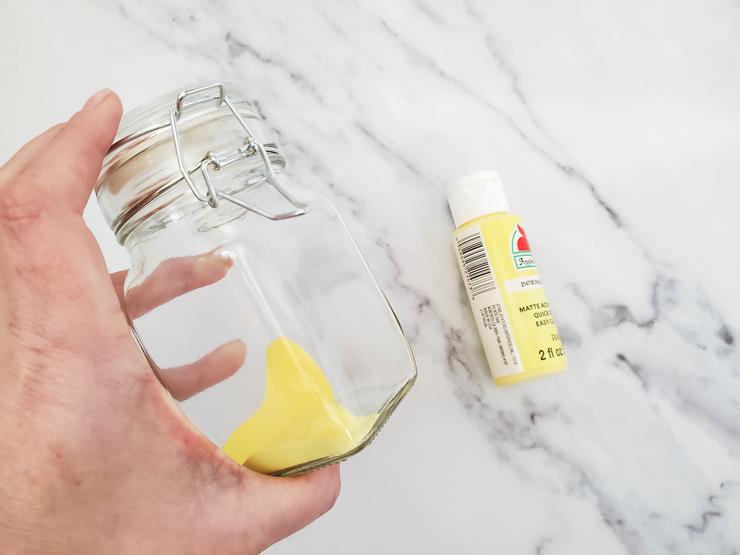
Set on a paper plate, upside down to allow excess paint to pour out.
***If painting the jar, ONLY add wrapped candy to the inside of the jar.
Please remember to SHARE on Facebook and PIN IT 📌
📌 FOLLOW ME ON PINTEREST BY CLICKING HERE
Easter Craft – Cricut Mason Jars
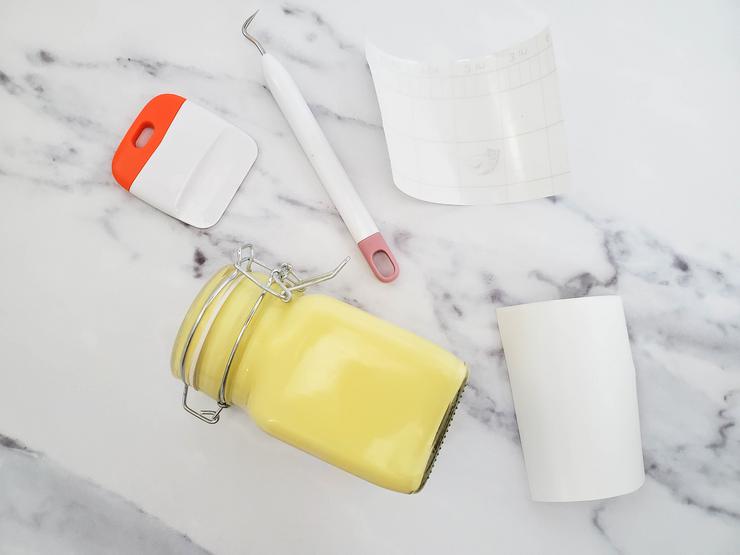
Ingredients
- Cricut Machine
- Cricut Cutting Mat
- Cricut Weeder
- Cricut Spatula
- Cricut Vinyl
- Cricut Transfer Tape
- Square jar with latch or Mason Jar
- Craft paint optional
Instructions
- Open Cricut Design Space, and click the “upload” button.
- Browse for your image, then click the “upload” button.
- Select your image, then click “add to canvas”.
- Resize your image to fit your jar. In this case, it was 2.5 inches wide.
- Click on “weld”, then click “make it”, and then click “continue”.
- Set your vinyl on the cutting mat.
- Connect your Cricut machine to your computer, then follow the prompts on the screen to cut your project.
- Once your files are cut, weed the letters, then apply the transfer tape, and use the spatula to remove any air bubbles.
- Remove the backing from your vinyl, then apply to your jar, and use the spatula to help adhere it to the glass.
- Gently and carefully, remove the transfer tape.
- If you want to paint the jar, add craft paint to the inside of the jar, and roll the jar around, until it is all coated. Set on a paper plate, upside down to allow excess paint to pour out. ***If painting the jar, ONLY add wrapped candy to the inside of the jar.
Notes
Do Not Forget To Pin! So you can come back and make these Easter Craft Cricut Candy Jars!

