DIY Dollar Tree Egg Moss Wreath

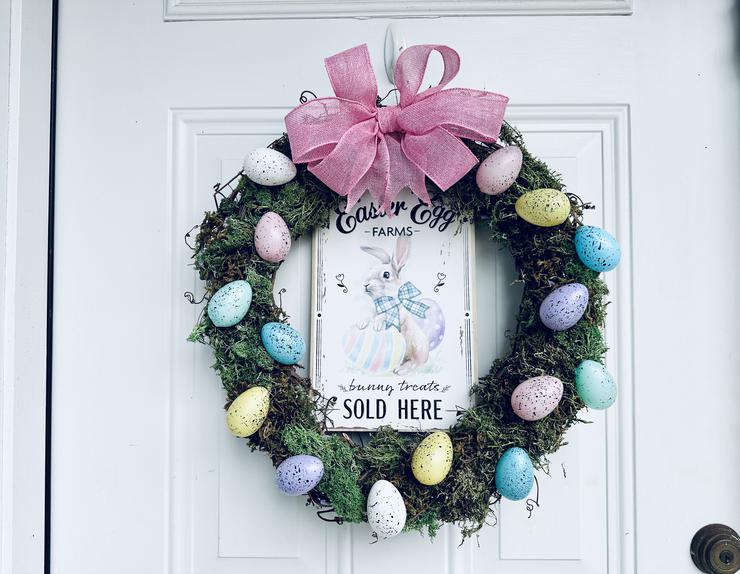
Make your front door look amazing this Easter season with this easy DIY Dollar Tree Egg Moss Wreath.
Simple and cute DIY Dollar Store craft project for Easter.
With just a few Dollar Tree supplies you can make this adorable Easter egg wreath.
NO need for expensive wreaths when you can DIY your own.
Give your front door that farmhouse look with this Easter egg moss wreath.
Get ready to craft up the best DIY Dollar Tree Egg Moss Wreath.


How to Make Diy Dollar Tree Egg Moss Wreath
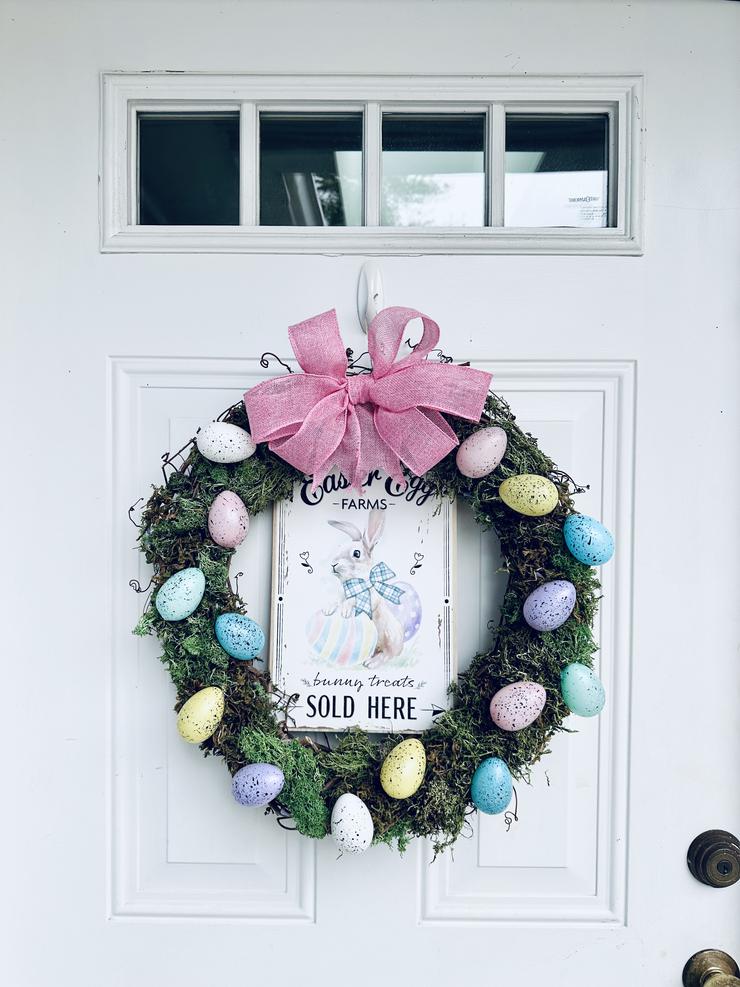
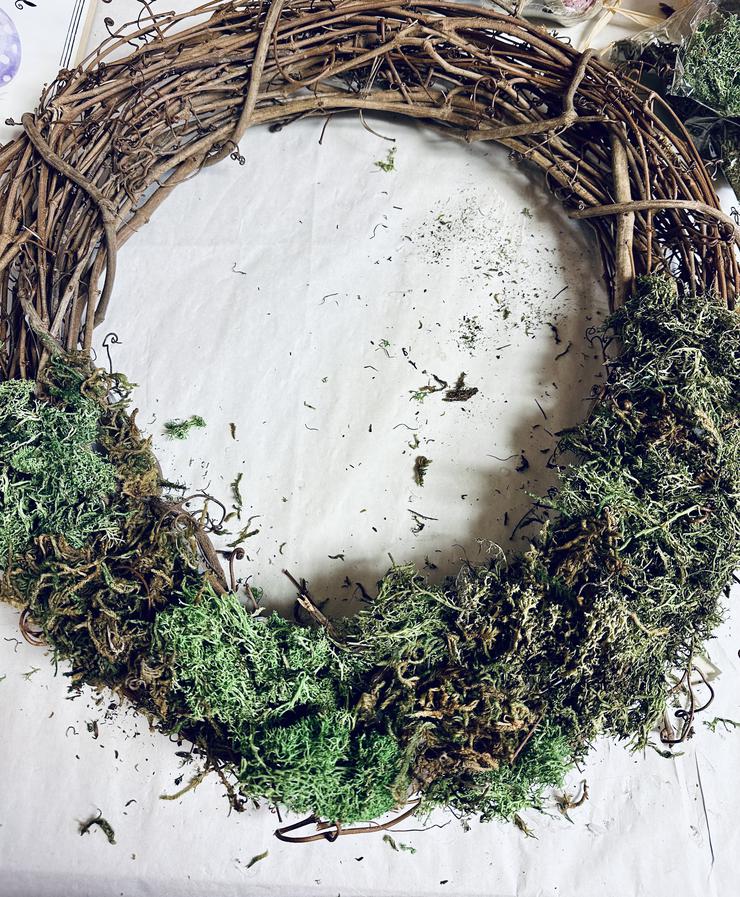
Start by adding moss to almost the entire grapevine wreath.
I left a spot open on the top as I was adding a bow.
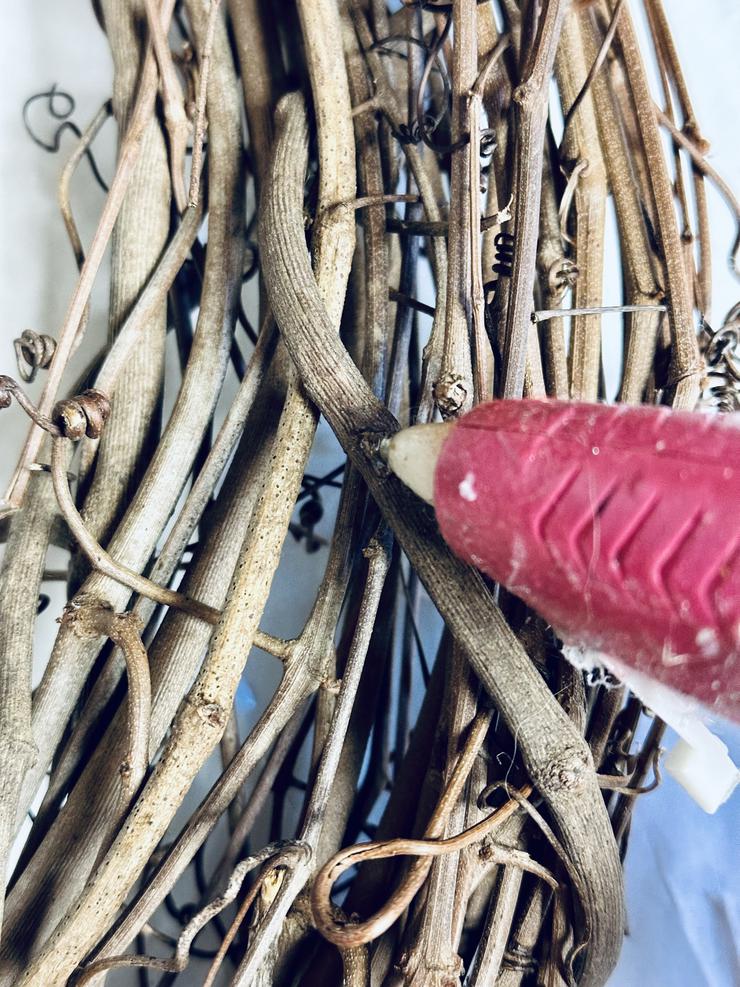
To add the moss you need to do this in sections. Add hot glue to the grapevines and the place the moss on top, making sure that it adheres.
Some will fall off when you lift it up but you can either hot glue it back in place or stuff it in between the grapevines.
Have patience with this.
If you notice that your hot glue is stringy like mine was, just make sure to take your time and remove the strings so it doesn’t get tangled with the moss.
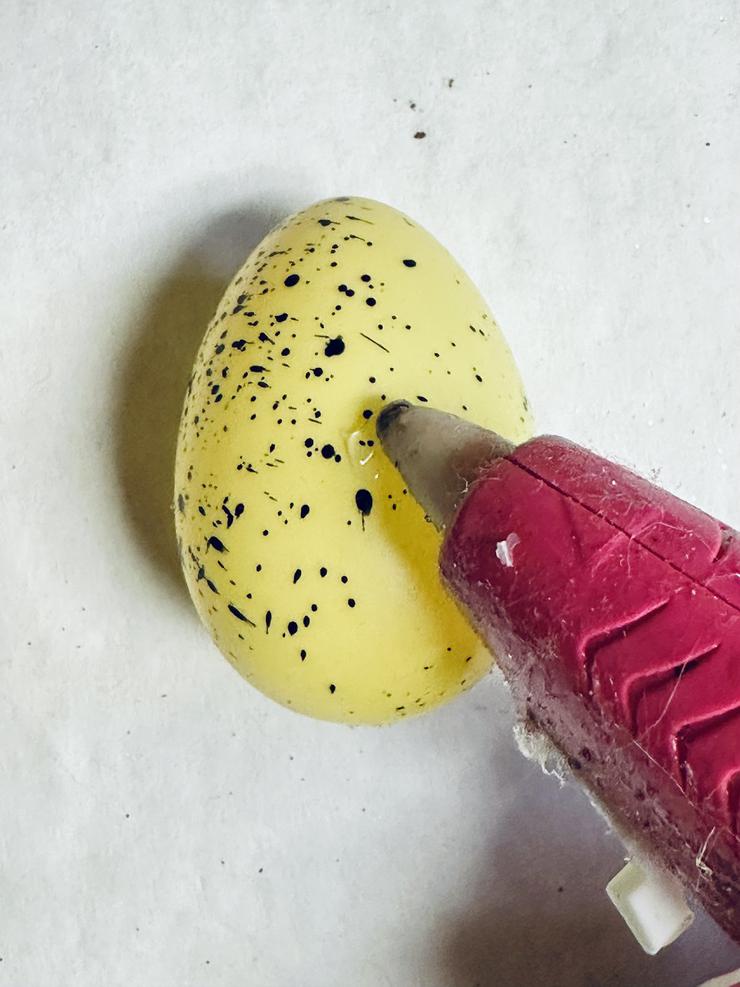
Once the wreath is pretty much covered, start adding your eggs with hot glue, I just randomly added them around the wreath.

Next I made a bow using the burlap ribbon, make sure your ribbon is wired, it is much easier to work with. I made a few loops and secured them together with a zip tie.
I then cut another piece of the burlap ribbon to make the tails and to use to wrap over the zip tie to cover it.
Add a dab of hot glue on the center of the bow to secure the burlap ribbon.
Cut the tails to your desired length.

To add the Easter egg sign, remove the piece of jute on the top (don’t throw it away you will reuse this.
I pushed the bottom section of the sign into some of the grapevines and it held it, I added some hot glue to secure it.

Take the jute piece and pull it through one of the holes on the sign and then through a piece of the grapevine and then back through the other hole.

Add hot glue to where the sign meets the wreath to secure it in place.

Please remember to SHARE on Facebook and PIN IT 📌
📌 FOLLOW ME ON PINTEREST BY CLICKING HERE

DIY Dollar Tree Egg Moss Wreath
Ingredients
- Grapevine Wreath
- 3 packages of moss from dollar tree
- 3 packages of Easter eggs from dollar tree the ones I got came in these egg cartons
- Scissors
- Hot Glue gun and a lot of glue sticks if using the mini ones
- Pink Burlap Ribbon dollar tree
- Zip tie
- Easter Egg sign dollar tree
Instructions
- Start by adding moss to almost the entire grapevine wreath. I left a spot open on the top as I was adding a bow.
- To add the moss you need to do this in sections. Add hot glue to the grapevines and the place the moss on top, making sure that it adheres. Some will fall off when you lift it up but you can either hot glue it back in place or stuff it in between the grapevines. Have patience with this. If you notice that your hot glue is stringy like mine was, just make sure to take your time and remove the strings so it doesn’t get tangled with the moss.
- Once the wreath is pretty much covered, start adding your eggs with hot glue, I just randomly added them around the wreath. I tried not to get the same color next to each other.
- Next I made a bow using the burlap ribbon, make sure your ribbon is wired, it is much easier to work with. I made a few loops and secured them together with a zip tie. I then cut another piece of the burlap ribbon to make the tails and to use to wrap over the zip tie to cover it. Add a dab of hot glue on the center of the bow to secure the burlap ribbon. Cut the tails to your desired length.
- To add the Easter egg sign, remove the piece of jute on the top (don’t throw it away you will reuse this. I pushed the bottom section of the sign into some of the grapevines and it held it, I added some hot glue to secure it.
- Take the jute piece and pull it through one of the holes on the sign and then through a piece of the grapevine and then back through the other hole. Add hot glue to where the sign meets the wreath to secure it in place.
Do Not Forget To Pin! So you can come back and make this DIY Dollar Tree Egg Moss Wreath!

Leave a Reply