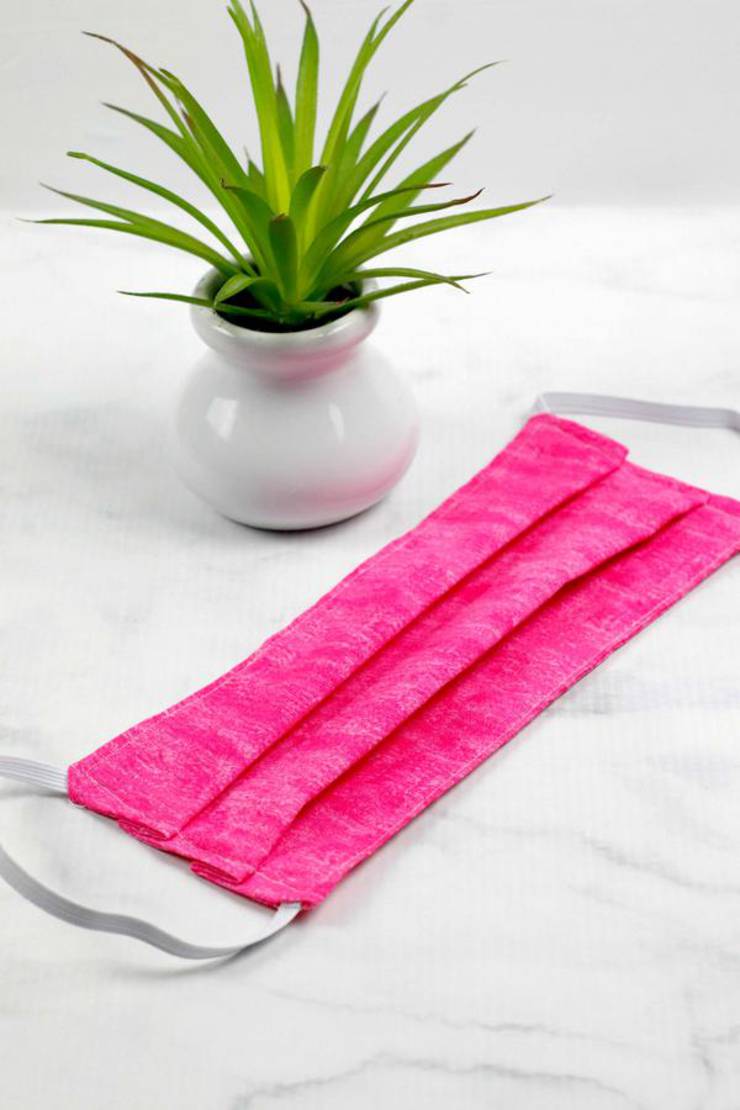
Need a DIY face mask?
Learn how to make an EASY homemade face mask.
Simple and quick homemade cloth fabric face mask.
Easy sewing pattern to make the BEST face cover.
Cover your nose and mouth with this EASY DIY face mask.
Although this is not a no sew it is a super simple sewing face mask.
Double layer face mask you will want to make today.
Learn how to sew a face mask you will want to wear.
Go outside in one of the coolest DIY face masks.
Check out this DIY handmade face mask today.

Homemade Gel DIY Hand Sanitizer
DIY Rubbing Alcohol Hand Sanitizer Spray
3 Ingredient Hand Sanitizer Spray
DIY Rubbing Alcohol Disinfecting Cleaner Spray
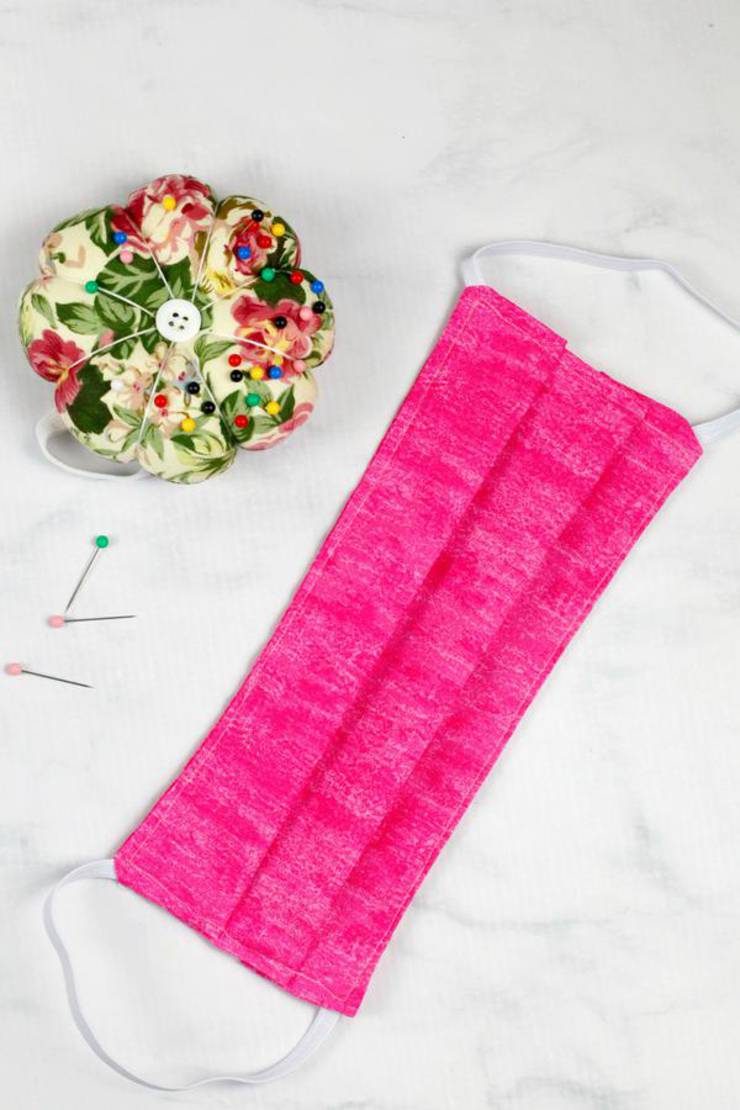
How To Make DIY Face Mask
Cut 3 pieces of fabric 6” by 9”.
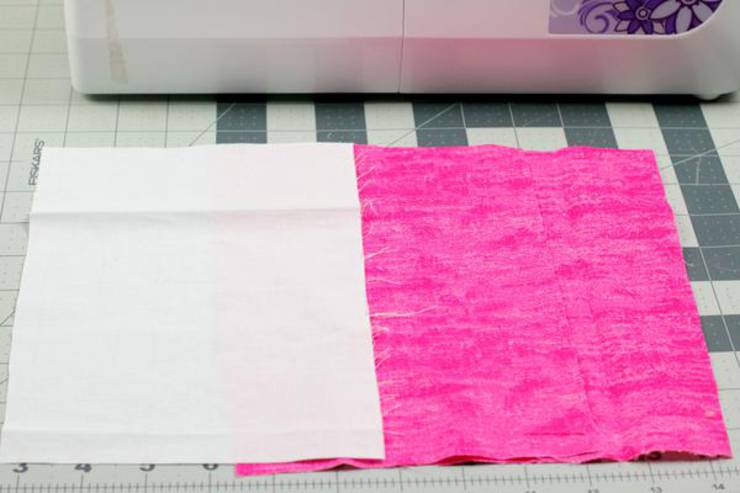
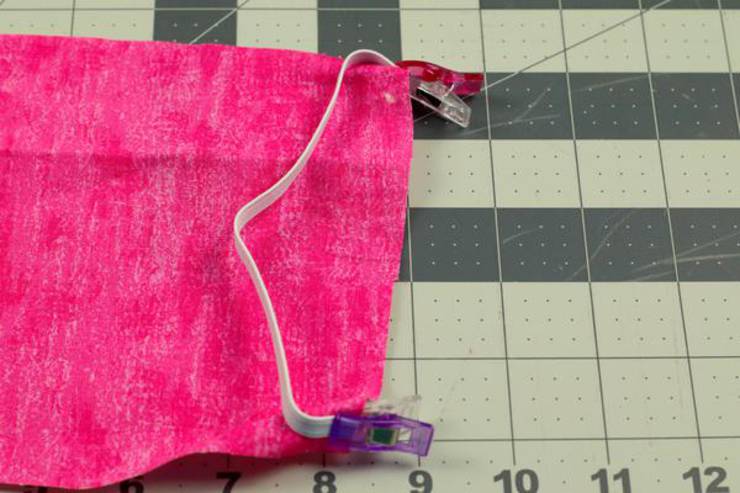
Cut two lengths of elastic 7” long. With the right side facing up, clip or pin one end of the elastic about ½” from the top right against the raw edge of the 6” side.
Being careful not to twist the elastic, do the same with the other end of the elastic on the bottom.
Repeat on the other side. Stitch each corner of elastic into place.
“Sandwich” the piece of fabric with the elastic attached between the other two pieces of fabric.
Pin or clip into place.
Sew around the perimeter of the rectangle, leaving a 2” opening for turning.
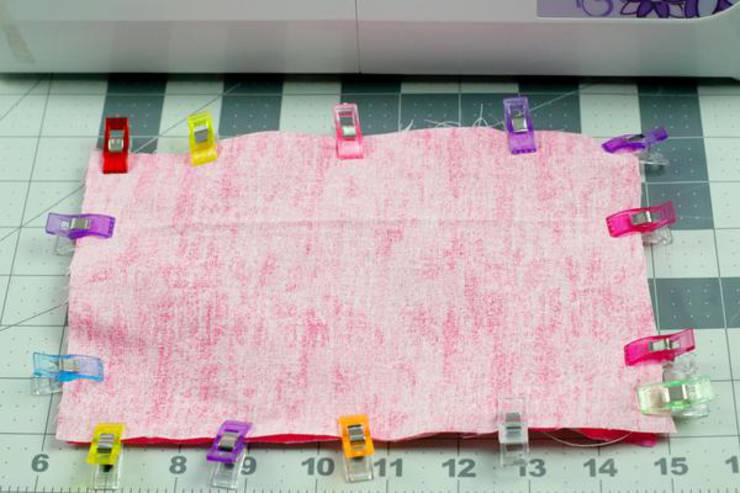
Turn the piece right side out and press. Be sure to press the opening closed.
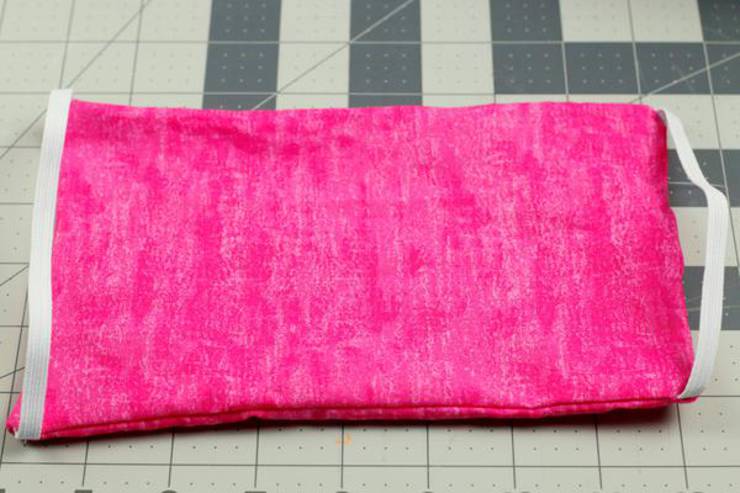
Using your fingertips, pinch the top of the fabric into a pleat that is about ½ – ¾” wide and pin or clip into place.
Repeat about halfway down.
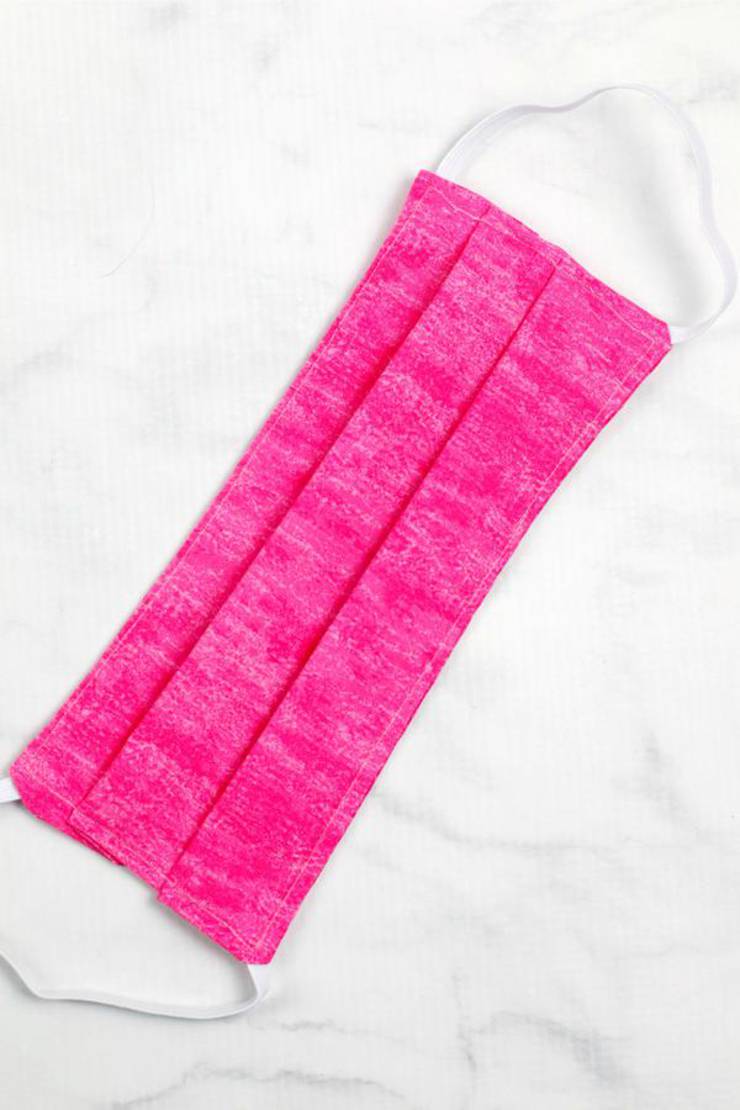
The finished size should be about 3- 3.5” wide.
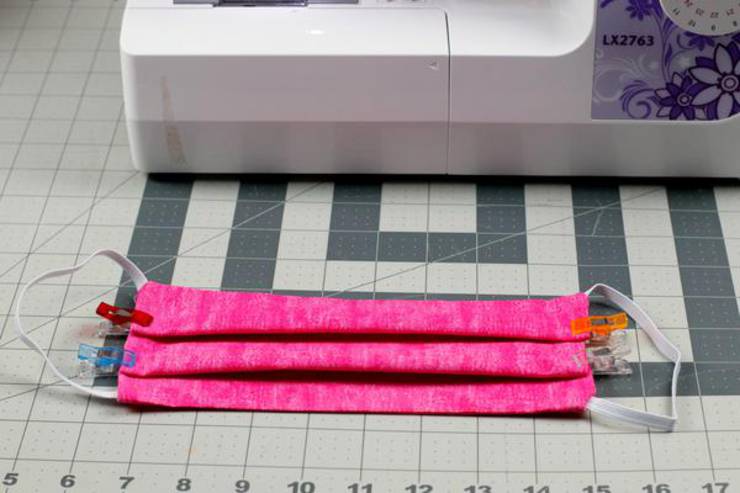
Press flat. Using a ¼” seam allowance, topstitch all the way around the mask.
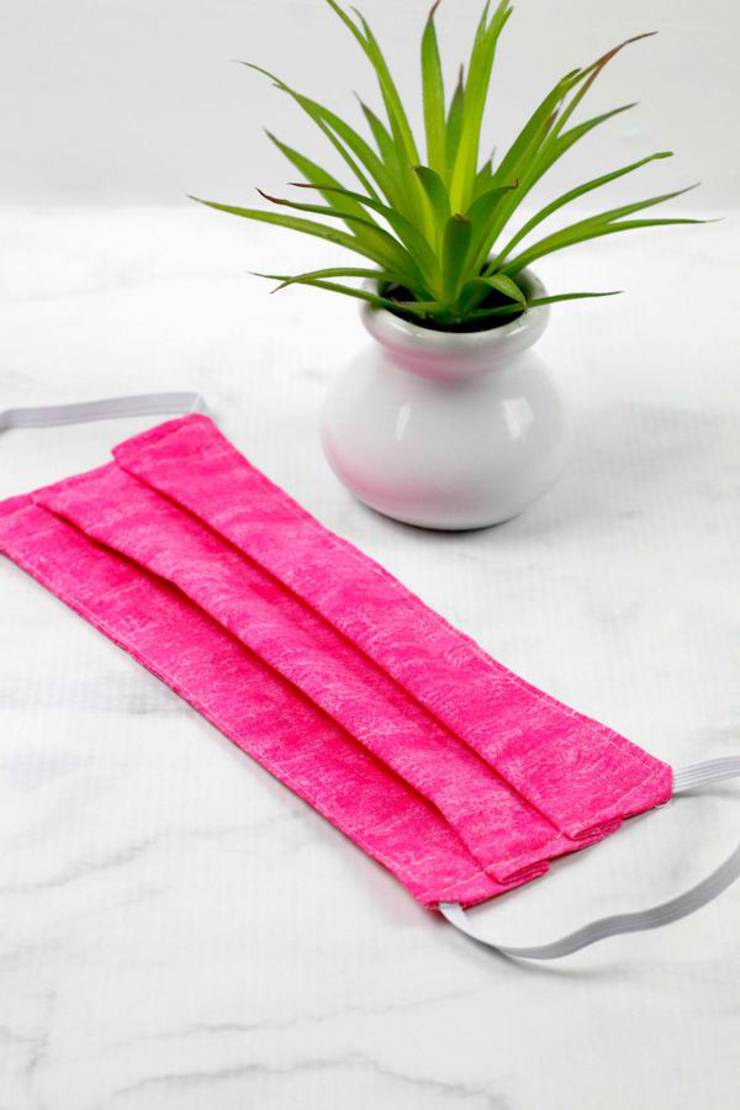
Enjoy your new mask
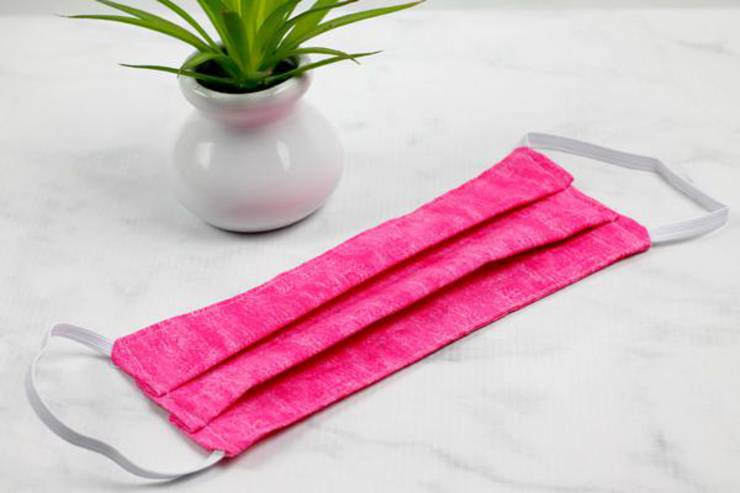
Please remember to SHARE on Facebook and PIN IT 


Supplies
- ¼ yard of tightly woven cotton fabric (we used two colors, but feel free to use 1, 2 or 3 colors)
- 1/8” flat elastic
- Scissors
- Cutting Mat, ruler, and rotary cutter
- Pins or wonder clips
- Sewing machine
- Iron
Instructions
- Cut 3 pieces of fabric 6” by 9”.
- Cut two lengths of elastic 7” long. With the right side facing up, clip or pin one end of the elastic about ½” from the top right against the raw edge of the 6” side. Being careful not to twist the elastic, do the same with the other end of the elastic on the bottom. Repeat on the other side. Stitch each corner of elastic into place.
- “Sandwich” the piece of fabric with the elastic attached between the other two pieces of fabric. Pin or clip into place. Sew around the perimeter of the rectangle, leaving a 2” opening for turning.
- Turn the piece right side out and press. Be sure to press the opening closed.
- Using your fingertips, pinch the top of the fabric into a pleat that is about ½ – ¾” wide and pin or clip into place. Repeat about halfway down. The finished size should be about 3- 3.5” wide. Press flat. Using a ¼” seam allowance, topstitch all the way around the mask.
Craft Notes
*Please note that due to the current shortage supplies in certain areas, you may need to check your local retailers either online or in your area for availability or substitutions.
Don’t forget to Pin! So you can come back and make this face mask!
It is the responsibility of the Reader to assure the products or ingredients they use in any recipes from Kimspireddiy are allergen-free, sugar free, gluten-free, egg-free and/or dairy-free, for example) Weight Watcher friendly, Keto friendly or Vegetarian friendly. Kimspireddiy assumes no liability for inaccuracies or misstatement about products, nutrition, points, opinions or comments on this site. Even though nutritional information is given it is the readers responsibility to calculate points, net carbs & nutritional information. KimspiredDIY holds no responsibility for calculations.
 Kimspired DIY
Leave a Reply