
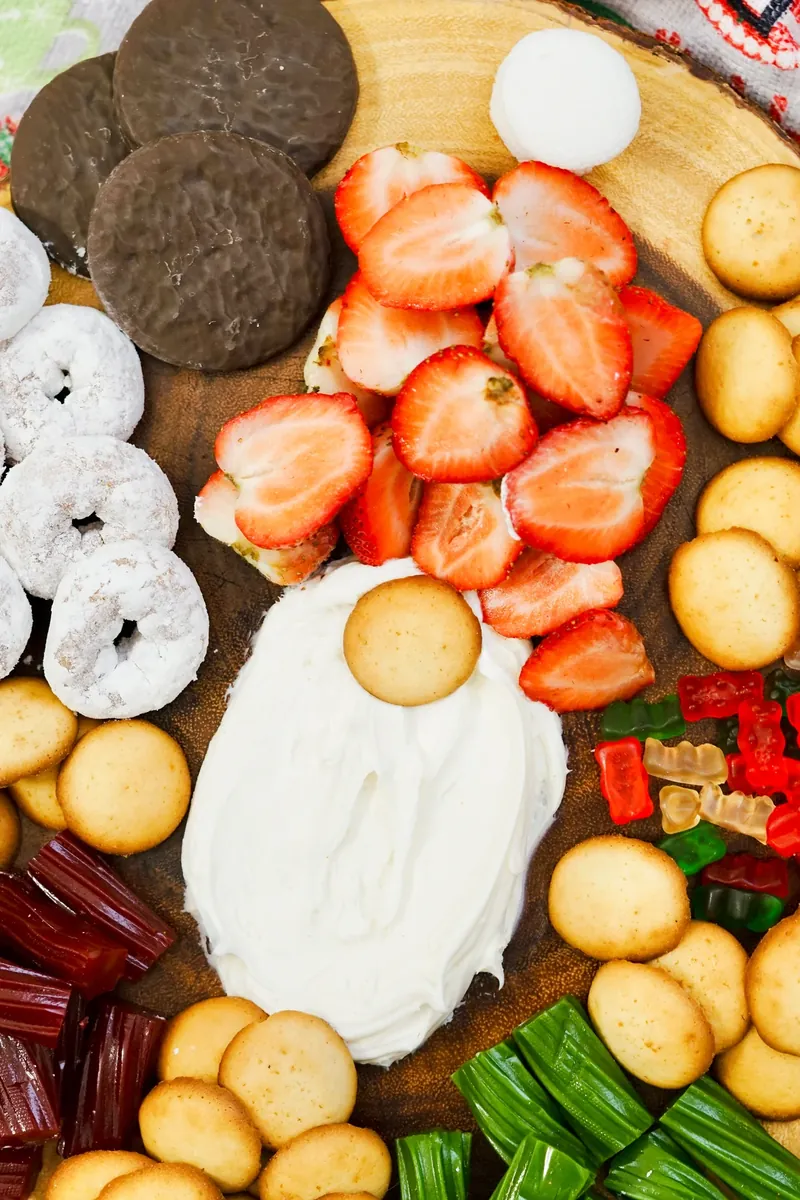
Create the most adorable holiday centerpiece with this Gnome Frosting Board! This whimsical dessert platter features a fluffy vanilla frosting beard, fresh strawberry hat, and an assortment of cookies and treats perfect for dipping and sharing. It’s incredibly easy to assemble and guaranteed to bring smiles to faces of all ages.
This creative dessert board is perfect for Christmas parties, holiday gatherings, or any time you want to add a touch of magic to your table. The combination of creamy frosting, fresh fruit, and various treats creates both visual appeal and delicious flavor combinations that everyone will love.
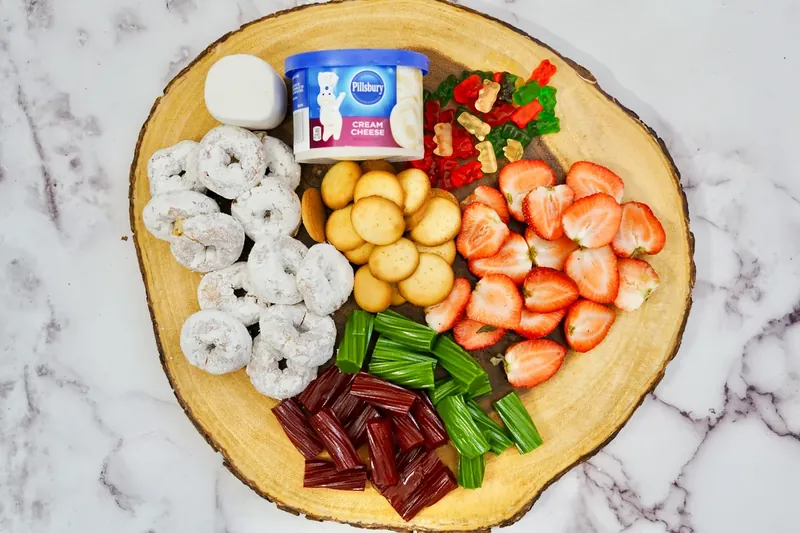
How To Make Gnome Frosting Board
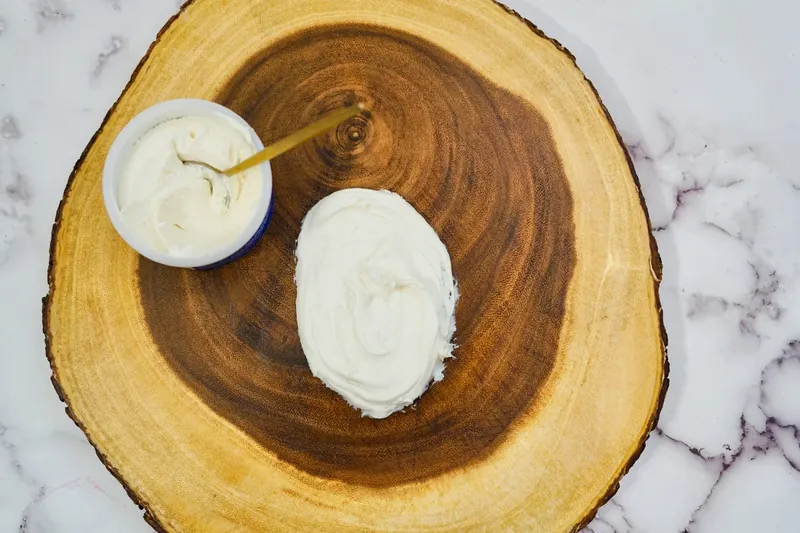
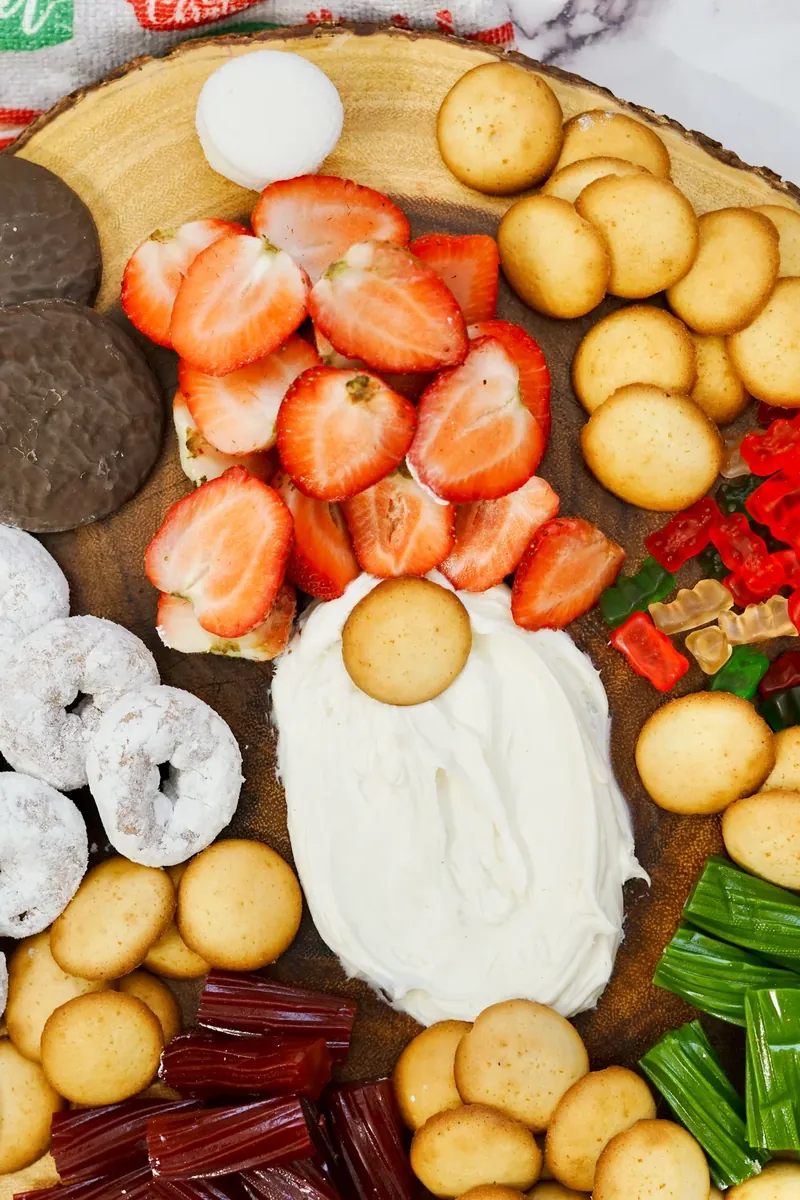
Step 1. Start by selecting a large wooden platter or serving board. Spread the vanilla frosting in an oval beard shape on the lower portion of the platter, using a spatula to create texture that resembles a fluffy gnome beard.
Step 2. Arrange the sliced strawberries in a triangular hat shape above the frosting beard. Overlap the strawberry slices slightly to create a full, festive red hat appearance.
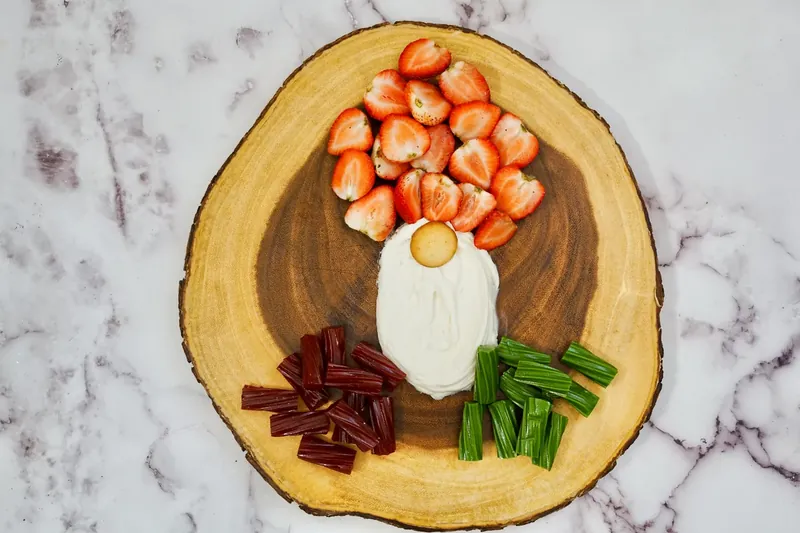
Step 3. Fill the space around your gnome with an assortment of cookies, donuts, gummy bears, and other treats. Arrange them in colorful clusters to create an inviting dessert spread perfect for dipping in the frosting and enjoying!
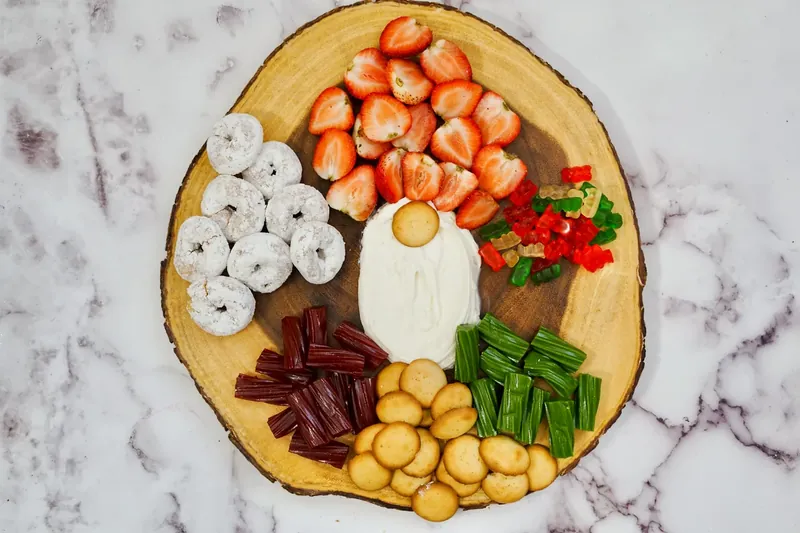
Step 4. Position a vanilla wafer cookie in the center of the frosting beard to serve as the gnome’s nose. This adds the perfect finishing touch to bring your gnome to life!
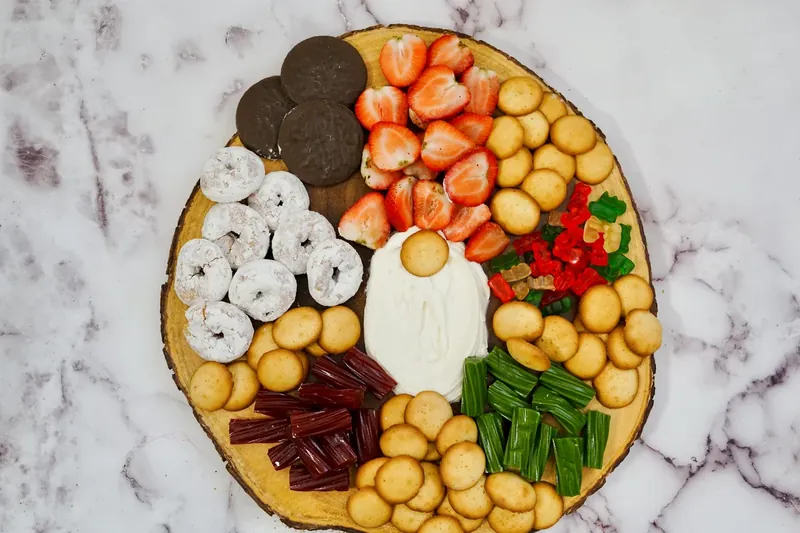
Step 5. Place the large marshmallow at the very top of the strawberry hat to create the classic gnome hat pom-pom. Press it gently into the strawberries to secure it in place.
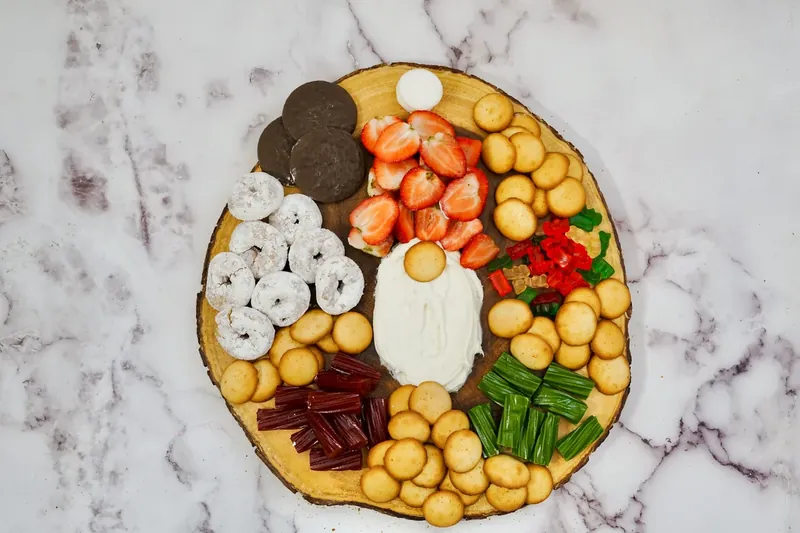
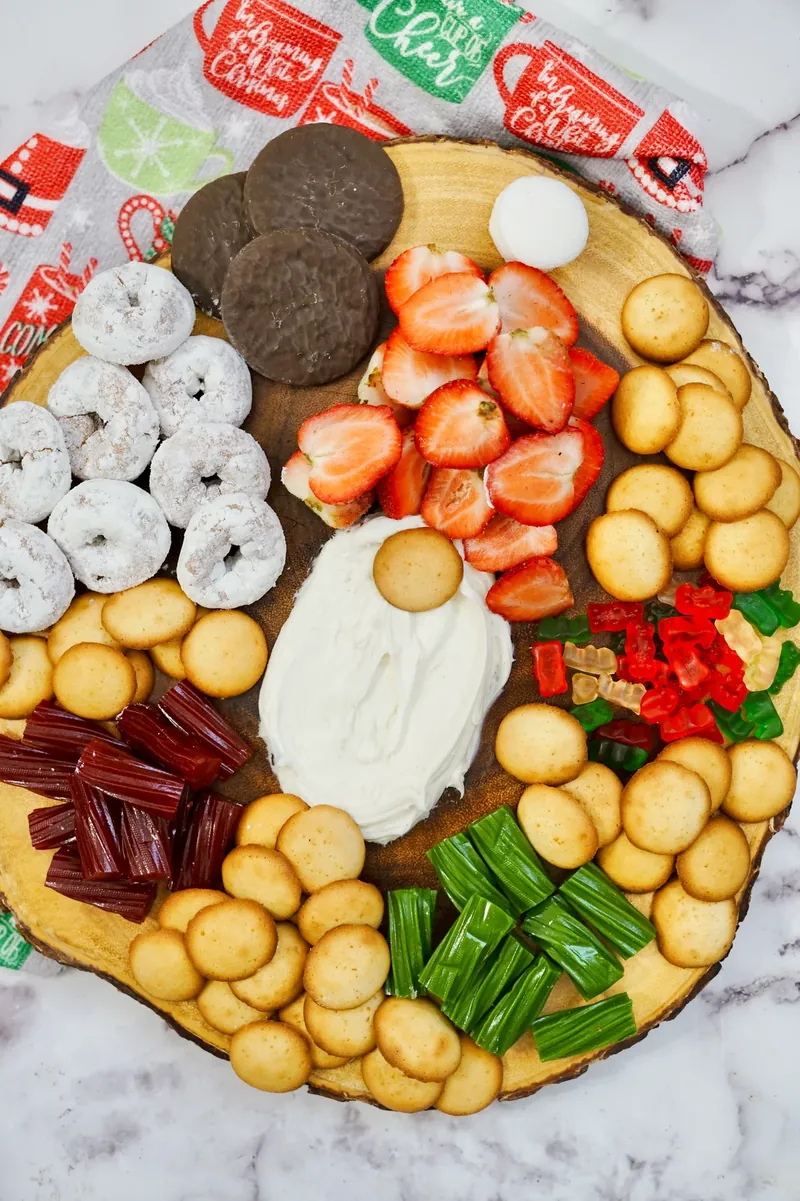
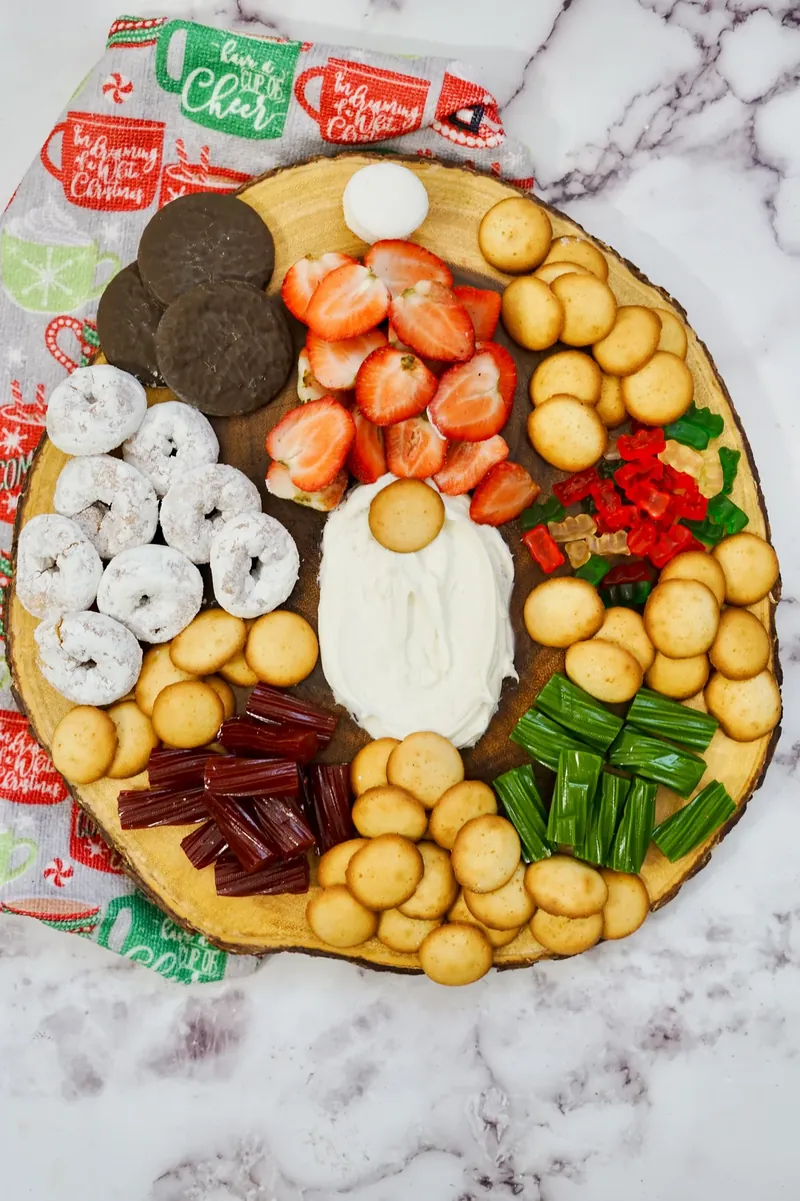
Gnome Frosting Board
Ingredients
- vanilla Frosting
- 1/2 Pound Sliced Strawberries
- Vanilla Wafer Cookie
- Large Marshmallow
- Cookies and Treats ( For Dunking)
Instructions
- On a platter, spread out the frosting to create a beard.
- Place the sliced strawberries onto the platter to create a hat.
- Place the marshmallow on top of the hat to create a ball.
- Add the wafer cookie to create a nose.
- Spread out the cookies and treats around the gnome.
I would love for you to share a link to this recipe, but please Do Not copy/paste the recipe or instructions to social media or websites. You may share one photo with a link back.
🌟 Don’t forget to PIN this recipe so you can come back and make it again!
❄️ More Winter Dessert ❄️
Disclaimer: Readers are responsible for ensuring the ingredients and products they use in any recipes from Kimspired DIY meet their dietary needs. Nutritional information is an estimate only.
Kimspired DIY assumes no liability for inaccuracies or issues arising from the use of any recipe on this site.
Leave a Reply