DIY Dollar Tree Acorns

Super fun and cute DIY Dollar Tree acorns.
Easy DIY Dollar Store Fall crafts projects with these adorable burlap acorns.
Simple Dollar Store hacks for cute Fall decor.
You can’t go wrong with this budget friendly Fall decorations to make your home look amazing.
Dollar Tree acorn craft you will want to make today.
This Dollar Store Autumn craft will go great in a room of your home.
Get ready to make the best DIY Dollar Tree acorns.
![]()
Check out these other
DIY Dollar Tree Fall Crafts
DIY Dollar Tree Farmhouse Wooden Bead Pumpkins
DIY Dollar Tree Farmhouse Faux Sweater Pumpkins
DIY Dollar Tree Farmhouse Foam Dice
DIY Dollar Tree Pool Noodle Pumpkins
DIY Dollar Tree Embroidery Hoop Pumpkins
DIY Dollar Tree Faux Tin Tile Pumpkin
How to Make DIY Dollar Tree Acorns
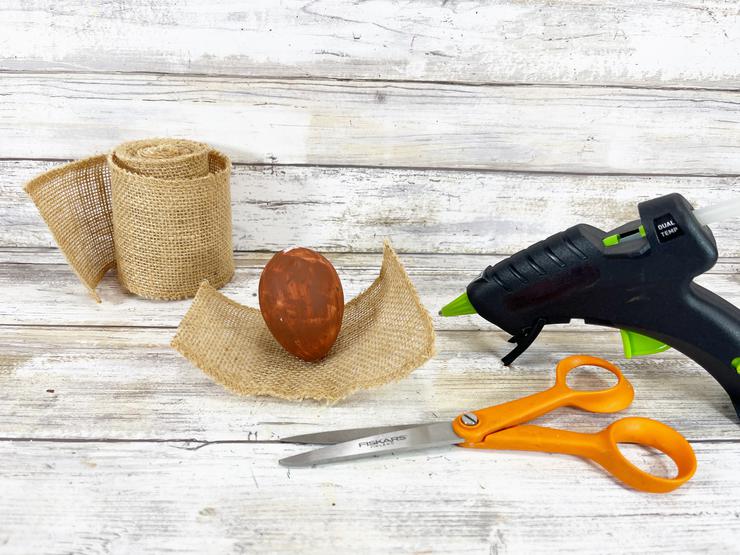
To begin, gather all supplies.
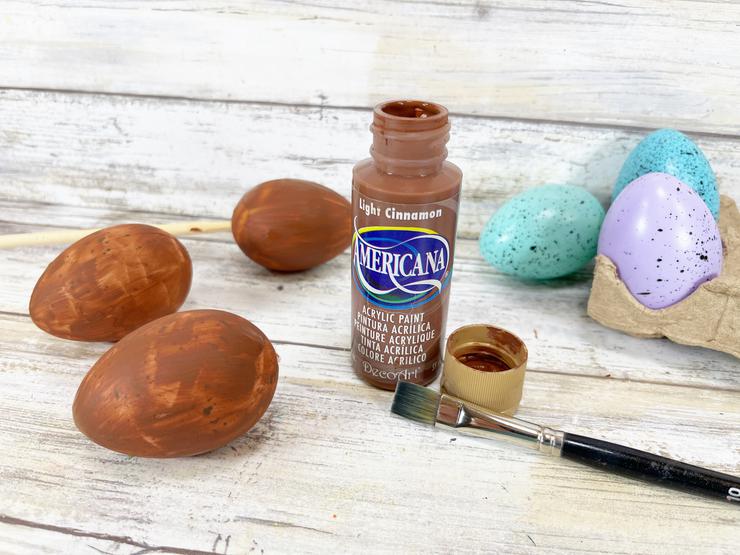
Paint the outside of the three plastic Easter Eggs roughly with dark brown craft paint and a dry paintbrush.
Set aside to dry.
These are solid plastic Easter eggs, if using the split eggs, glue them closed before painting.
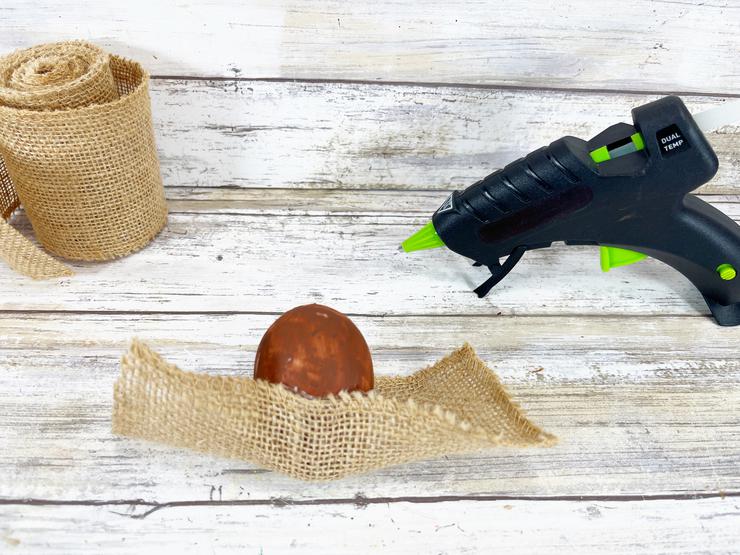
Cut a piece of burlap ribbon and secure the painted egg in the center with a glue gun and glue sticks.
Liquid craft glue can be used for this project, but you will have to wait for it to dry.
Fold up the short sides of the burlap ribbon and attach with a glue gun and glue sticks.
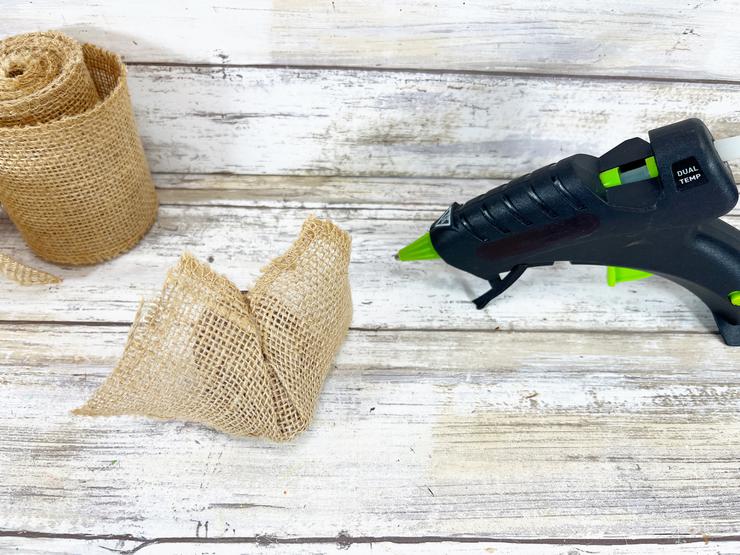
Repeat with the long sides of the burlap ribbon and additional glue.
Continue to pleat and fold the burlap around the entire circumference of the egg, securing each section of ribbon using a glue gun and glue sticks.
Work around the egg, until the entire surface is covered with the burlap ribbon.
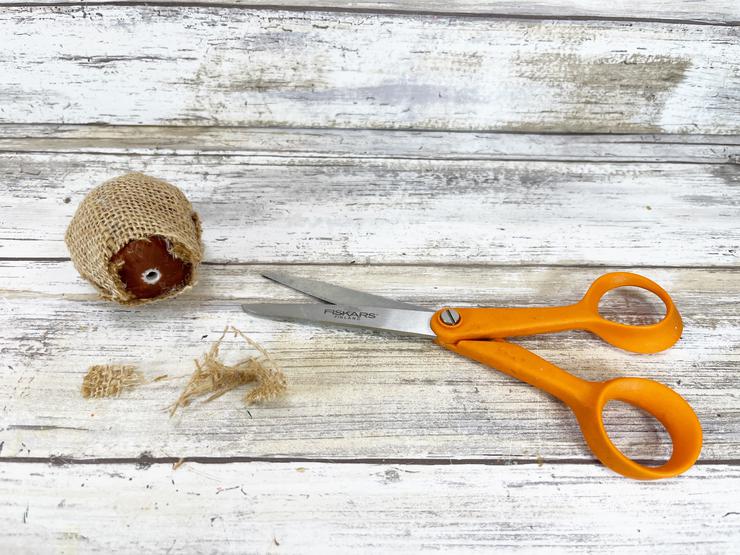
After gluing, hold each section in place with the metal blades of the scissors until the hot glue is set.
This will prevent your fingertips from getting burned.
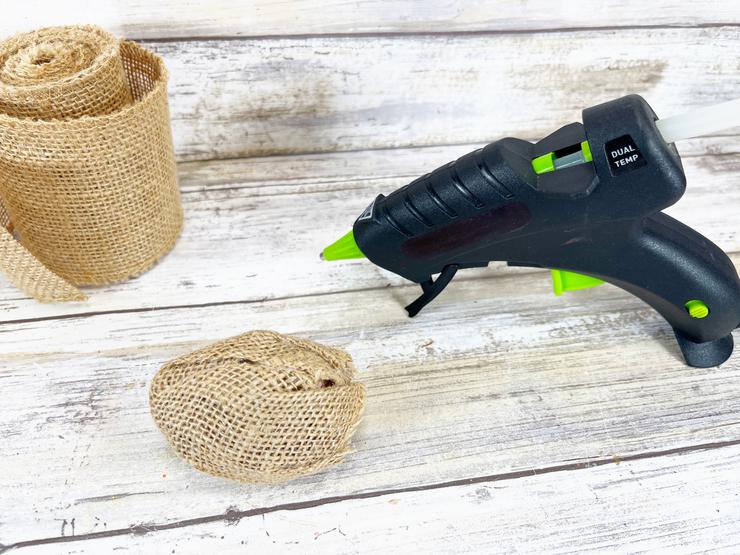
Trim any excess burlap ribbon from the top of the Easter eggs using scissors.
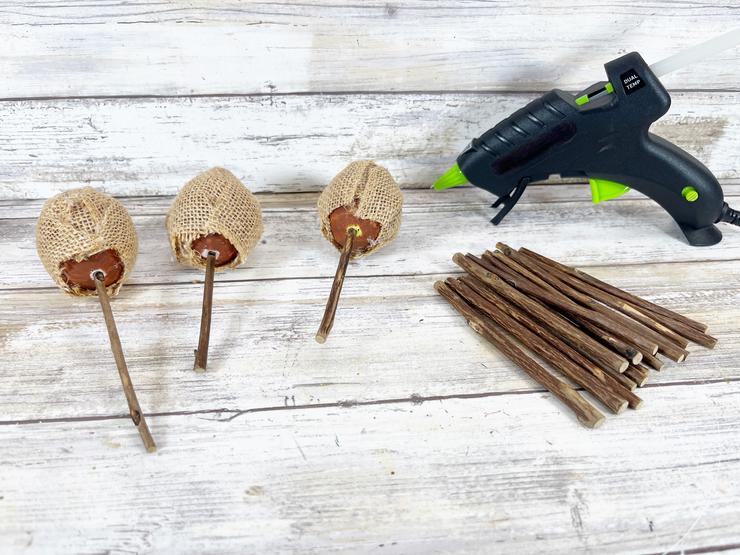
Insert a 6” length of twig into the holes at the top of each Easter eggs and secure with a glue gun and glue sticks.
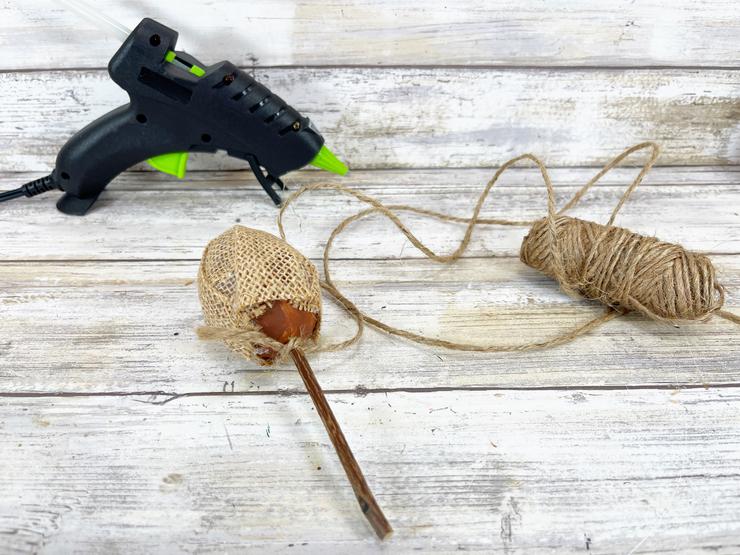
Tie the natural jute twine in a double knot around the twig.
This will make a good base to start to adhere the twine around the top of the egg.
Trim the long end of the twine with scissors.
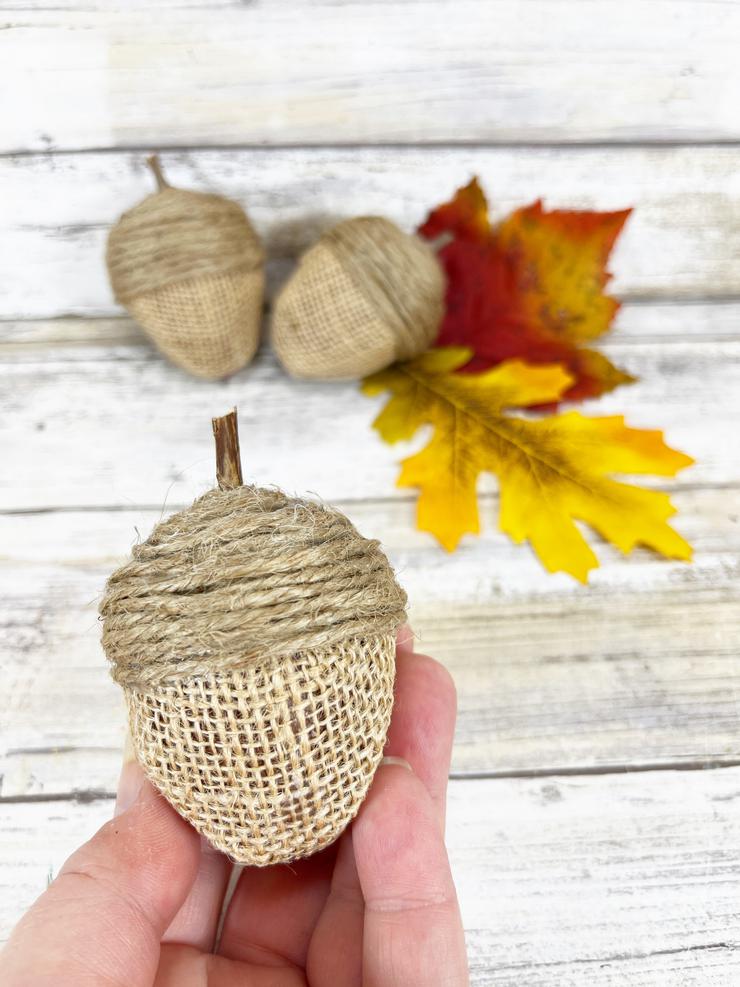
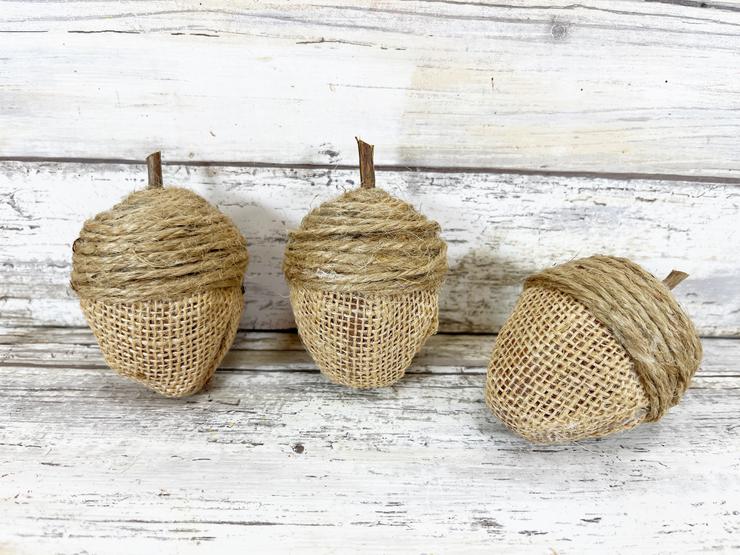
Create the cap of the acorn by coiling the natural jute twine around the top of the egg using a glue gun and glue sticks.
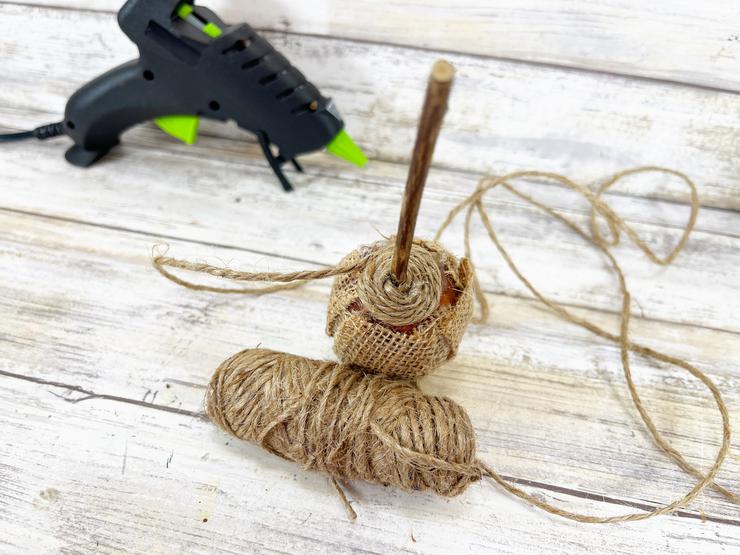
Continue coiling the twine around the top one third of the plastic egg.
Wrap the twine around multiple times to build up some depth, which enhances the acorn cap.

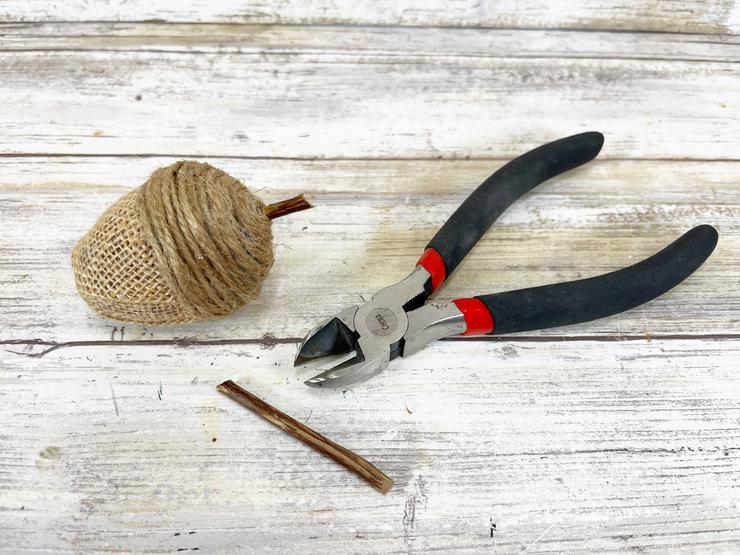
To finish, trim the twig to ½” long with a pair of wire cutters.
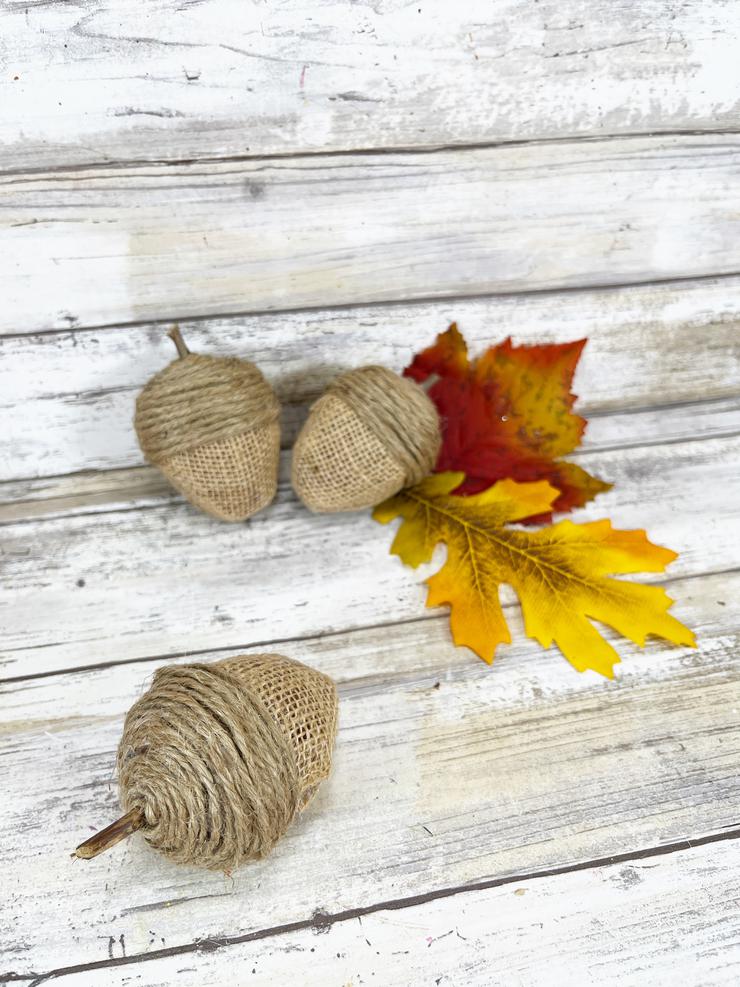
These sweet as can be Easter Egg Acorns go together in just about 30 minutes with leftover Easter Eggs.
Limited supplies from the Dollar Store needed, and your craft stash.
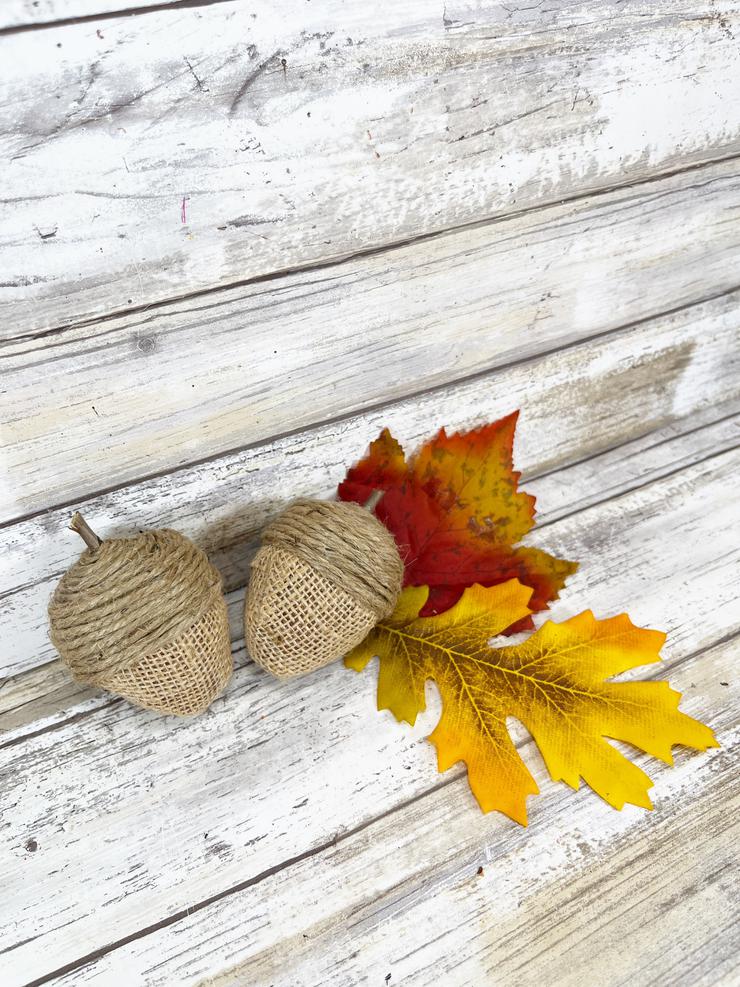
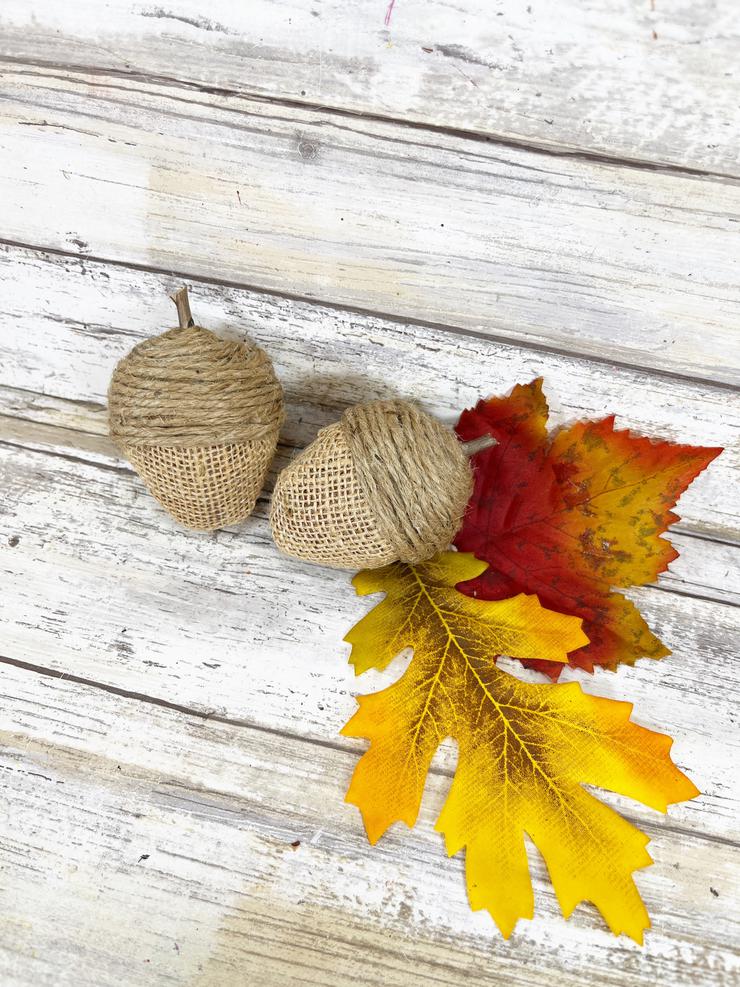
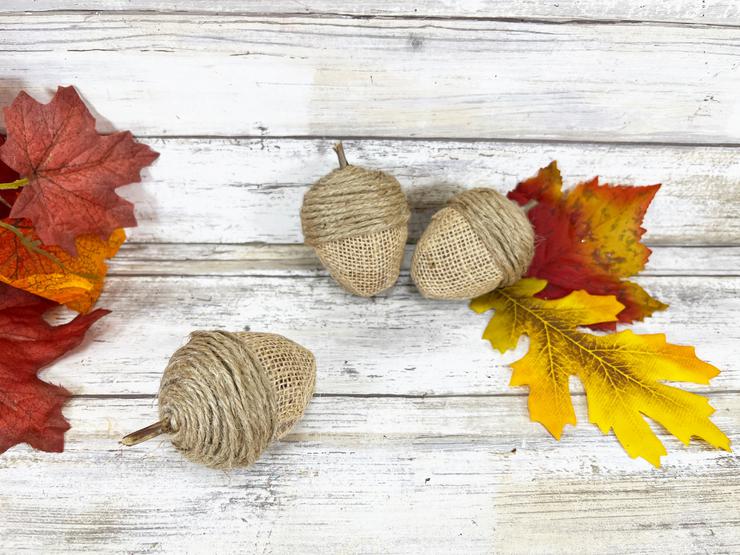
Display alongside faux or real fall leaves for festive fall décor!
Please remember to SHARE on Facebook and PIN IT 📌
📌 FOLLOW ME ON PINTEREST BY CLICKING HERE

DIY Dollar Tree Acorns
Ingredients
- Plastic Easter Eggs – Dollar Store
- Burlap Ribbon – Dollar Store
- Natural Jute Twine – Dollar Store
- Glue Gun and Glue Sticks – Dollar Store
- Acrylic Craft Paint – Dark Brown
- Twigs – From the Yard
- Scissors
- Paintbrush
- Wire Cutters
Instructions
- To begin, gather all supplies. Paint the outside of the three plastic Easter Eggs roughly with dark brown craft paint and a dry paintbrush. Set aside to dry. These are solid plastic Easter eggs, if using the split eggs, glue them closed before painting.
- Cut a piece of burlap ribbon and secure the painted egg in the center with a glue gun and glue sticks. Liquid craft glue can be used for this project, but you will have to wait for it to dry.
- Fold up the short sides of the burlap ribbon and attach with a glue gun and glue sticks. Repeat with the long sides of the burlap ribbon and additional glue.
- Continue to pleat and fold the burlap around the entire circumference of the egg, securing each section of ribbon using a glue gun and glue sticks.
- Work around the egg, until the entire surface is covered with the burlap ribbon. After gluing, hold each section in place with the metal blades of the scissors until the hot glue is set. This will prevent your fingertips from getting burned.
- Trim any excess burlap ribbon from the top of the Easter eggs using scissors.
- Insert a 6” length of twig into the holes at the top of each Easter eggs and secure with a glue gun and glue sticks.
- Tie the natural jute twine in a double knot around the twig. This will make a good base to start to adhere the twine around the top of the egg. Trim the long end of the twine with scissors.
- Create the cap of the acorn by coiling the natural jute twine around the top of the egg using a glue gun and glue sticks.
- Continue coiling the twine around the top one third of the plastic egg. Wrap the twine around multiple times to build up some depth, which enhances the acorn cap.
- To finish, trim the twig to ½” long with a pair of wire cutters.
- These sweet as can be Easter Egg Acorns go together in just about 30 minutes with leftover Easter Eggs, limited supplies from the Dollar Store, and your craft stash.
Do Not Forget To Pin! So you can come back and make these DIY Dollar Tree Acorns!

It is the responsibility of the Reader to assure the products or ingredients they use in any recipes from Kimspireddiy are allergen-free, sugar free, gluten-free, egg-free and/or dairy-free, for example) Weight Watcher friendly, Keto friendly or Vegetarian friendly. Kimspireddiy assumes no liability for inaccuracies or misstatement about products, nutrition, points, opinions or comments on this site. Even though nutritional information is given it is the readers responsibility to calculate points, net carbs & nutritional information. KimspiredDIY holds no responsibility for calculations.
