DIY Dollar Tree Embroidery Hoop Pumpkins
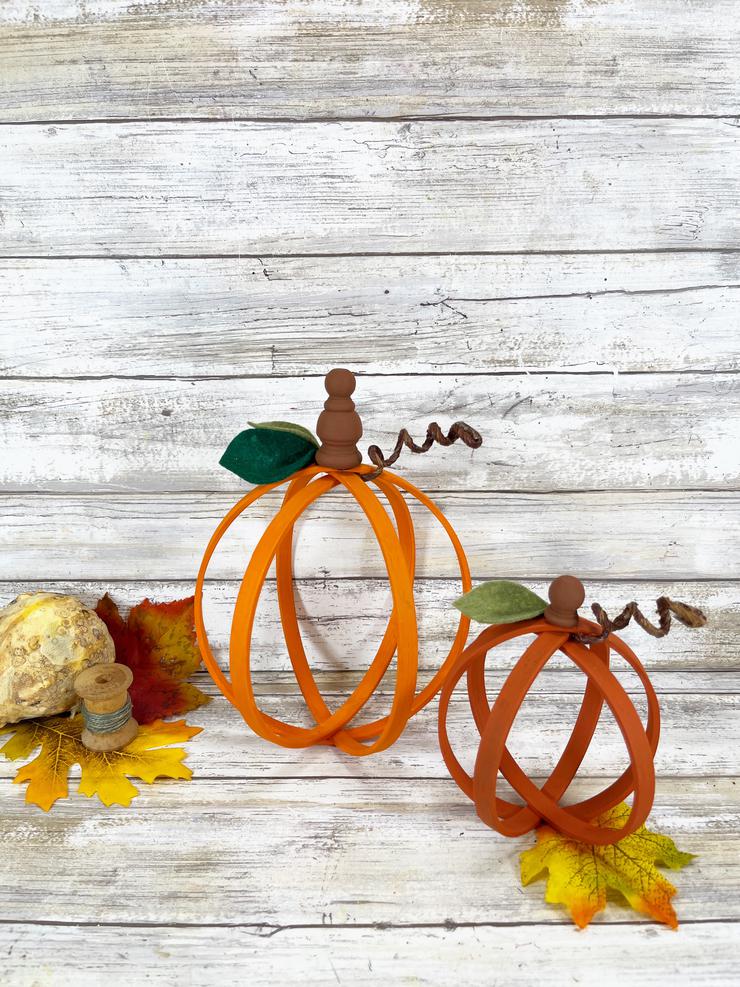
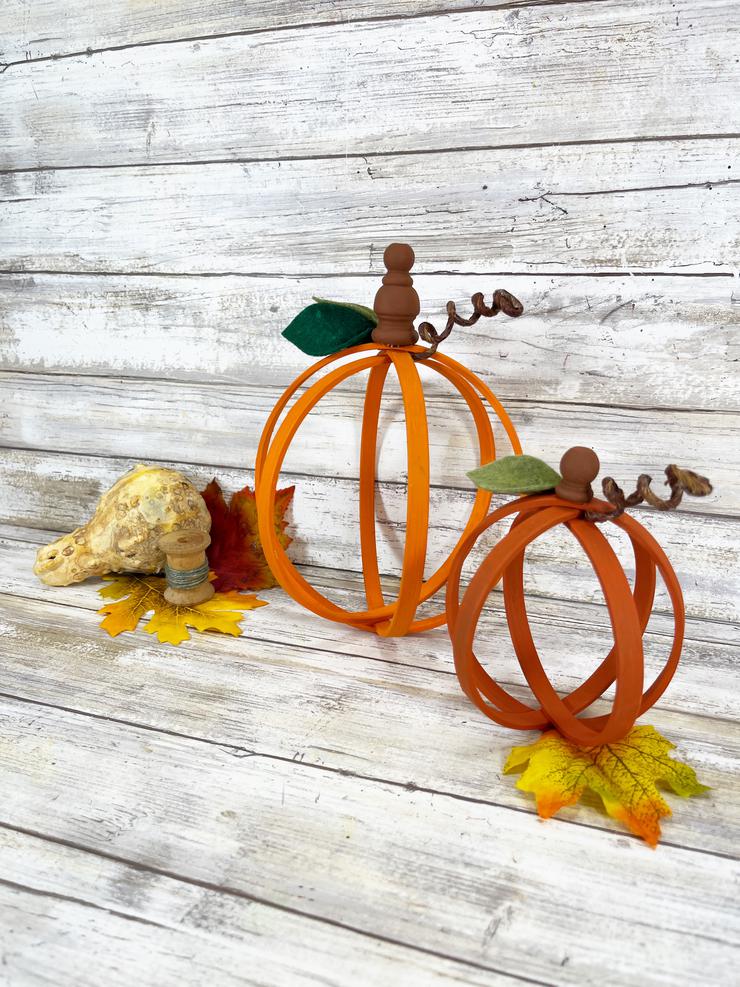
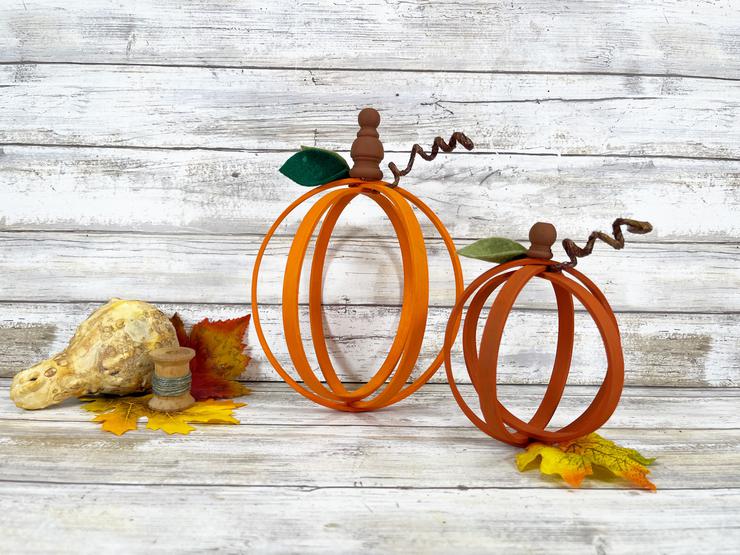
Super cute and easy DIY Dollar Tree Embroidery Hoop pumpkins you will want to craft up today.
Easy Fall Dollar Store craft projects for the cutest pumpkins.
Cheap Dollar Store decorations for Fall that will make your home look amazing.
DIY Dollar Tree pumpkin crafts that will have your friends and family wanting you to craft them one.
If you are looking for Fall decor that is cheap and budget friendly then check out these Dollar Tree pumpkins.
Get ready to make the best DIY Dollar Tree Embroidery Hoop pumpkins.
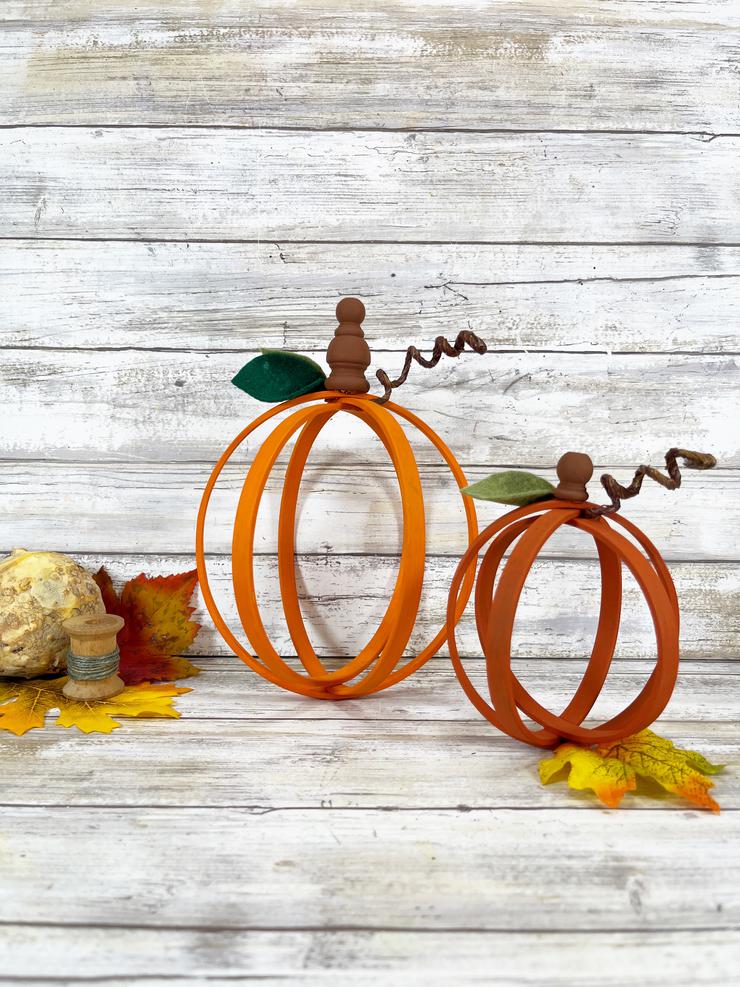
Check out these other
DIY Dollar Tree Fall Crafts
DIY Dollar Tree Farmhouse Wooden Bead Pumpkins
DIY Dollar Tree Farmhouse Faux Sweater Pumpkins
DIY Dollar Tree Farmhouse Foam Dice
DIY Dollar Tree Pool Noodle Pumpkins
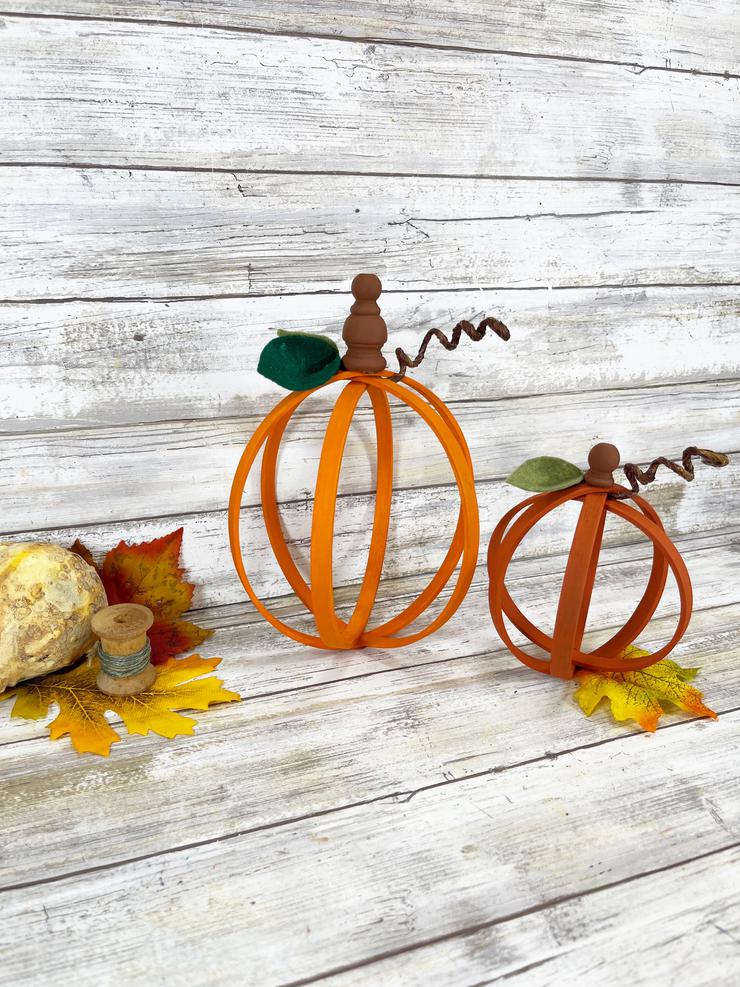
How to Make DIY Dollar Tree Embroidery Hoop Pumpkins
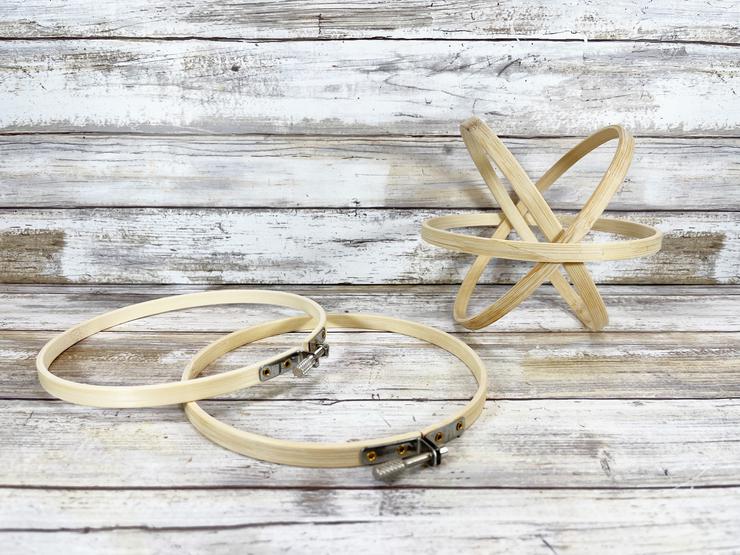
Gather all supplies.
Wooden embroidery hoops can be found in the stitching area of the craft section of Dollar Tree.
Unfinished wooden finials can be found in the craft section.
Loosen the metal screws and separate the inner and outer hoops so you have three hoops total.
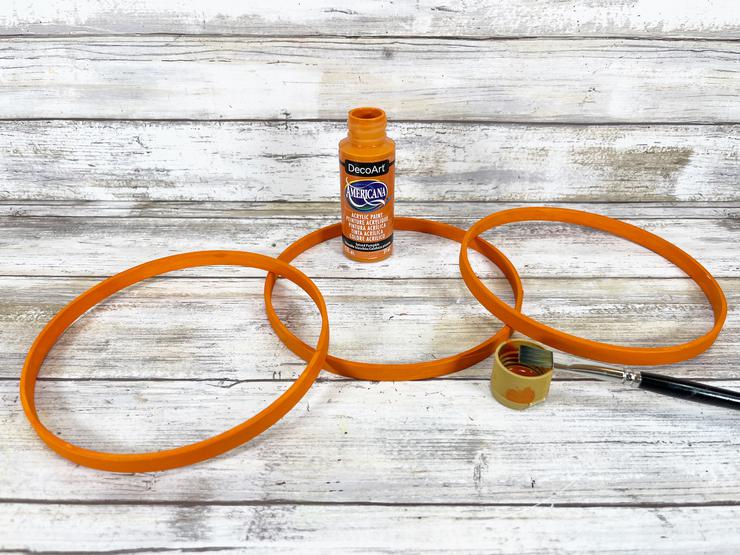
Basecoat the 6” embroidery hoops with bright orange acrylic craft paint.
Set aside to dry and apply a second coat, if necessary.
Basecoat the 4” embroidery hoops with burnt orange acrylic craft paint.
Set aside to dry and apply a second coat, if necessary.
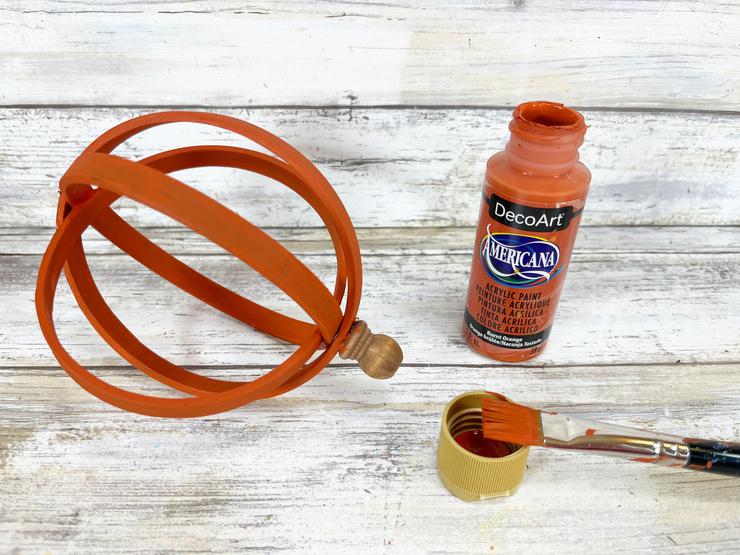
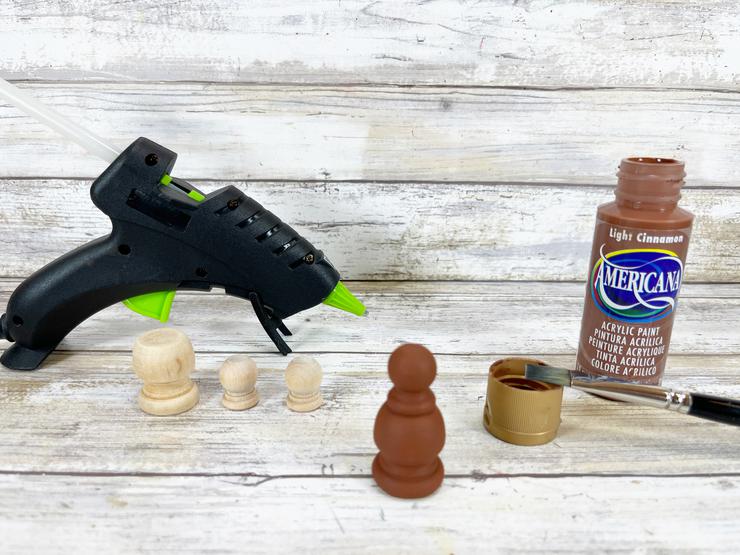
Attach one of the small wooden finials to the top of the medium wooden finial with the glue gun and glue sticks to create a large wooden finial.
Basecoat both finials with dark brown acrylic craft paint.
Set aside to dry and apply a second coat, if necessary.
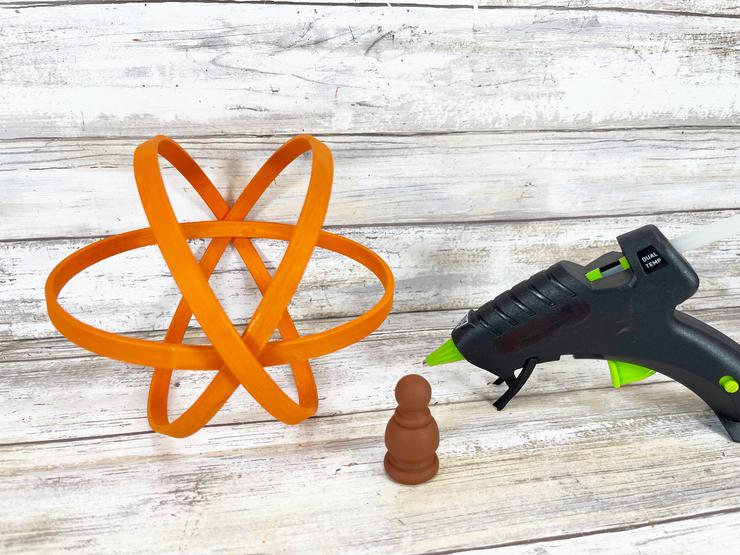
Starting with two 6” embroidery hoop pieces, insert one inside the other forming an “X” shape.
Slide the third 6” hoop over the first two forming a line through the “X” as shown in the photo. Secure with a glue gun and glue sticks.
Repeat with the three 4” embroidery hoops. Attach the large finial onto the 6” pumpkin and the small finial onto the 4” pumpkin.
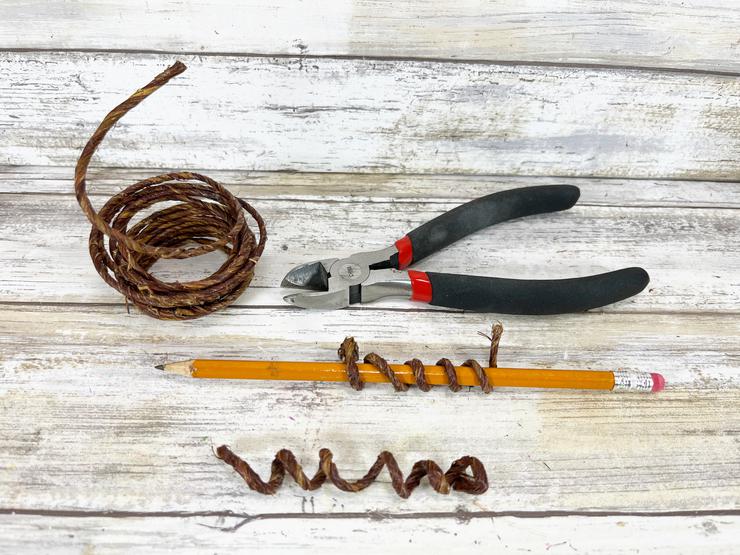
Measure and cut a 12” and an 8” length of wired twine with wire cutters.
Wrap around a pencil, creating a coil and then slide off the pencil.
Pull the coil apart to create a pumpkin vine.
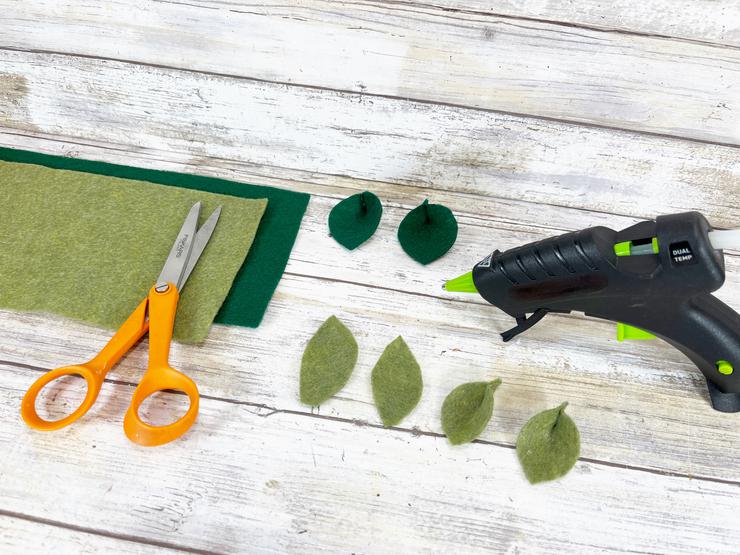
Cut several leaf shapes from olive green and dark green craft felt with scissors.
Run a small line of glue at the base of the leaves and fold in half to create dimension.
To finish, attach the wired twine vines to the top of each pumpkin using a glue gun and glue sticks.
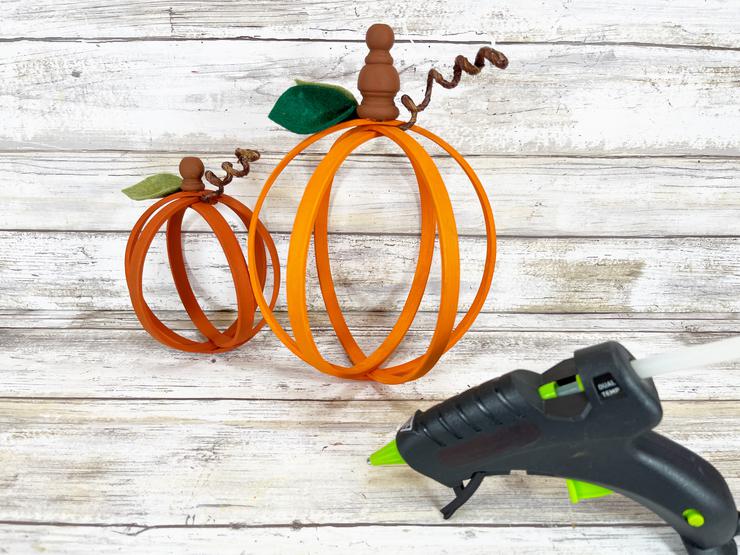
Glue the felt leaves to the side of the finials.
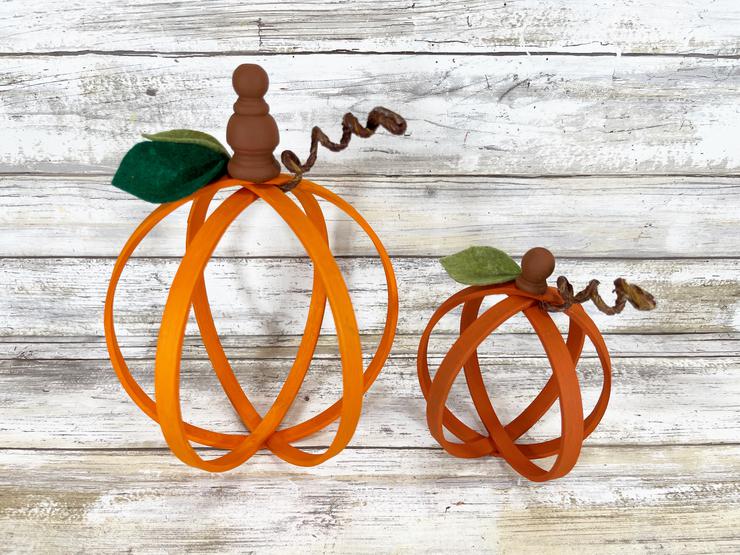
These quick and easy Embroidery Hoop Pumpkins go together in just about 15 minutes each with limited supplies.
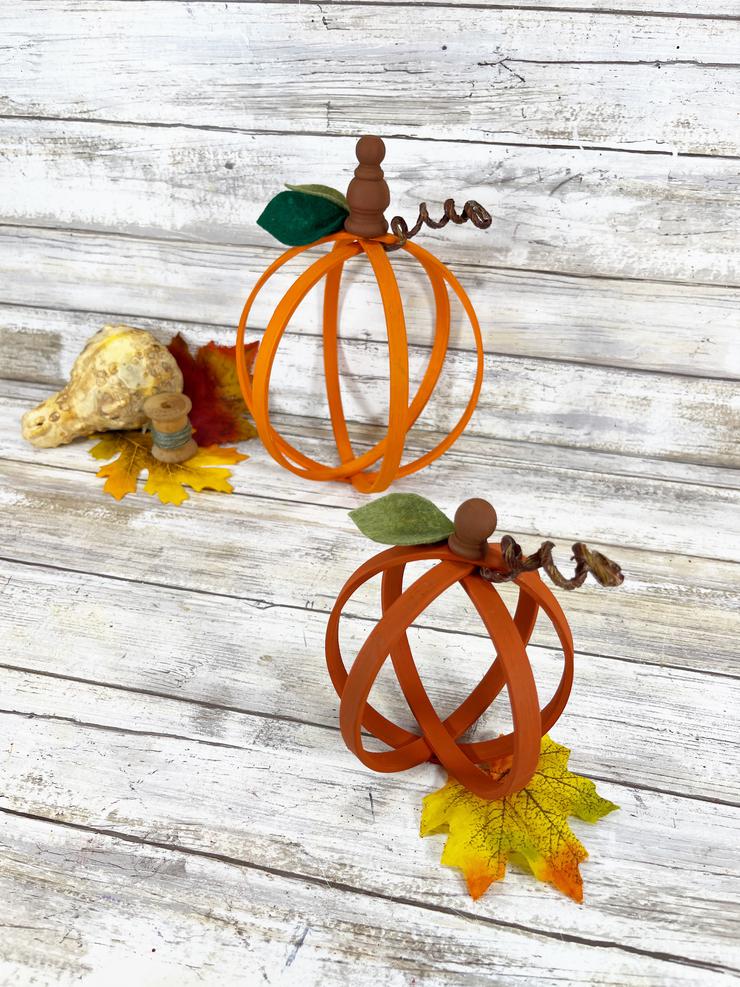
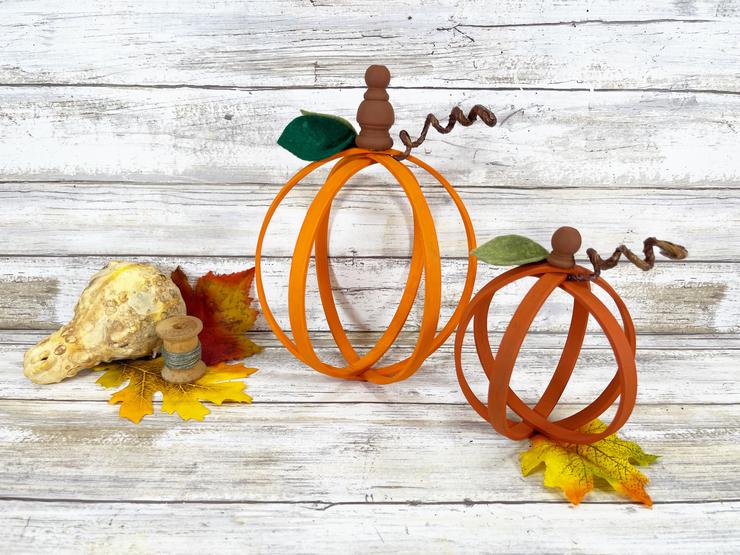
It is the perfect size for a tiered tray decoration. Make additional pumpkins in a variety of sizes to accent your Fall décor.
Please remember to SHARE on Facebook and PIN IT 📌
📌 FOLLOW ME ON PINTEREST BY CLICKING HERE
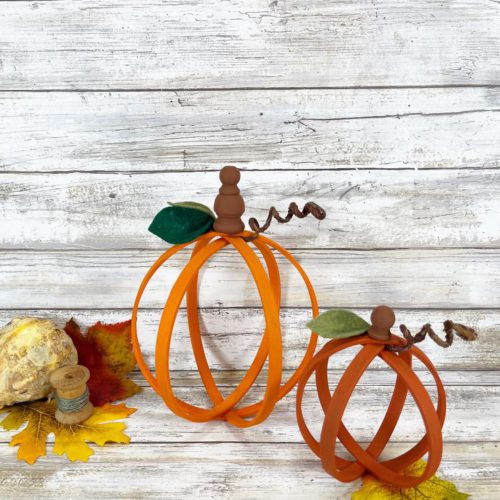
DIY Dollar Tree Embroidery Hoop Pumpkins
Equipment
- Embroidery Hoops – 4” and 6” in diameter
- Felt Craft Cuts 9” by 12” – Dark Green, Olive Green
- Wooden Finials – Small (2) and Medium (1)
- Acrylic Craft Paint – Bright Orange, Burnt Orange, Dark Brown
- Wired Twine
- Scissors
- Hot Glue Gun and Glue Sticks – Dollar Store
- Paintbrush
- Wire Cutters
- Pencil
Instructions
- Gather all supplies. Wooden embroidery hoops can be found in the stitching area of the craft store. Unfinished wooden finials can be found in the craft section. Loosen the metal screws and separate the inner and outer hoops so you have three hoops total.
- Basecoat the 6” embroidery hoops with bright orange acrylic craft paint. Set aside to dry and apply a second coat, if necessary.
- Basecoat the 4” embroidery hoops with burnt orange acrylic craft paint. Set aside to dry and apply a second coat, if necessary.
- Attach one of the small wooden finials to the top of the medium wooden finial with the glue gun and glue sticks to create a large wooden finial. Basecoat both finials with dark brown acrylic craft paint. Set aside to dry and apply a second coat, if necessary.
- Starting with two 6” embroidery hoop pieces, insert one inside the other forming an “X” shape. Slide the third 6” hoop over the first two forming a line through the “X” as shown in the photo. Secure with a glue gun and glue sticks. Repeat with the three 4” embroidery hoops. Attach the large finial onto the 6” pumpkin and the small finial onto the 4” pumpkin.
- Measure and cut a 12” and an 8” length of wired twine with wire cutters. Wrap around a pencil, creating a coil and then slide off the pencil. Pull the coil apart to create a pumpkin vine.
- Cut several leaf shapes from olive green and dark green craft felt with scissors. Run a small line of glue at the base of the leaves and fold in half to create dimension.
- To finish, attach the wired twine vines to the top of each pumpkin using a glue gun and glue sticks, and then glue the felt leaves to the side of the finials.
- These quick and easy Embroidery Hoop Pumpkins go together in just about 15 minutes each with limited supplies. It is the perfect size for a tiered tray decoration. Make additional pumpkins in a variety of sizes to accent your Fall décor.
Do Not Forget To Pin! So you can come back and make this DIY Dollar Tree Embroidery Hoop Pumpkin!
It is the responsibility of the Reader to assure the products or ingredients they use in any recipes from Kimspireddiy are allergen-free, sugar free, gluten-free, egg-free and/or dairy-free, for example) Weight Watcher friendly, Keto friendly or Vegetarian friendly. Kimspireddiy assumes no liability for inaccuracies or misstatement about products, nutrition, points, opinions or comments on this site. Even though nutritional information is given it is the readers responsibility to calculate points, net carbs & nutritional information. KimspiredDIY holds no responsibility for calculations.

Leave a Reply