• Skip to primary navigation
  • Skip to main content
  • Skip to primary sidebar
  • Skip to footer

💕 Kimspired DIY 💕

  • Recipes
    • Cocktails
    • Appetizers
    • Desserts
    • Microwave Recipes
    • Diet & Lifestyle
      • Keto
      • Weight Watchers
      • Gluten Free
      • Vegan
    • All Recipes
  • DIY
    • Slime
    • Dollar Store Hacks
    • Organization
    • All DIY
  • Occasions
    • 🎄 Christmas
    • 🦃 Thanksgiving
    • 🎃 Halloween
    • ❤️ Valentines Day
    • 🐰 Easter
    • 💍 Wedding
    • All Occasions
  • Kids
    • Kids Birthdays
    • Kids Activities
    • Kids Food
    • All Kids

🎄 DIY Santa Belt Wreath – Easy Dollar Tree Christmas Craft

Posted: November 27, 2025

Pin this idea:
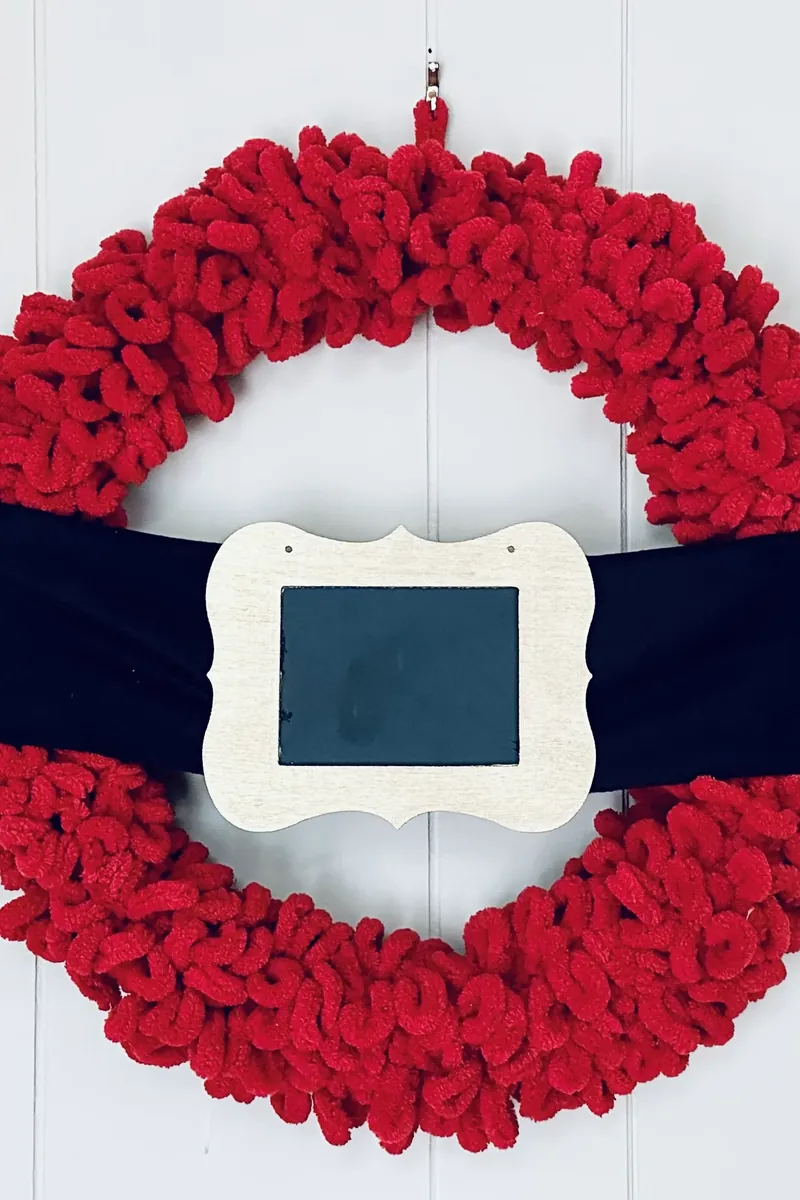
Completed Santa belt wreath with red yarn, black fleece belt, and gold chalkboard buckle hanging on white door
This festive Santa Belt Wreath makes the perfect Christmas door decoration with its fluffy red yarn and gold belt buckle!
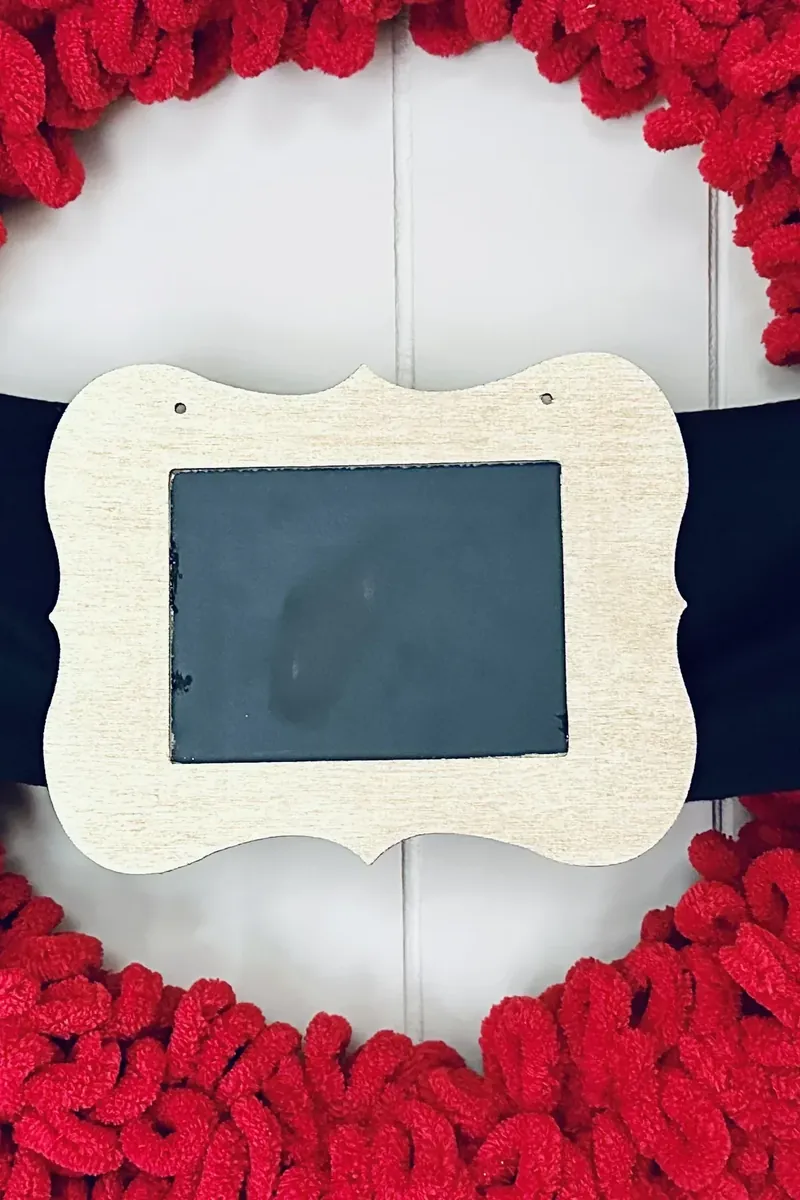
Close up view of Santa belt wreath showing red textured yarn, black fleece belt, and gold painted chalkboard frame buckle
Get a closer look at the beautiful texture and details of this charming Santa belt wreath!

Transform your front door into a festive wonderland with this adorable DIY Santa Belt Wreath! Made with simple Dollar Tree supplies and soft red yarn, this charming Christmas decoration captures the magic of Santa’s iconic belt. The fluffy texture of the Bernat Alize yarn creates a luxurious look while the gold-painted chalkboard buckle adds the perfect finishing touch.

This budget-friendly craft is perfect for beginners and can be completed in under an hour. The chalkboard center even allows you to write personalized Christmas messages for your guests! Whether you’re decorating your own home or making handmade gifts, this Santa Belt Wreath brings warmth and holiday spirit to any space.
👇Jump to directions❤️

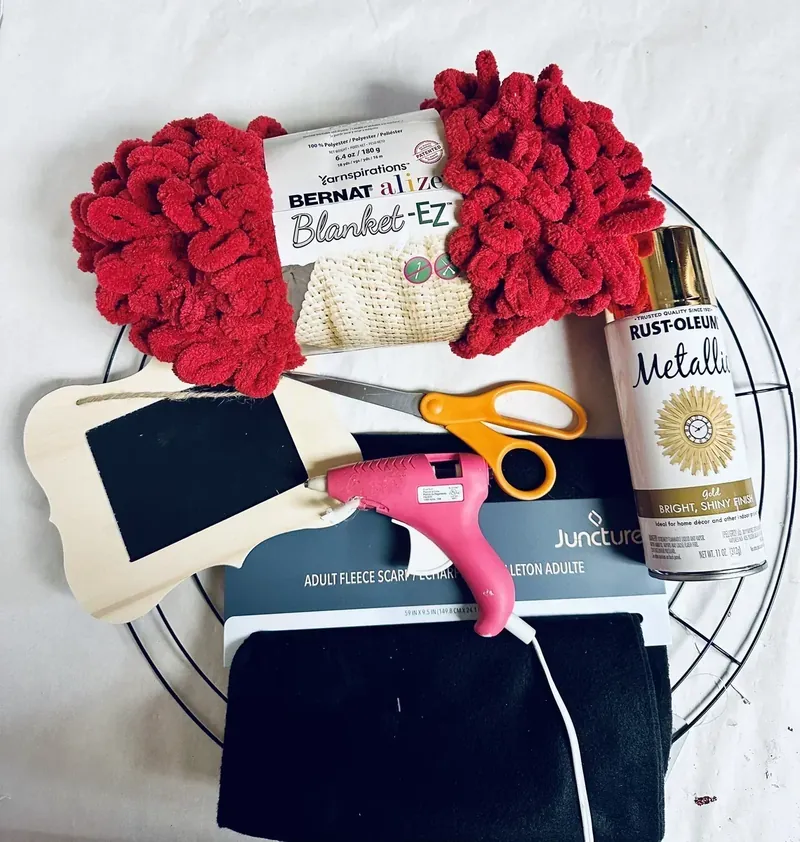
Craft supplies for Santa belt wreath including red Bernat Alize yarn, wire wreath form, black fleece scarf, wooden chalkboard frame, gold spray paint, hot glue gun and scissors
Gather these simple Dollar Tree and craft store supplies to make your own Santa belt wreath!

How To Make Santa Belt Wreath

Step 1. To start off the wreath, I took the end of the yarn and used that to tie it around the outer wire from the wreath form. Then wrap the yarn around the entire wreath form. I wrapped it tightly around the wreath form so that it gives the wreath a fuller look.
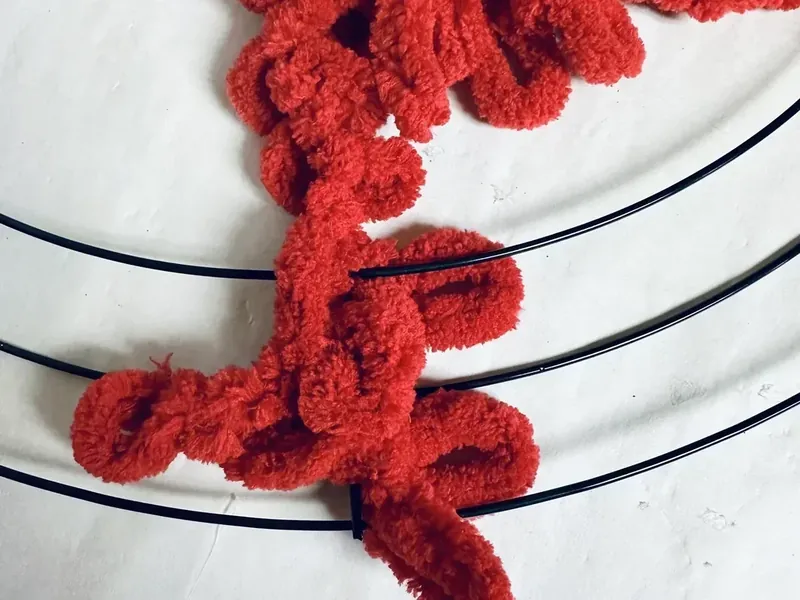
Red textured yarn being tied to black wire wreath form to begin wrapping process
Step 1: Start by tying the end of your red yarn securely to the outer wire of the wreath form.
♡ ♡ ♡

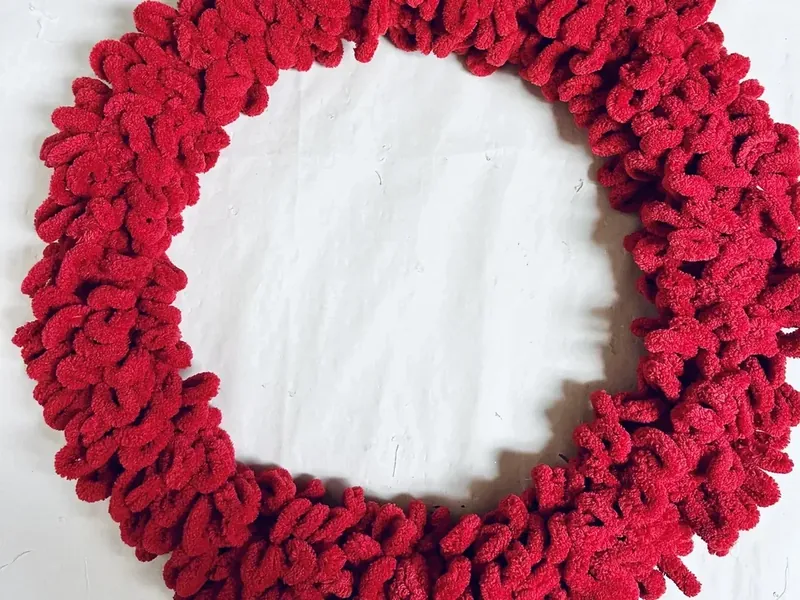
Step 2. Completely cover the wreath form, it should use the entire bundle of yarn.
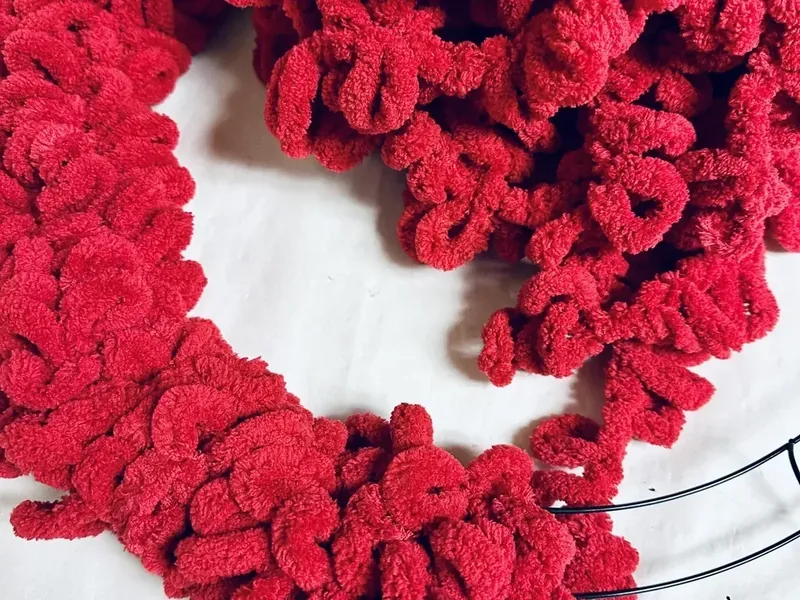
Wire wreath form being wrapped with red textured yarn showing partial coverageWire wreath form completely covered in red textured yarn creating full circular wreath base
Step 2: Continue wrapping the yarn tightly around the entire wreath form until it’s completely covered.
♡ ♡ ♡

Step 3. Next fold the fleece scarf in half length wise and lay it over the center of the wreath form. Cut the scarf so that it is 24 inches long.
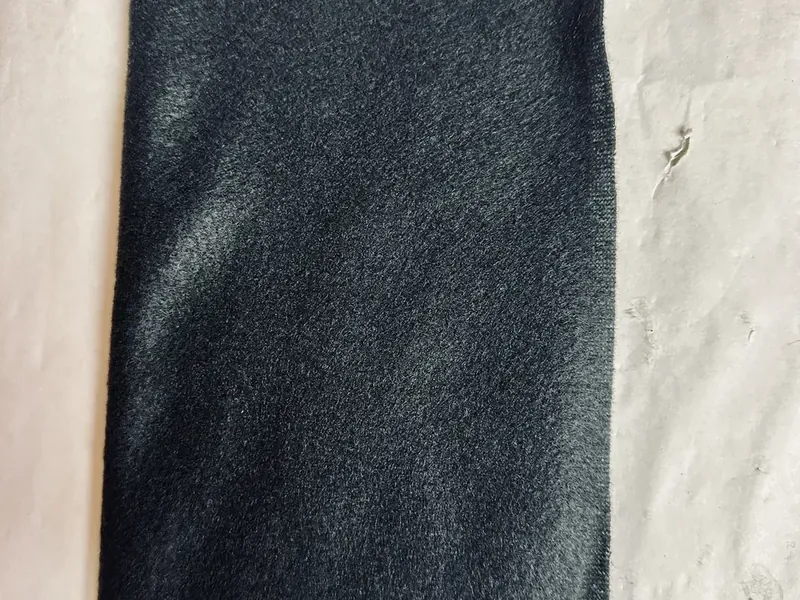
Black fleece scarf folded in half lengthwise on white surface ready to be cut to size
Step 3: Fold your black fleece scarf in half lengthwise and cut it to 24 inches long for the belt.

♡ ♡ ♡

Step 4. Cover the center of the frame with paper or tape and then paint the outside of the frame. Let it completely dry.
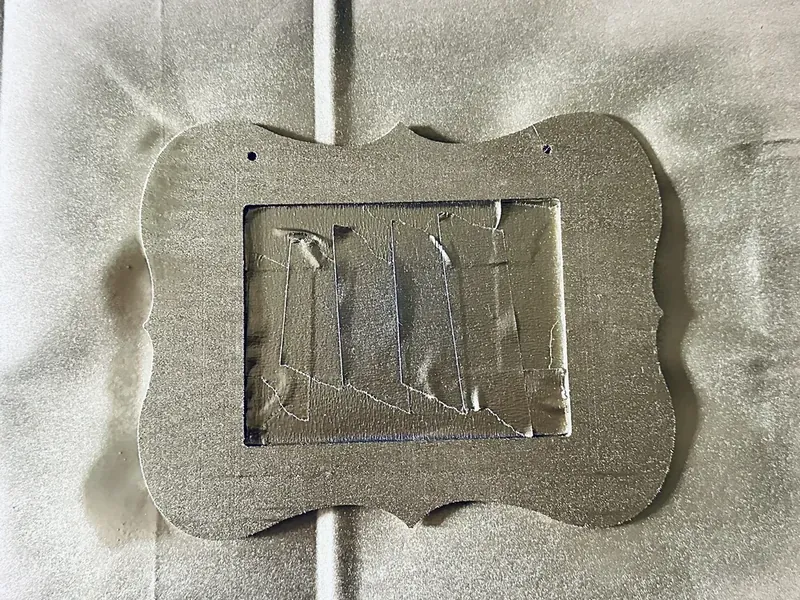
Wooden chalkboard frame with center covered being spray painted gold with metallic paint
Step 4: Cover the chalkboard center with tape, then spray paint the wooden frame with gold metallic paint.

♡ ♡ ♡

Step 5. Add some hot glue to the backside of the frame and then place in the center in the fleece scarf. Press firmly so that is adheres to the fabric
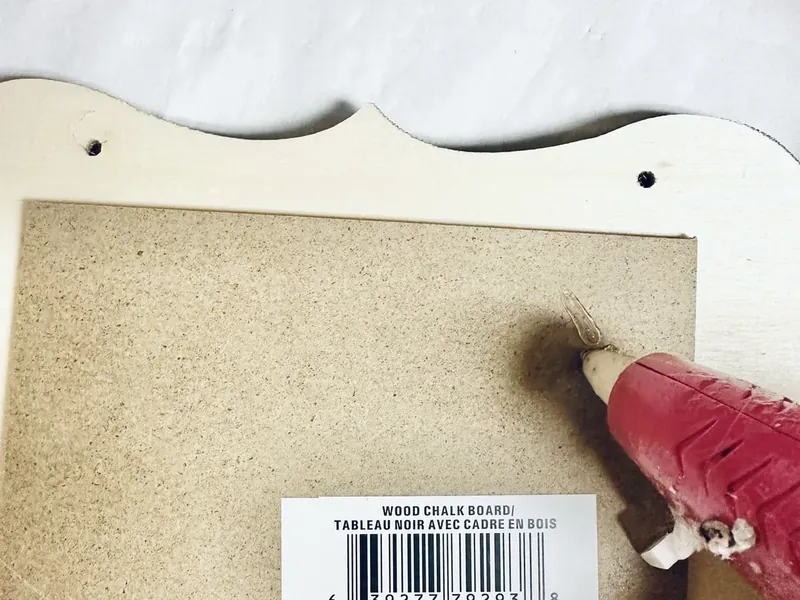
Hot glue gun applying glue to back of gold painted chalkboard frame before attaching to black fleece
Step 5. Apply hot glue to the back of the painted frame and press it firmly into the center of the black fleece scarf.

♡ ♡ ♡

Step 6. Add hot glue to one of the ends of the scar and press it firmly to the backside of the wreath. Stretch the scarf across the front of the wreath and then glue down the other side to the backside of the wreath.
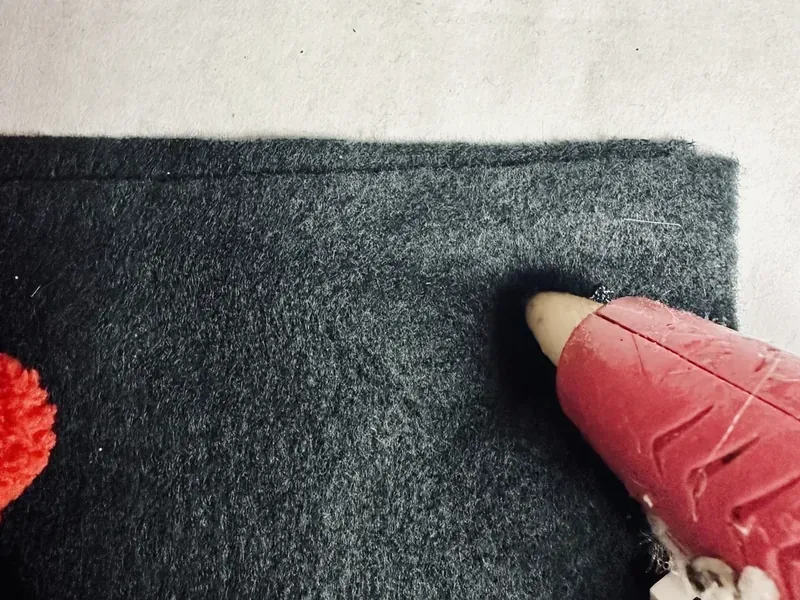
Hand removing protective tape from chalkboard center of gold painted wooden frame

Step 6: Apply hot glue to the back of the painted frame and press it firmly into the center of the black fleece scarf.

♡ ♡ ♡

Step 7. The gold belt buckle should be securely attached to the center of your black fleece belt.
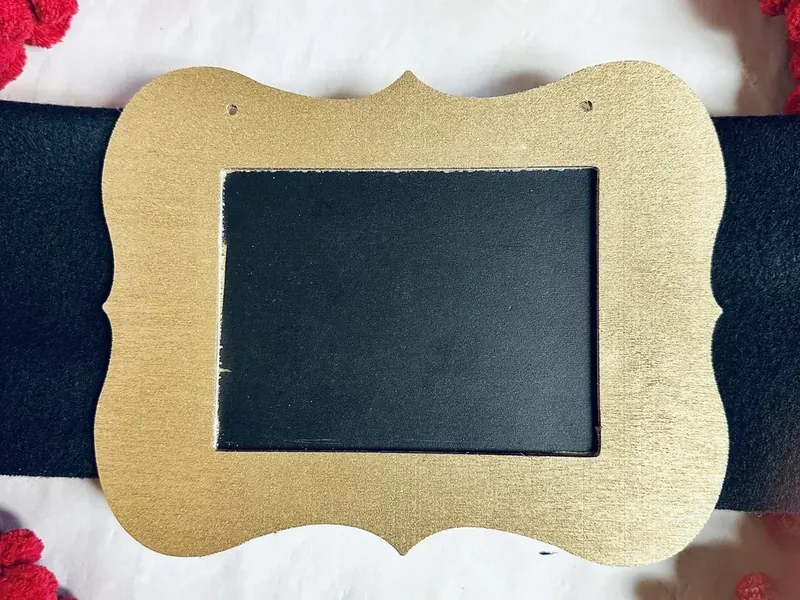
Completed belt buckle with gold painted frame attached to center of black fleece scarf belt
Step 7: The gold belt buckle should be securely attached to the center of your black fleece belt.
♡ ♡ ♡
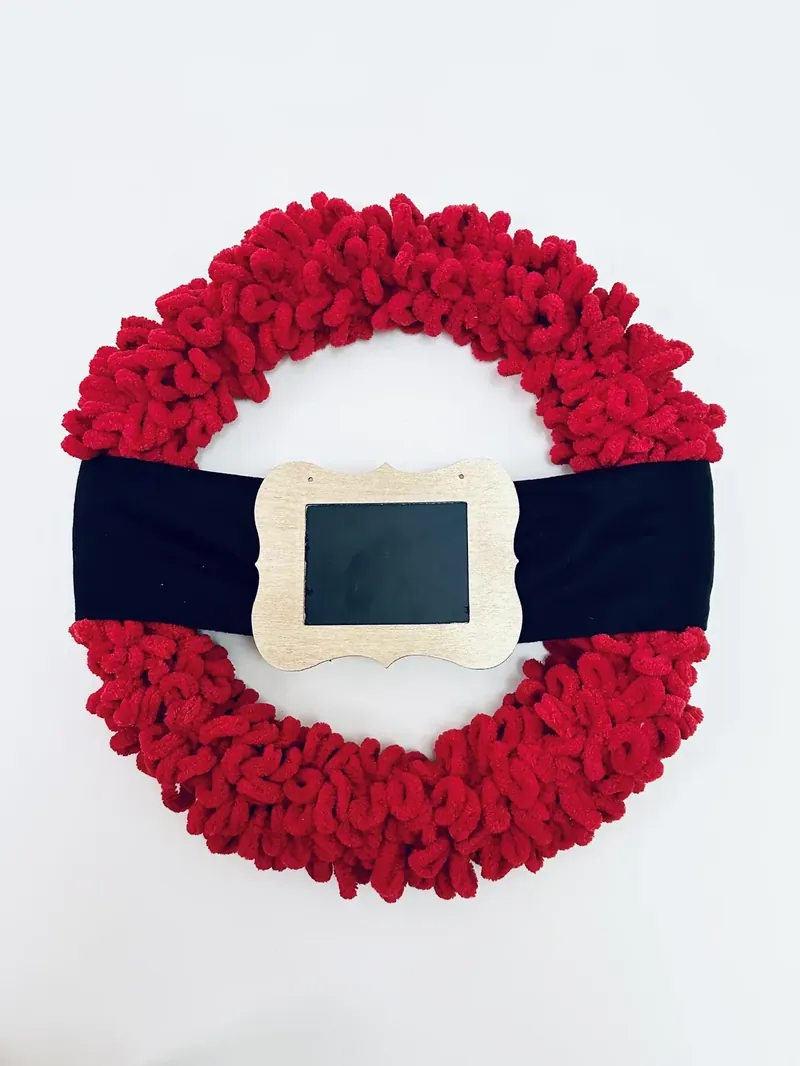
Completed Santa belt wreath laid flat showing red yarn wreath with black fleece belt and gold chalkboard buckle
Your finished Santa Belt Wreath is ready to spread Christmas cheer on any door or wall!

❤️ Please remember to SHARE this idea on Facebook and PIN it for later! 📌


👉 FOLLOW ME ON PINTEREST BY CLICKING HERE

Finished Santa Belt Wreath with red yarn and black fleece belt hanging on white door

Santa Belt Wreath

Create a festive Santa Belt Wreath using Dollar Tree supplies and red yarn for the perfect Christmas door decoration.
No ratings yet
Print Recipe Pin Recipe
Prep Time 45 minutes mins
Total Time 45 minutes mins
Servings 1 wreath

Equipment

  • 18 inch wire wreath form (Dollar Tree)
  • Black Fleece Scarf (Dollar Tree)
  • Scalloped wooden frame with chalk board center (Dollar Tree)
  • Gold Spray Paint (you could use acrylic paint, I had spray paint so I used that)
  • Blue Painters tape (to cover the inner section of the frame, you could use paper also)
  • Hot Glue Gun/ glue sticks
  • Bernat Alize yarn in Crimson (I got mine with a coupon at Joanns but Walmart and amazon also carry it)

Instructions
 

  • Tie yarn to wreath form and wrap tightly until completely covered
  • Completely cover the wreath form with the entire bundle of yarn
  • Fold fleece scarf in half lengthwise and cut to 24 inches long
  • Cover frame center with tape and paint the outside gold, let dry completely
  • Add hot glue to frame back and press firmly into center of fleece scarf
  • Add hot glue to scarf ends and attach firmly to back of wreath
Keyword christmas wreath diy, christmas wreath tutorial, Dollar Tree Christmas crafts, holiday door decor, Santa belt decoration
Tried this recipe?Let us know how it was!

🌟 Don’t forget to PIN this recipe so you can come back and make it again!

🎄 More Christmas Christmas Crafts 🎄

🎄Santa Claus Mopolitan – Festive Christmas Cocktail Recipe
🎄Easy Christmas Cookie Hack with Pillsbury Sugar Cookies
🎄Candy Cane Mimosa Recipe – Festive Holiday Cocktail
🎄Christmas Tree Cheese Appetizer – Festive Holiday Party Snack
🎄DIY Dollar Tree Farmhouse Greenery Christmas Wreath – Easy Dollar Store Craft Projects
🎄Gnome Frosting Board – Whimsical Christmas Dessert Platter

Close up detail of gold painted wooden frame with black chalkboard center serving as Santa belt buckle
The chalkboard center of the buckle allows you to write personalized Christmas messages!

Disclaimer: Readers are responsible for ensuring the ingredients and products they use in any recipes from Kimspired DIY meet their dietary needs. Nutritional information is an estimate only.

Kimspired DIY assumes no liability for inaccuracies or issues arising from the use of any recipe on this site.

Pin this idea:
🎄 Previous Christmas Recipe
❄️ Santa Claus Mopolitan – Festive...
Next Christmas Recipe 🎄
❄️ Christmas Ornament Oreos – Easy...

Filed Under: Christmas Tagged With: budget-friendly, diy crafts, kids crafts

Previous Post: « ❄️ Santa Claus Mopolitan – Festive Christmas Cocktail Recipe
Next Post: ❄️ Christmas Ornament Oreos – Easy Holiday Cookie Treats »

Reader Interactions

Leave a Reply Cancel reply

Your email address will not be published. Required fields are marked *

Primary Sidebar

Footer

Connect

  • 📌
  • 📷
  • 👍
  • 📺

Explore

  • Gifts
  • Roundups
  • Fitness
  • Beauty

Legal

  • About Me
  • Contact Me
  • Disclosure Policy
  • Privacy Policy

KimspiredDIY Copyright © 2026

Rate This Recipe

Your vote:


A rating is required
A name is required
An email is required