
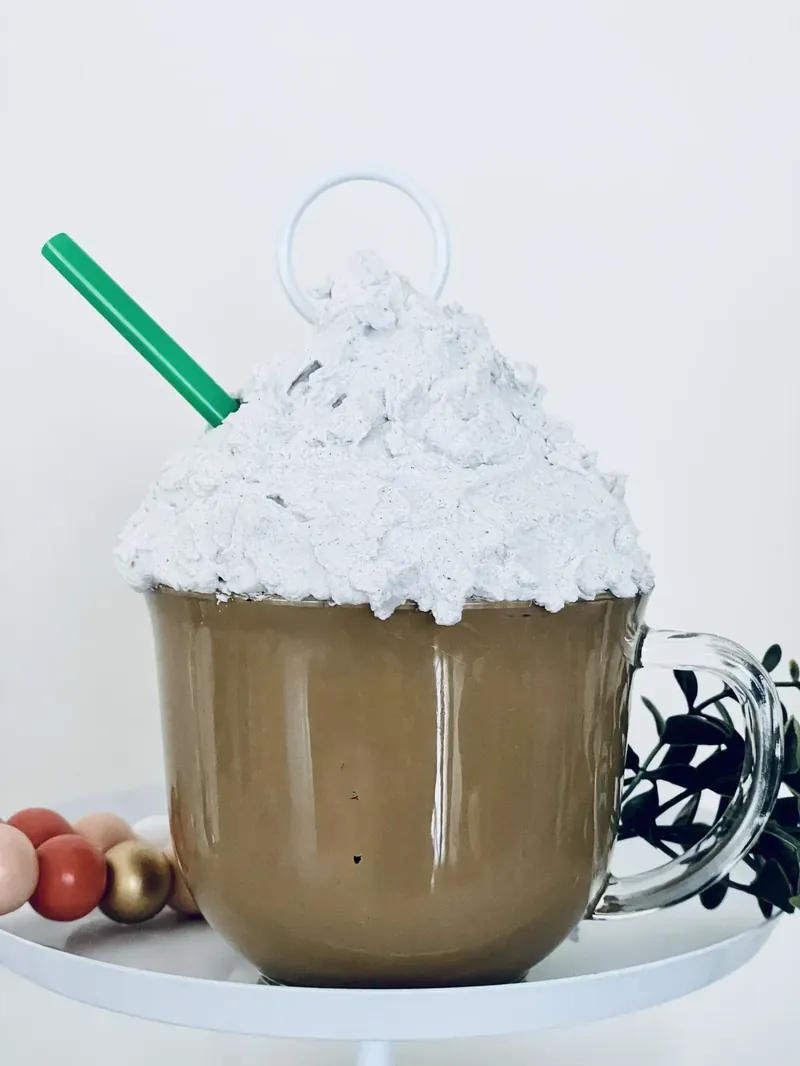
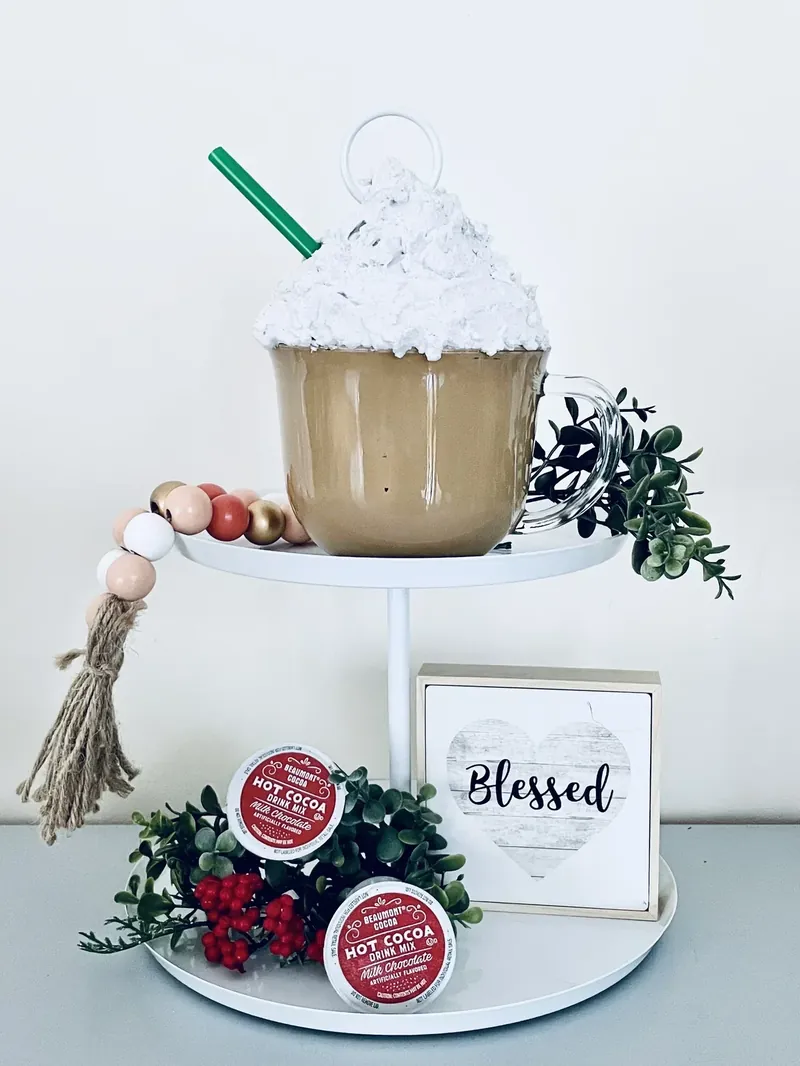
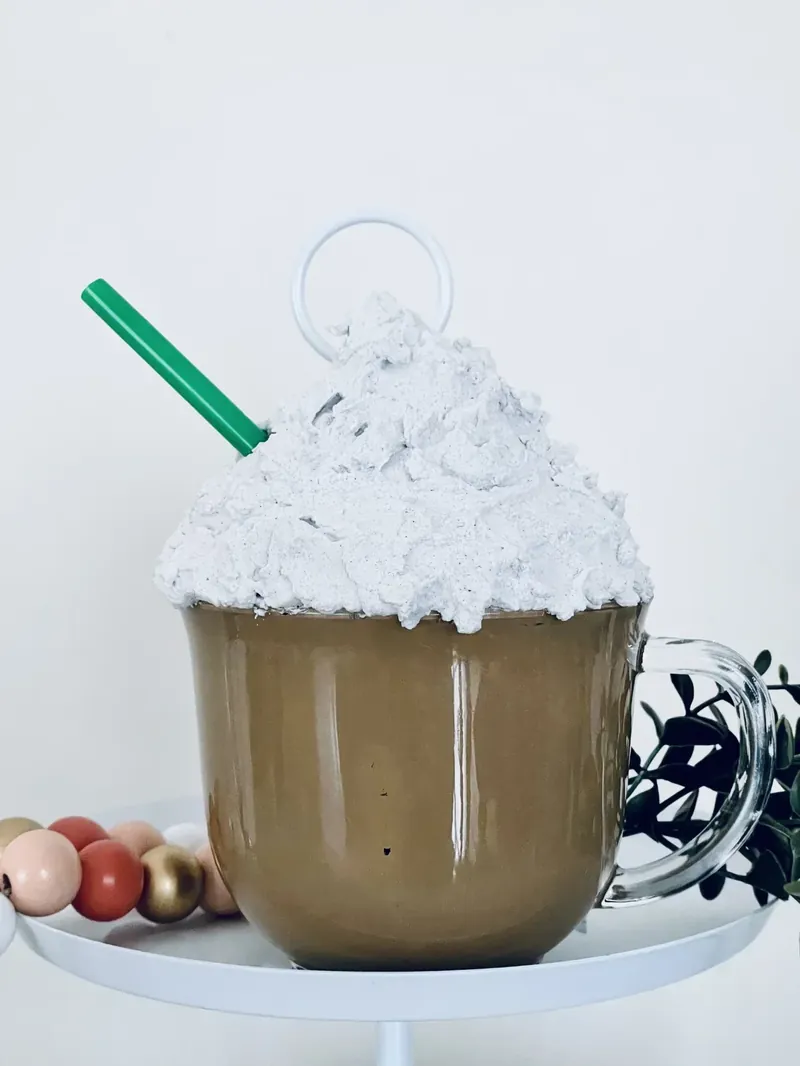
Create the most adorable faux hot cocoa mug using simple Dollar Tree supplies! This budget-friendly DIY project transforms a basic glass mug into realistic-looking hot chocolate complete with fluffy whipped cream and a festive straw. Perfect for holiday decorating, this craft costs under $5 to make and looks absolutely stunning displayed in your kitchen or dining room.
Using chalk paint, spackle, and a few basic craft supplies, you’ll create a decoration that guests will think is the real thing! The tan paint creates the perfect cocoa color while the spackle mixture gives you that authentic whipped cream texture. Add some holiday styling around it, and you’ve got yourself a charming seasonal centerpiece that will last for years to come.
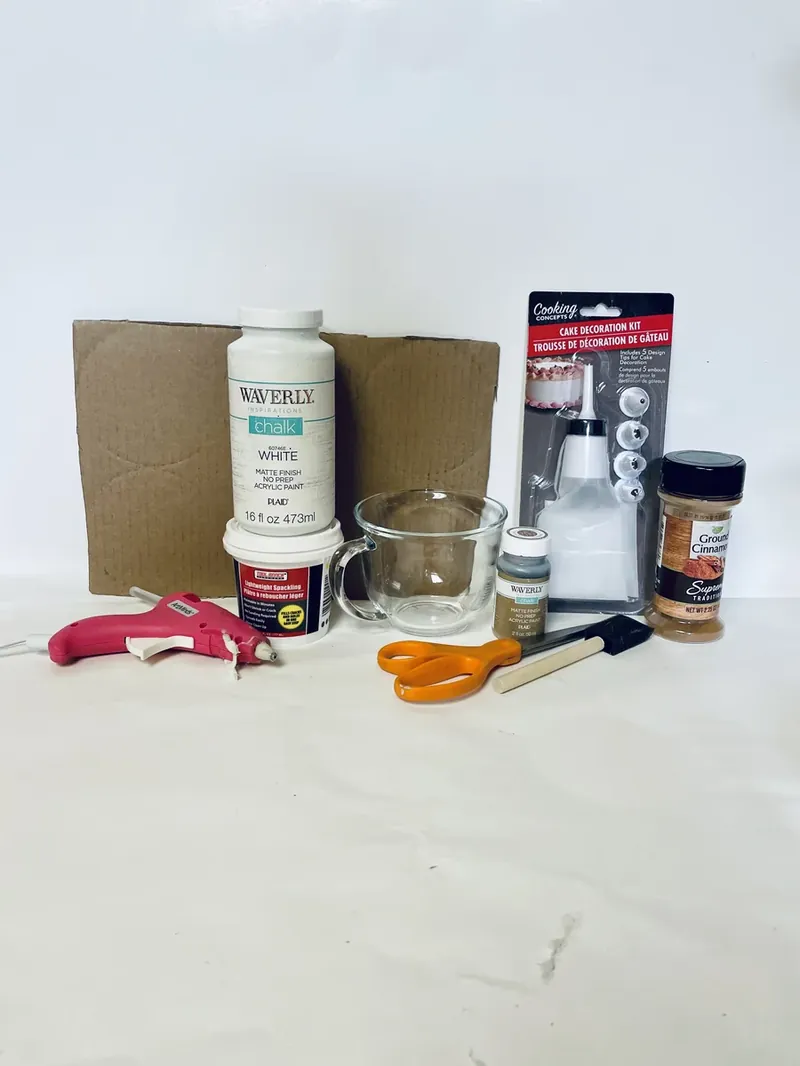
How To Make Dollar Tree Faux Hot Cocoa Mug
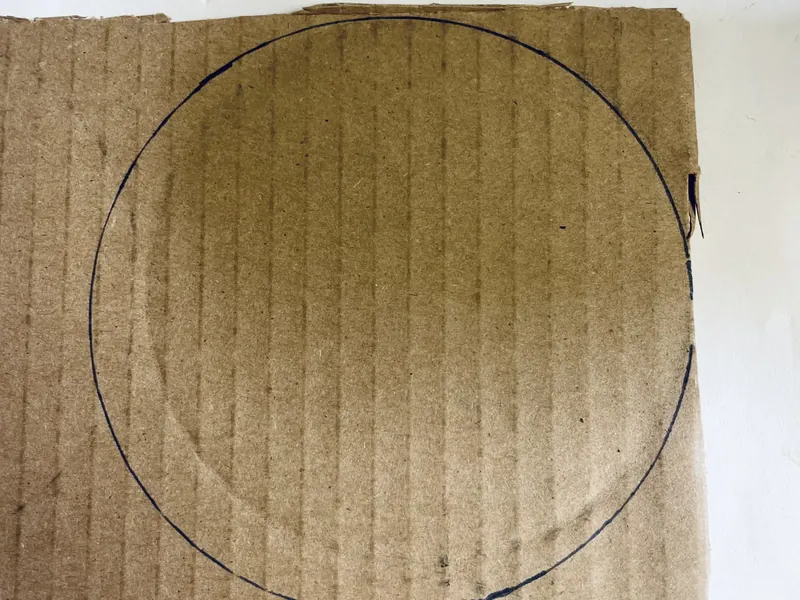
Step 1. I start by flipping my Dollar Tree glass mug upside down and carefully tracing around the rim on a piece of cardboard. This creates the perfect template for the circle that will cover the top of the mug and serve as the base for our whipped cream topping.
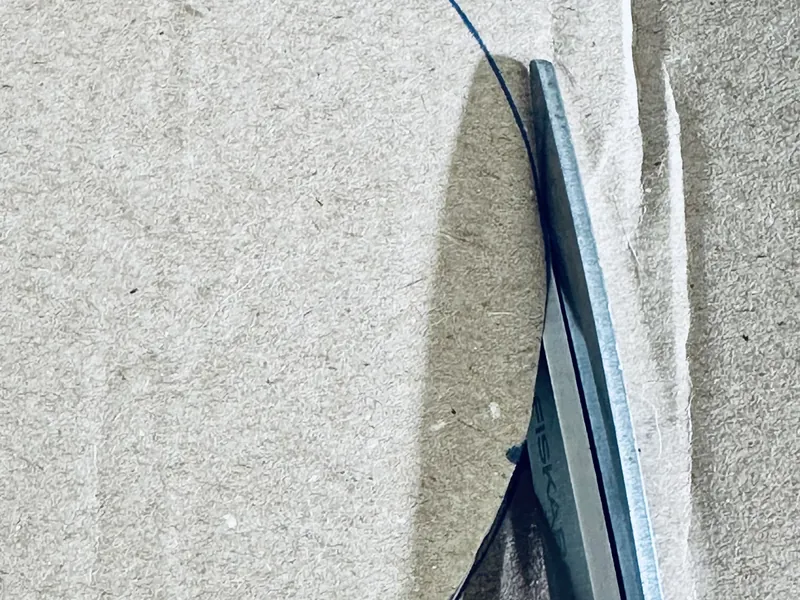
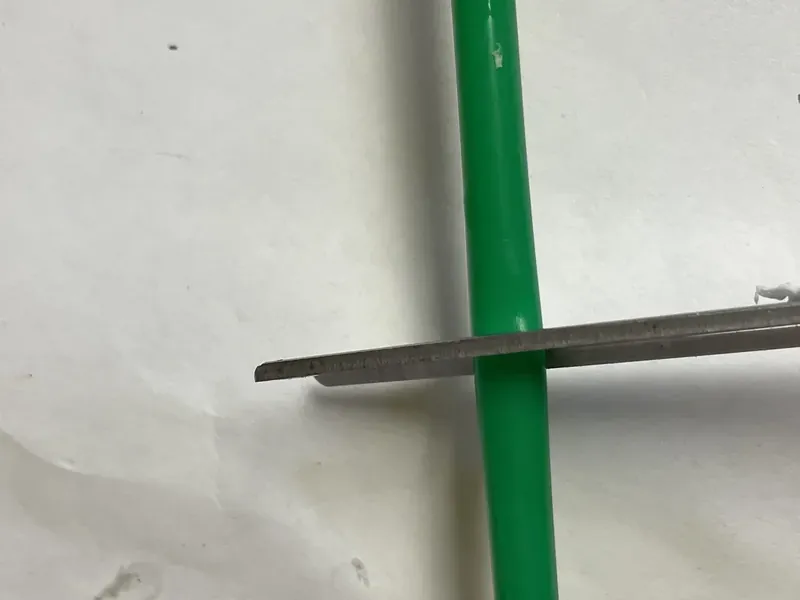
Step 2. Next, I carefully cut out the traced circle using sharp scissors. This cardboard piece is crucial because it will cover the mug opening and provide a sturdy foundation for the rest of our faux hot cocoa creation.
Step 3. Now for the fun part – painting the inside of the mug! I use tan-colored chalk paint to create that perfect cocoa color. Since I’m using chalk paint, I only need about 3 coats, but if you’re using regular acrylic paint, you’ll want to apply a few more coats to get complete coverage and that rich, opaque finish.
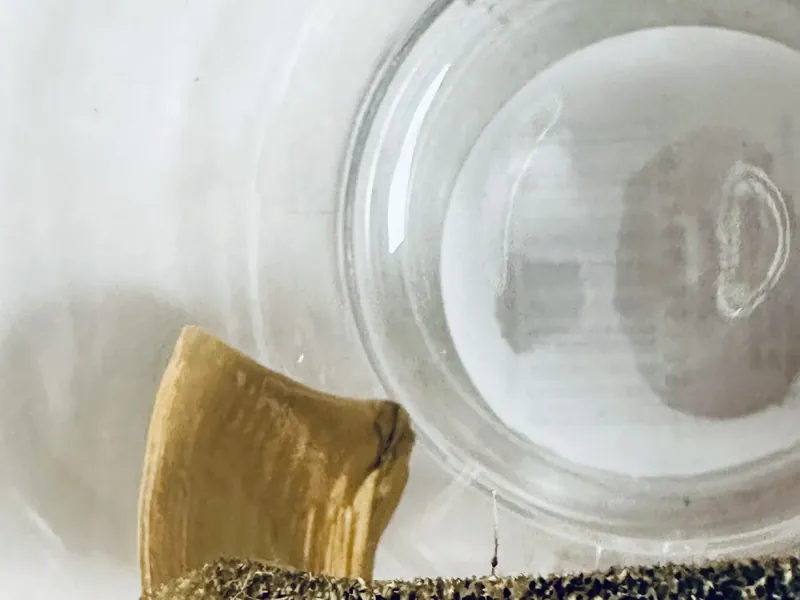
Step 4. Once the paint is dry, I add a thin line of hot glue around the top rim of the mug and carefully place my cardboard circle on top. Make sure it’s centered and pressed down firmly so it creates a secure seal.
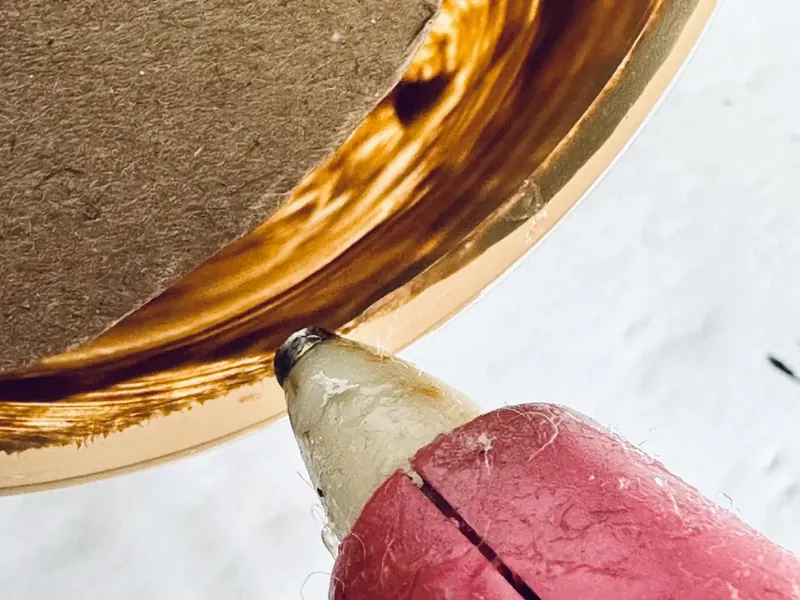
Step 5. To give our whipped cream some realistic height and shape, I add a dab of hot glue to the bottom of a styrofoam ball and press it firmly into the center of the cardboard circle. This creates the perfect foundation for our fluffy topping!
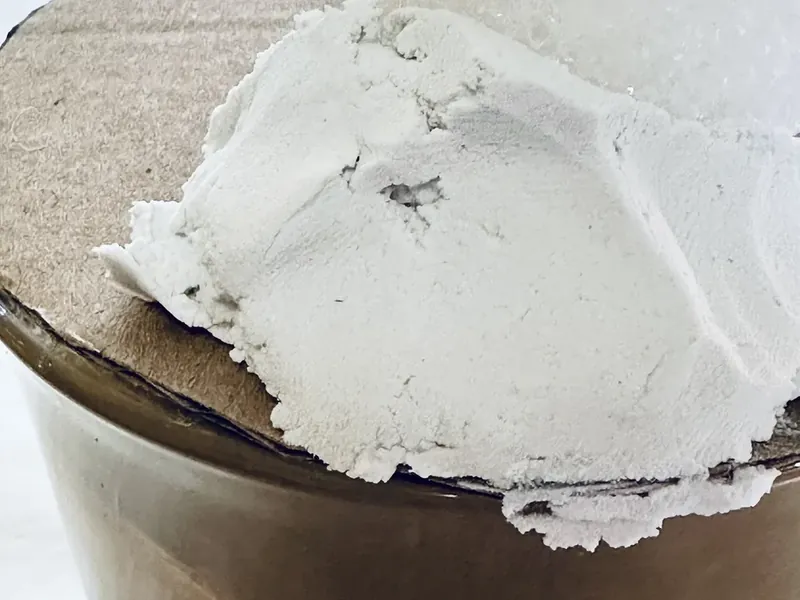
Step 6. Here’s where the magic happens! I mix some white chalk paint into my container of spackle to make it extra white and creamy looking. Using a plastic spoon, I first apply a base layer covering the styrofoam ball and cardboard completely. Then I transfer the remaining spackle mixture into a cake decorating bag and pipe it on top to create those realistic whipped cream swirls and peaks.
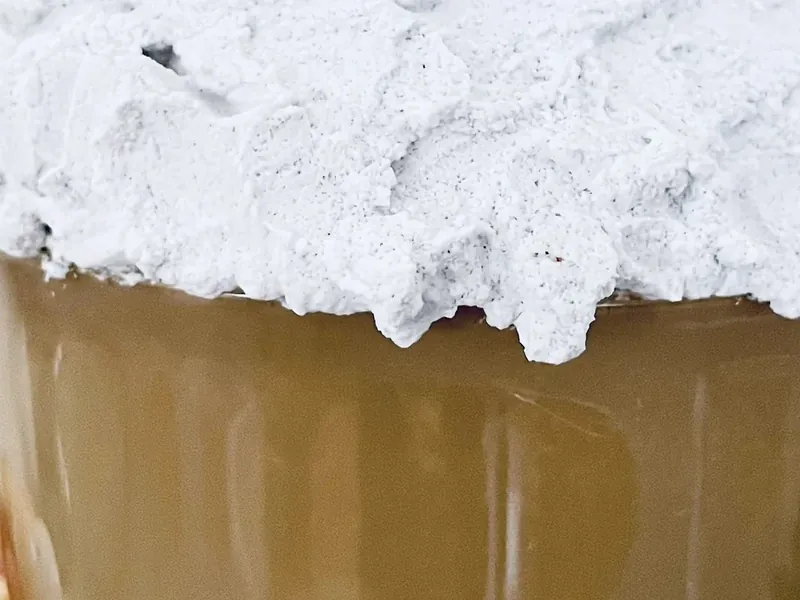
Step 7. For the final touch, I trim a green straw in half and gently insert it into the wet spackle at a slight angle. This adds that authentic coffee shop look! Now I let everything dry completely for 24 hours before handling or displaying my adorable faux hot cocoa mug.
Dollar Tree Faux Hot Cocoa Mug
Equipment
- Dollar Tree Glass Mug
- White Paint (I used Waverly White Chalk Paint but its what I had on hand)
- Cardboard
- Scissors
- Paint Brush
- Waverly Chalk Paint in Hazelnut ( you can use brown
- Dollar Tree Spackle
- Cake Decorating Kit (for frosting)
- Hot Glue Gun
- Styrofoam balls (3 pack at dollar tree)
Instructions
- Start by flipping the mug over and tracing the top section on the piece of cardboard.
- Next cut out the circle. You will be using this to cover the mug.
- Paint the inside of the mug with the tan colored paint (mine was chalk paint so I only did 3 coats. If you are using acrylic paint you will need a few more coats to completely cover the inside of the mug).
- Add a thin line of glue around the top of the mug and place the cardboard circle on top.
- Add some glue to the bottom of a Styrofoam ball and press it firmly in the center of the circle.
- Add some white chalk paint to the container of spackle. I mixed it with a plastic spoon I had. This is only necessary if you want the top whipped cream look to be more white as the spackle is more of an off white color. Using the spoon I first put down a base layer covering the styrofoam ball and cardboard. I then placed the rest of the spackle into a cake decorating bag and applied the rest to make it have a more finished look. (You can also achieve this with the spoon).
- I trimmed a green straw I had in half and placed it into the spackle. Allow for 24 hours to completely dry!
🌟 Don’t forget to PIN this recipe so you can come back and make it again!
❤️ More Crafts Recipes ❤️
Disclaimer: Readers are responsible for ensuring the ingredients and products they use in any recipes from Kimspired DIY meet their dietary needs. Nutritional information is an estimate only.
Kimspired DIY assumes no liability for inaccuracies or issues arising from the use of any recipe on this site.

Leave a Reply