• Skip to primary navigation
  • Skip to main content
  • Skip to primary sidebar
  • Skip to footer

💕 Kimspired DIY 💕

  • Recipes
    • Cocktails
    • Appetizers
    • Desserts
    • Microwave Recipes
    • Diet & Lifestyle
      • Keto
      • Weight Watchers
      • Gluten Free
      • Vegan
    • All Recipes
  • DIY
    • Slime
    • Dollar Store Hacks
    • Organization
    • All DIY
  • Occasions
    • 🎄 Christmas
    • 🦃 Thanksgiving
    • 🎃 Halloween
    • ❤️ Valentines Day
    • 🐰 Easter
    • 💍 Wedding
    • All Occasions
  • Kids
    • Kids Birthdays
    • Kids Activities
    • Kids Food
    • All Kids

❄️ DIY Yarn Reindeer Wreath – Easy Dollar Store Christmas Craft

Posted: December 3, 2025

Pin this idea:
Fluffy taupe yarn reindeer wreath with red sequin antlers and ornament nose hanging on white door
This adorable yarn reindeer wreath brings cozy Christmas charm to any door!

Create the most adorable yarn reindeer wreath using simple Dollar Tree supplies! This fluffy, cozy Christmas decoration is perfect for beginners and adds instant holiday charm to any door. Using soft taupe yarn, sparkly red antlers, and a bright ornament nose, you’ll have a budget-friendly wreath that looks like it came from a boutique.

This project takes just about 30 minutes and costs under $10 to make. The Bernat Blanket yarn gives it that luxurious, fluffy texture while the sequin antlers add the perfect sparkly touch. It’s a fun craft to make with kids and makes a wonderful handmade gift for neighbors, teachers, or anyone who loves unique holiday decor.

👇Jump to Tutorial✂️

How To Make Yarn Reindeer Wreath

Step 1. To start off the wreath, I take the end of the yarn and use it to tie around the outer wire of the wreath form. I like to make this initial knot nice and secure since it’s going to anchor everything else. This step is super important because you don’t want your yarn unraveling as you work!
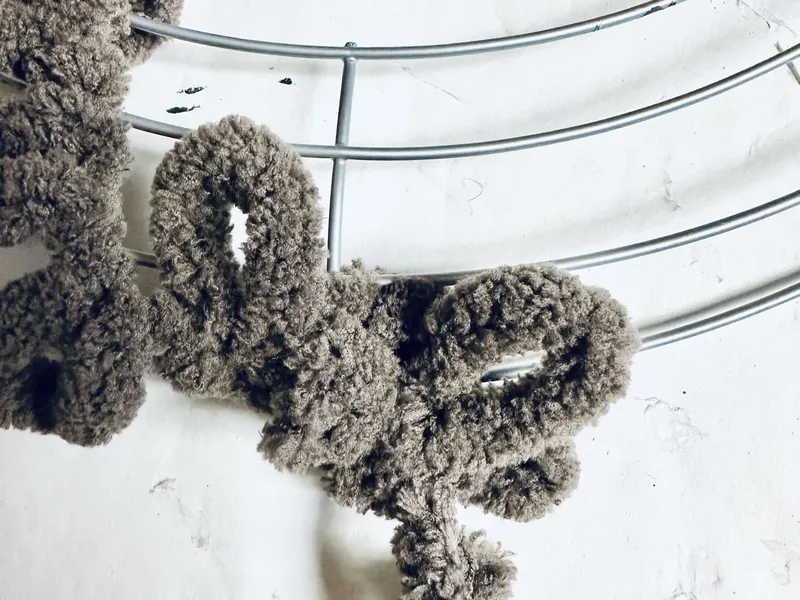
Taupe yarn being tied to wire wreath form to start wrapping process
Step 1: Start by tying the yarn end securely to the outer wire of your wreath form.
♡ ♡ ♡

Step 2. Then I wrap the yarn around the entire wreath form, making sure to wrap it tightly. I find that wrapping it snugly gives the wreath that full, fluffy look we’re going for. Take your time with this step – the more yarn you use, the fluffier and more luxurious your reindeer will look!
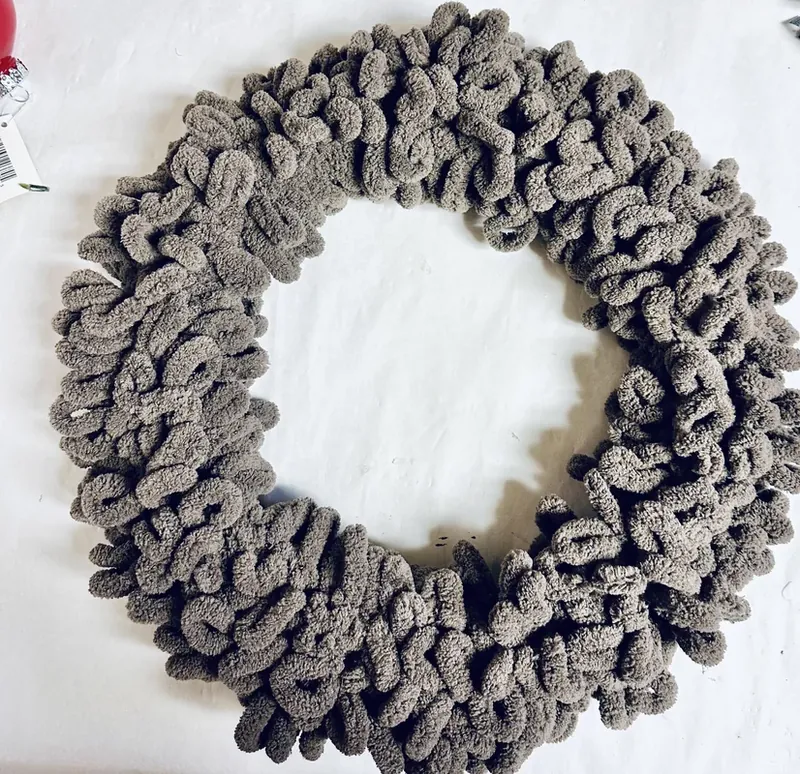
Wire wreath form completely wrapped in fluffy taupe yarn showing full coverage
Step 2: Wrap the yarn tightly around the entire wreath form for that full, fluffy look.
♡ ♡ ♡

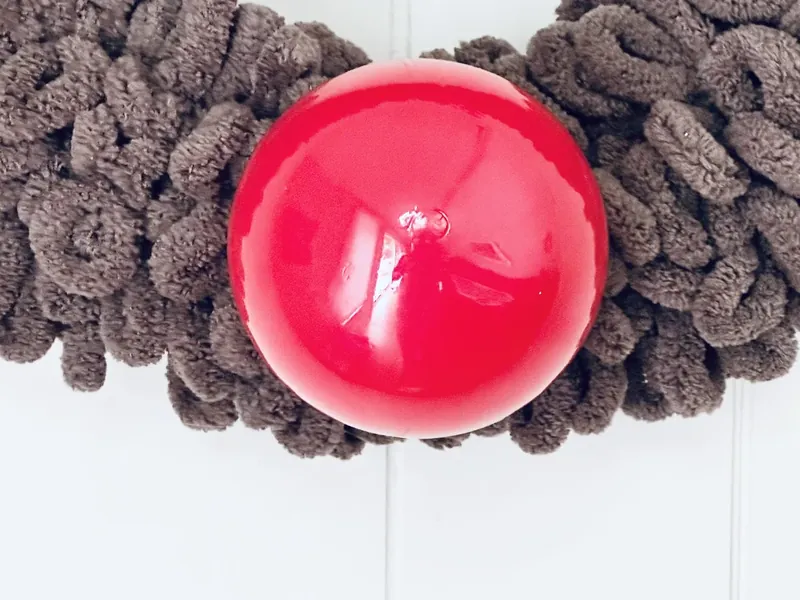
Step 3. Once the wreath is fully wrapped, I pull off the top piece of the ornament (the silver cap part) and add some hot glue around the top. I carefully move the yarn away from where I’m placing the ornament for the nose, press it firmly to the wire wreath form for about 30 seconds to make sure it’s secure, then move the yarn back to cover around the nose area.
Red sequin antlers being hot glued to top of yarn wreath to create reindeer look
Step 3: Hot glue the red ornament in place to create Rudolph’s bright nose!
♡ ♡ ♡

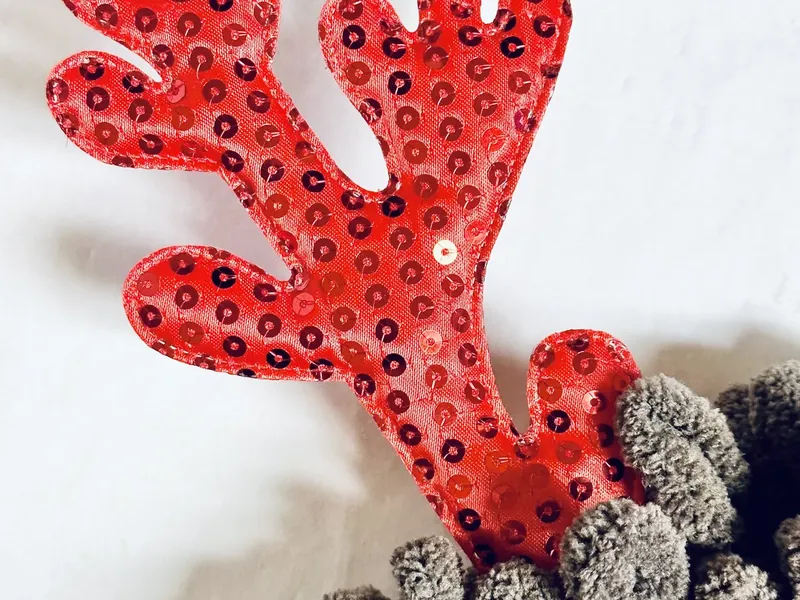
Step 4. I then bend the antlers off of the headband – they usually come off pretty easily. I add hot glue to the bottom section of each antler on both the front and back, move the yarn away from the wreath form where I’m adding the antler, then press down firmly for about 30 seconds to make sure it adheres well. I repeat this same process for the other antler, then move the yarn back to cover around the attachment points.
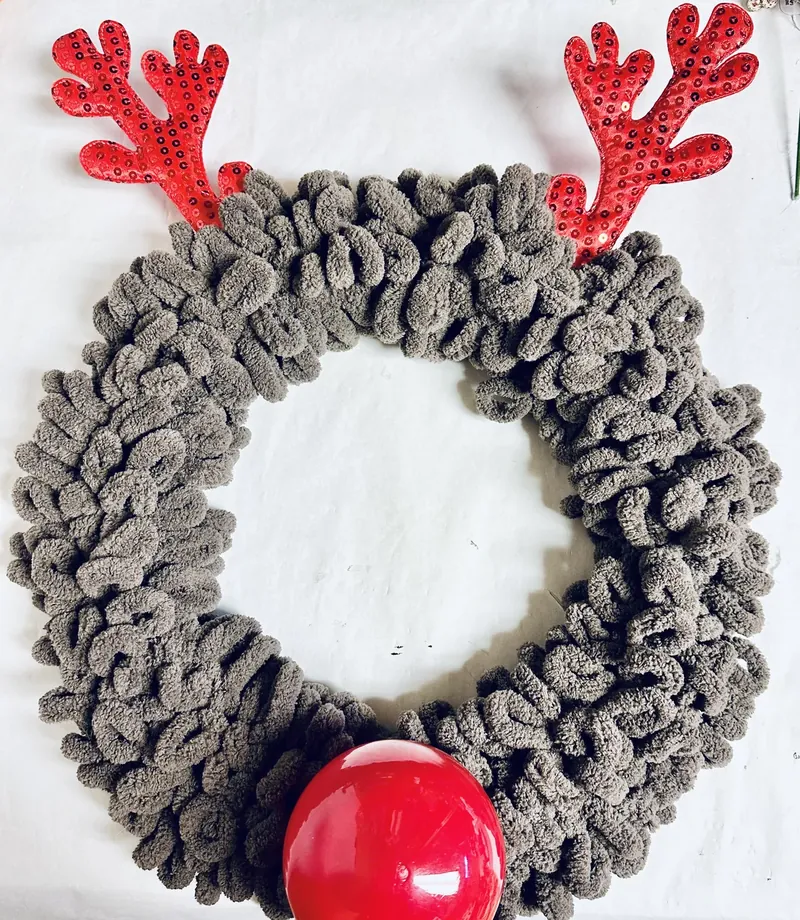
Red Christmas ornament being attached as nose to yarn-wrapped wreath with hot glue
Step 4: Bend and attach the sparkly red sequin antlers to complete your reindeer.
♡ ♡ ♡
Completed yarn reindeer wreath with fluffy taupe body, red sequin antlers and red ornament nose
Your finished yarn reindeer wreath is ready to spread holiday joy!
Yarn reindeer wreath hanging on white door showing complete holiday decoration
Hang your adorable reindeer wreath on any door for instant Christmas magic!

❤️ Please remember to SHARE this recipe on Facebook and PIN it for later! 📌


👉 FOLLOW ME ON PINTEREST BY CLICKING HERE

Fluffy taupe yarn reindeer wreath with red sequin antlers and ornament nose hanging on white door

Yarn Reindeer Wreath

Create an adorable yarn reindeer wreath using Dollar Tree supplies and fluffy Bernat yarn. This easy 30-minute craft makes the perfect budget-friendly Christmas decoration.
No ratings yet
Print Recipe Pin Recipe
Prep Time 5 minutes mins
Cook Time 25 minutes mins
Total Time 30 minutes mins
Servings 1 wreath

Equipment

  • 14 inch wire wreath form (I got mine from dollar tree)
  • Bernat Blanket-ez yarn in Deep Taupe (I got mine at Joann’s as I had a coupon but Michaels, and Walmart also carry the yarn)
  • Large Red Ornament (Dollar Tree)
  • Red sequin antler headband (dollar Tree)
  • Hot Glue Gun/ glue sticks

Instructions
 

  • Tie yarn end to outer wire and wrap tightly around entire wreath form for fullness.
  • Wrap yarn around the entire wreath form tightly to give the wreath a fuller look.
  • Remove ornament cap, hot glue ornament to wreath as nose, moving yarn to cover glue area.
  • Bend antlers off headband, hot glue to wreath, and cover attachment points with yarn.
Keyword DIY Christmas wreath, dollar store crafts, holiday door wreath, reindeer decoration, yarn crafts
Tried this recipe?Let us know how it was!

🌟 Don’t forget to PIN this recipe so you can come back and make it again!
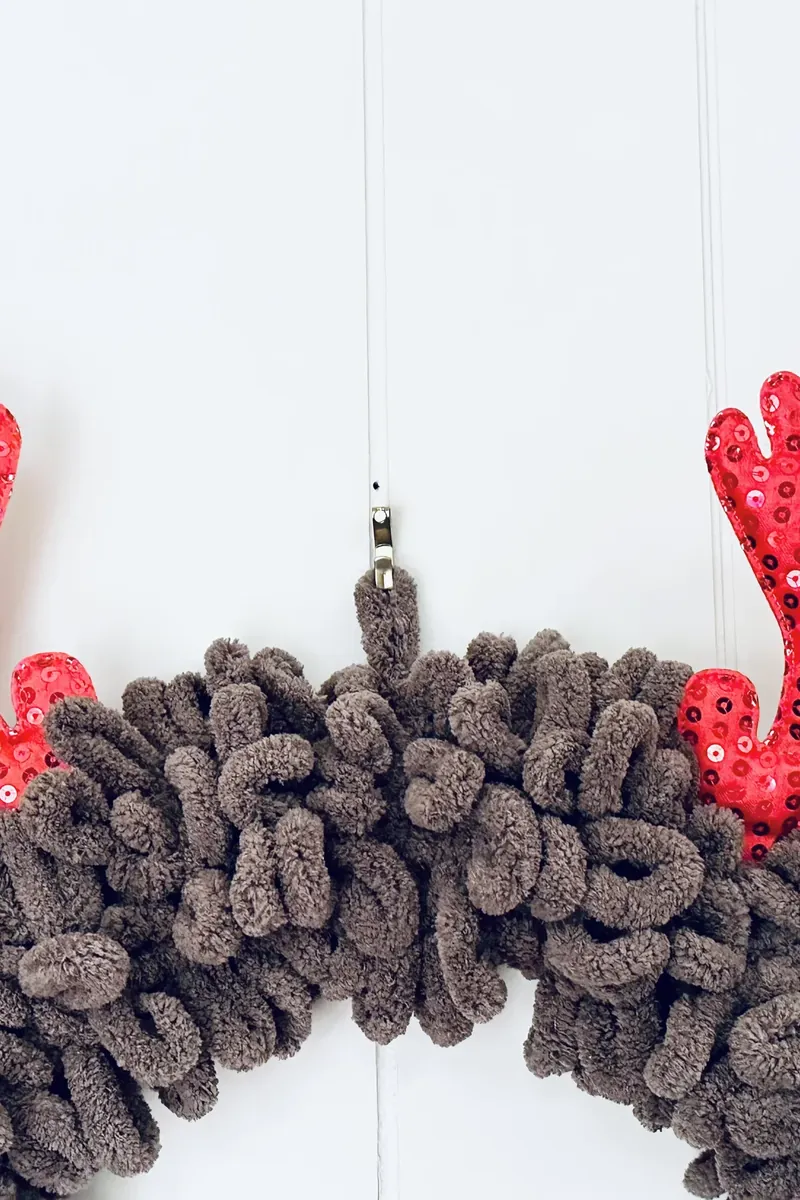

Close up view of fluffy taupe yarn texture on completed reindeer wreath with red accents
The fluffy yarn texture creates such a cozy, inviting holiday feel.

Disclaimer: Readers are responsible for ensuring the ingredients and products they use in any recipes from Kimspired DIY meet their dietary needs. Nutritional information is an estimate only.

Kimspired DIY assumes no liability for inaccuracies or issues arising from the use of any recipe on this site.

Pin this idea:

Filed Under: Dollar Store Hacks Tagged With: budget-friendly, diy crafts, kids crafts

Previous Post: « ❄️ DIY Dollar Tree Fluffy Snowman Wreath – Easy Winter Craft
Next Post: Dollar Tree Faux Hot Cocoa Mug – Easy DIY Holiday Decor »

Reader Interactions

Leave a Reply Cancel reply

Your email address will not be published. Required fields are marked *

Primary Sidebar

Footer

Connect

  • 📌
  • 📷
  • 👍
  • 📺

Explore

  • Gifts
  • Roundups
  • Fitness
  • Beauty

Legal

  • About Me
  • Contact Me
  • Disclosure Policy
  • Privacy Policy

KimspiredDIY Copyright © 2026

Rate This Recipe

Your vote:


A rating is required
A name is required
An email is required