No Sew Sock Gnome
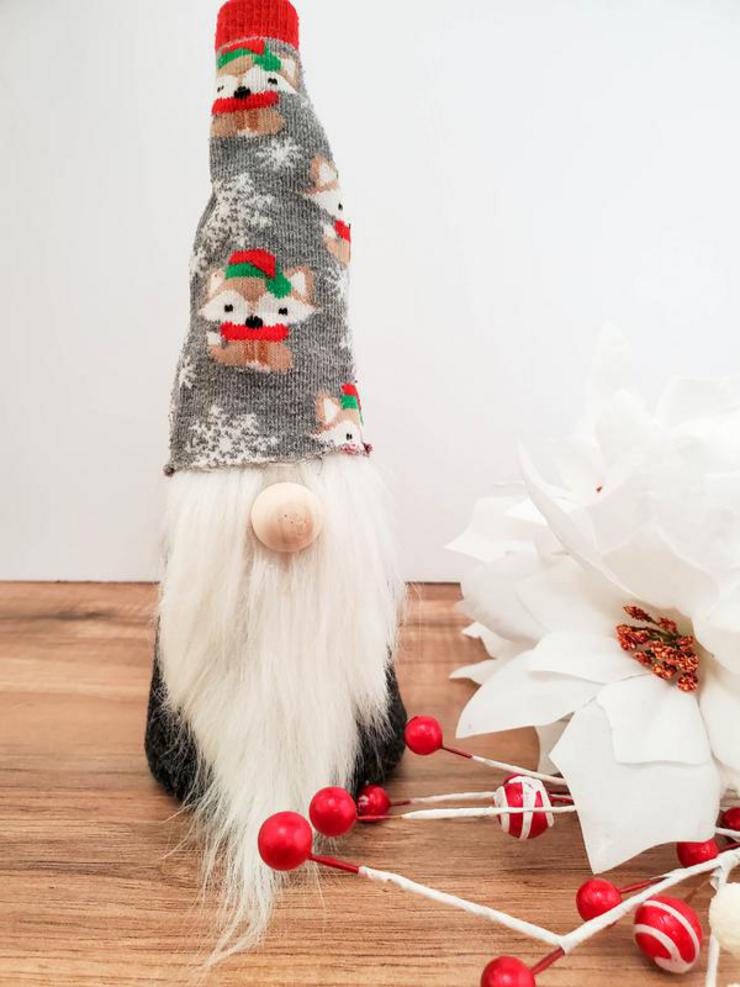
Looking for a cute and fun DIY no sew gnome project?
Try this DIY gnome Christmas craft project today.
Learn how to make a sock gnome with these easy to follow instructions.
Simple way to upcycle socks make a super cute gnome.
Holiday craft projects that anyone can make – it’s so easy.
Christmas gnome socks for home decor or make and give as gifts.
Easy gnome DIY that you will want to craft up today.
Simple to follow pattern for the cutest gnome.
Get ready to make the best DIY no sew sock gnome.
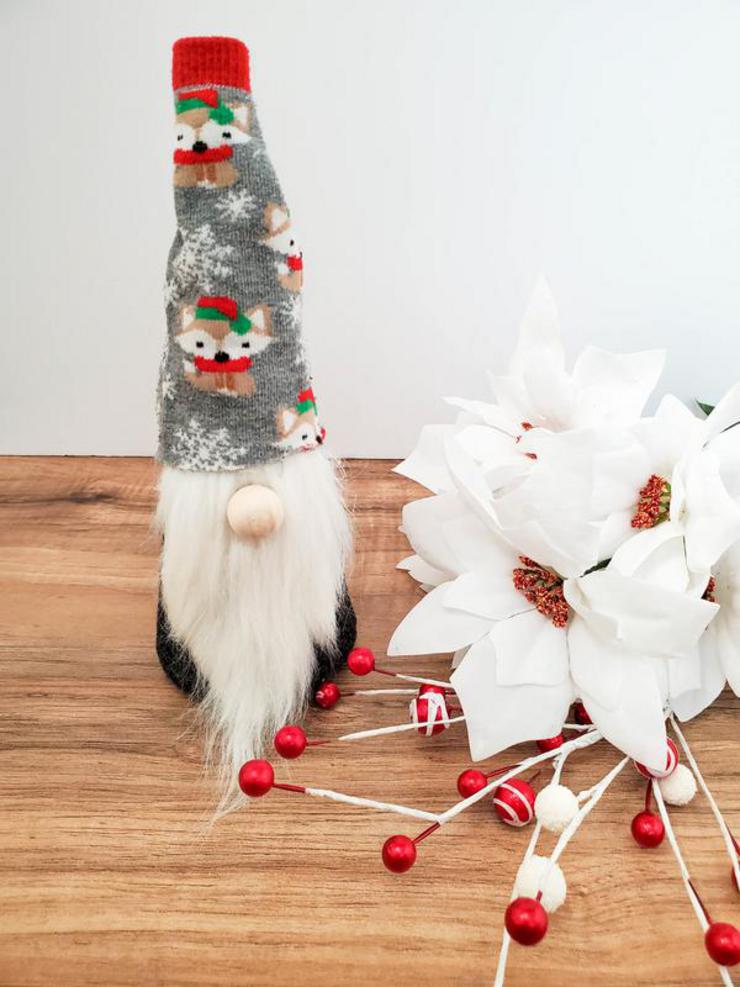
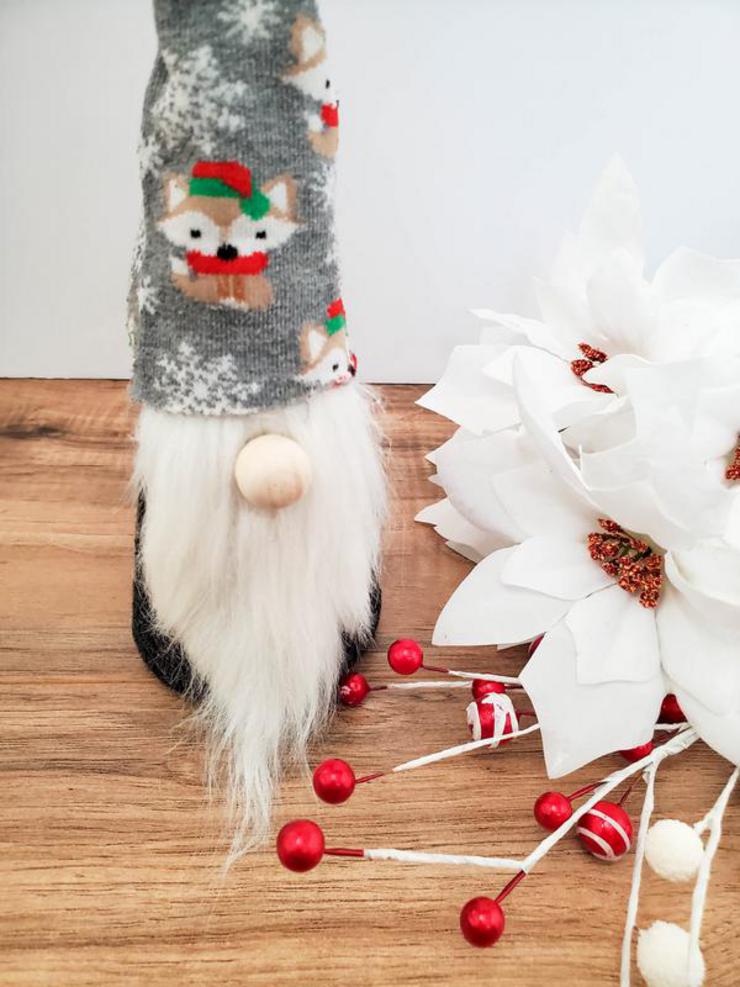
How To Make No Sew Sock Gnome
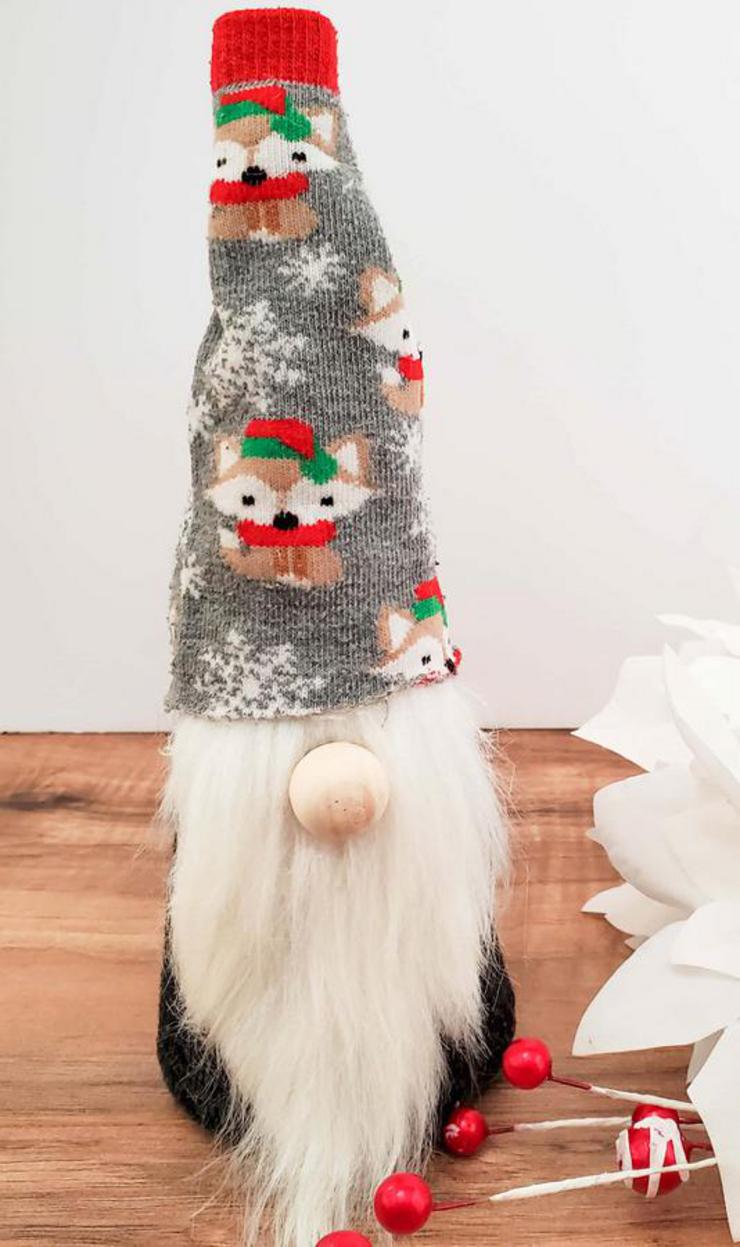
Use the scissors to cut the grey crew sock right above the heel.
Discard the upper part of the sock.
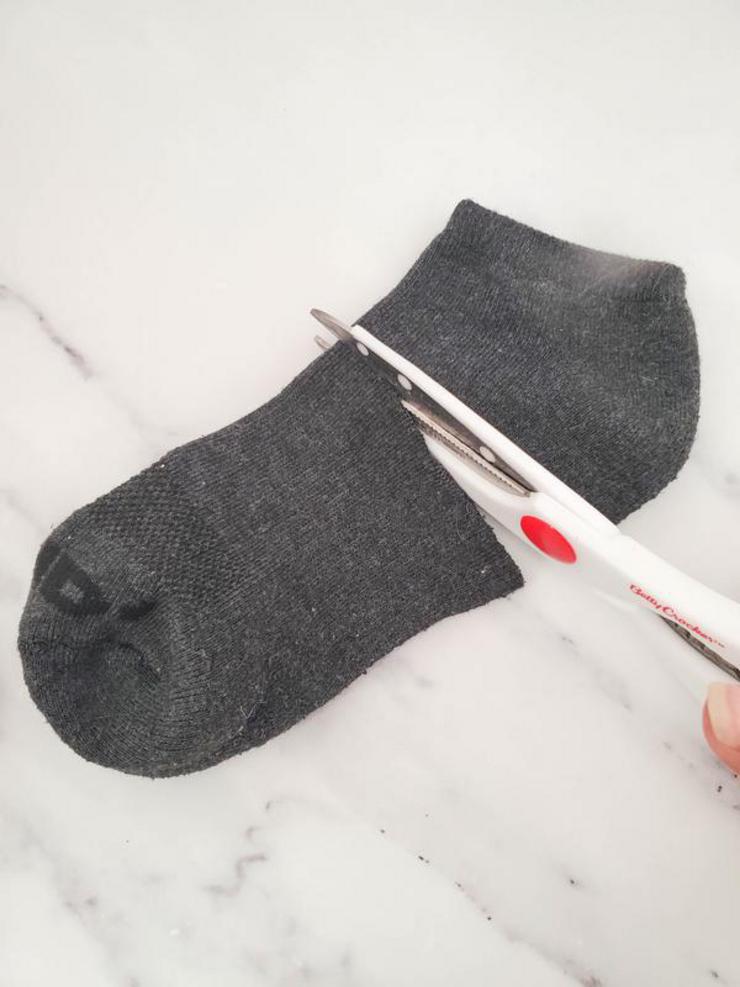
Fit the grey sock over the fatter bottom end of the cone,
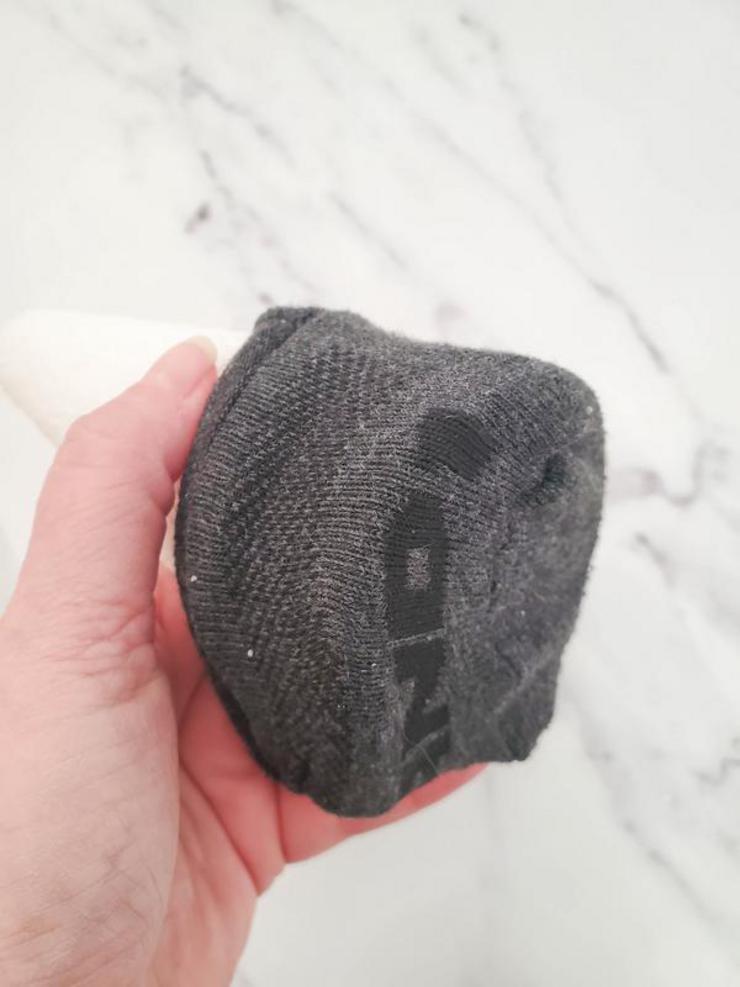
center the crease or “toe line” in the center of the bottom of the cone, pull up, then hot glue around the inside of the sock where you made the cut in step one, then glue to the cone.
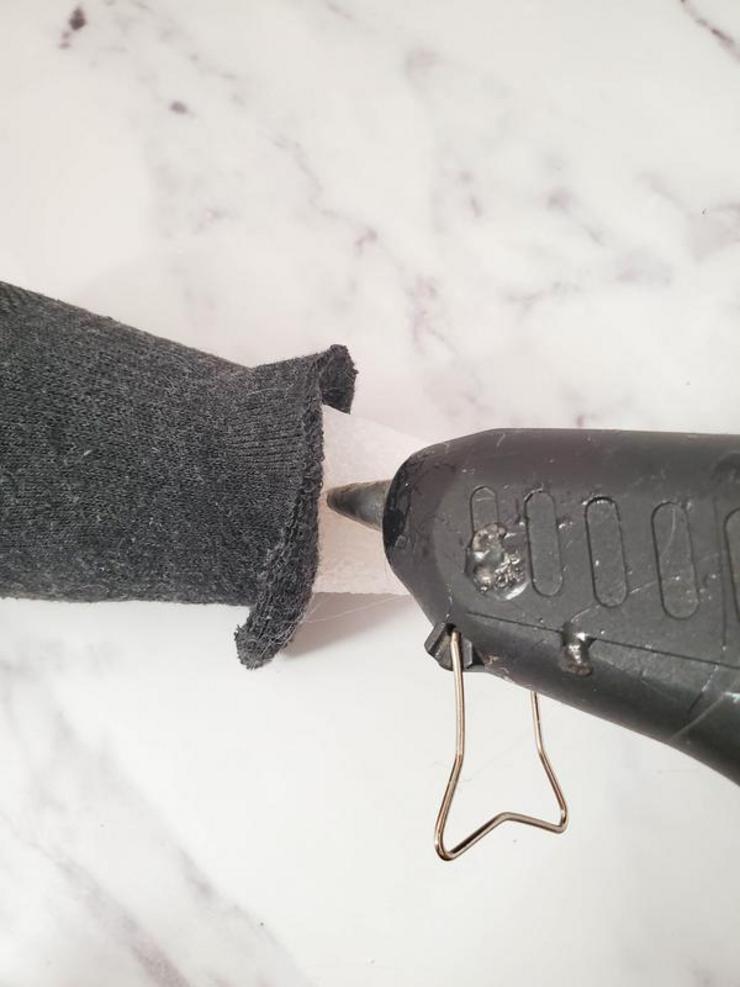
Cut a 5×2.5 inch strip of the faux fur, then make small cuts on the bottom towards the center,
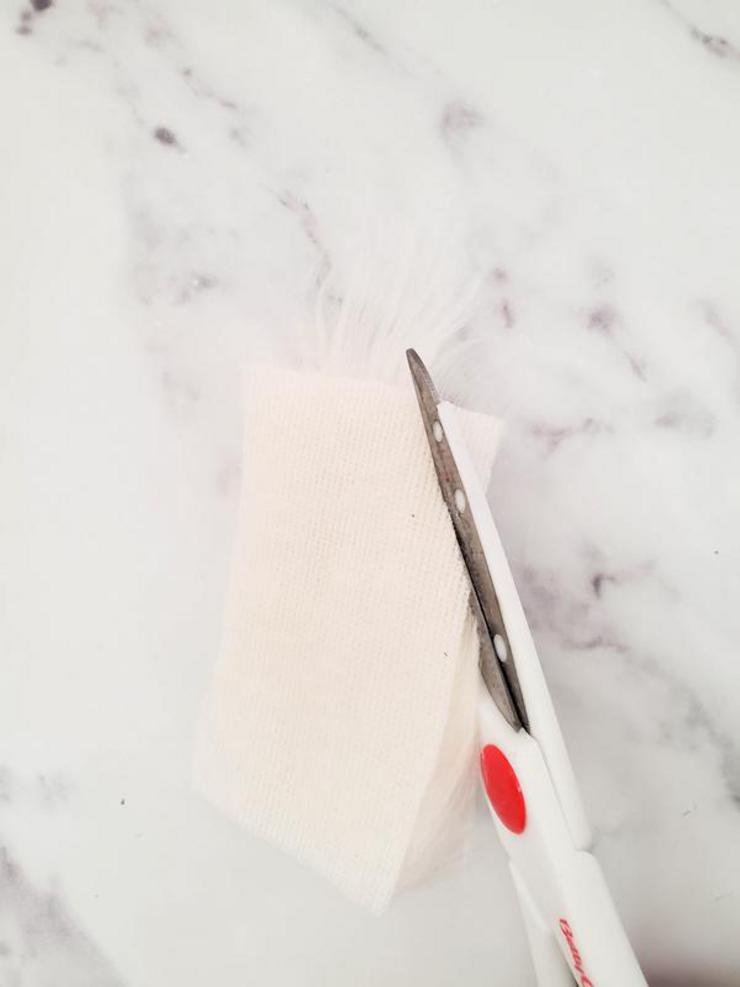
leaving about 1 inch in the center.
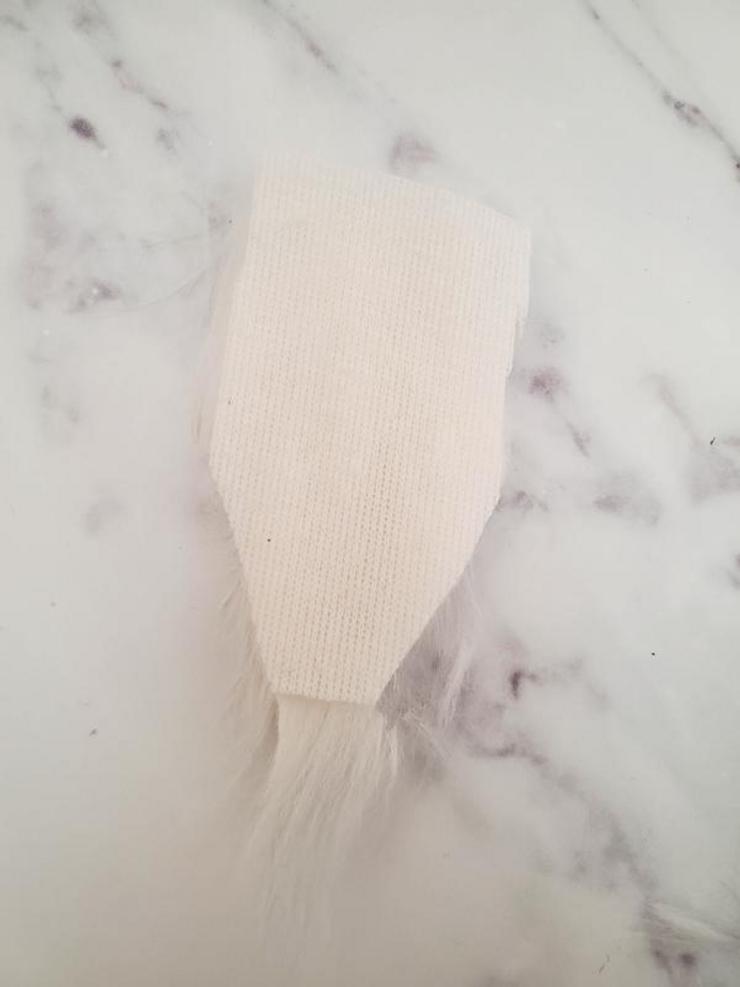
Apply hot glue to the back of the faux fur,
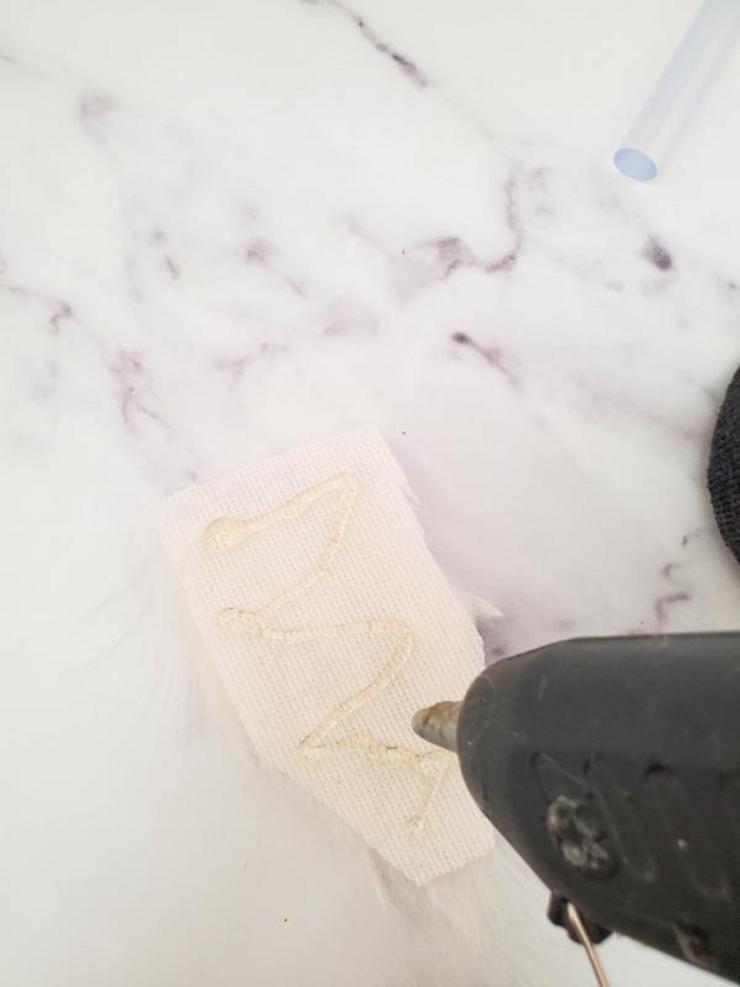
and glue it on top of the grey sock. This will become the gnome beard.
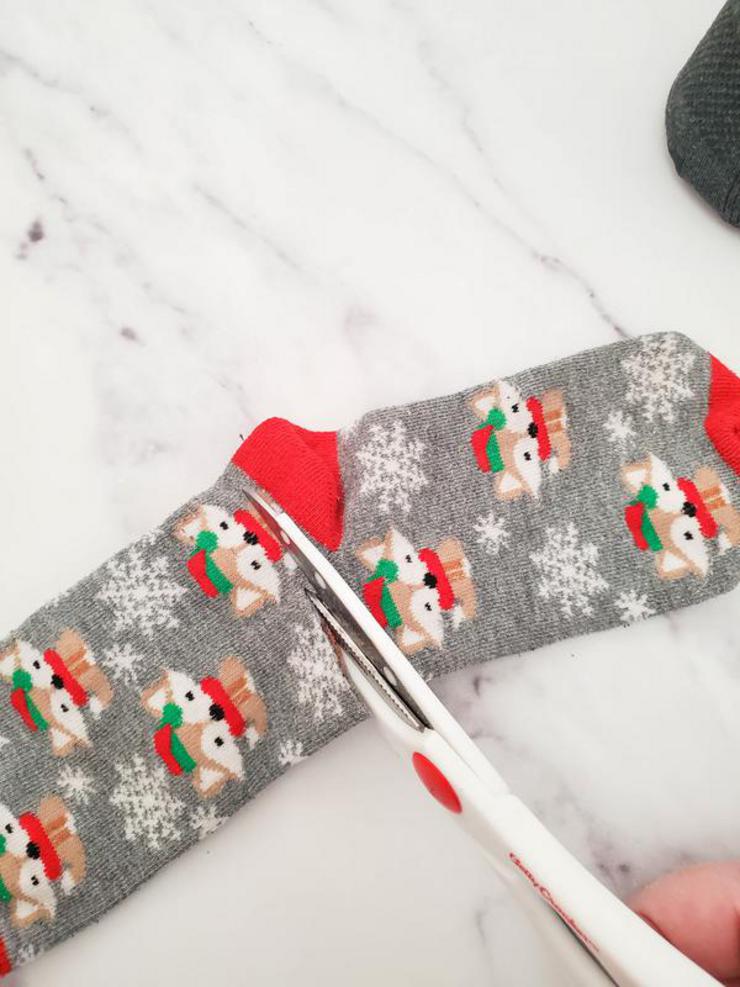
Use the scissors to cut the Christmas sock right above the heel.
Discard the lower heel and toe part of the sock.
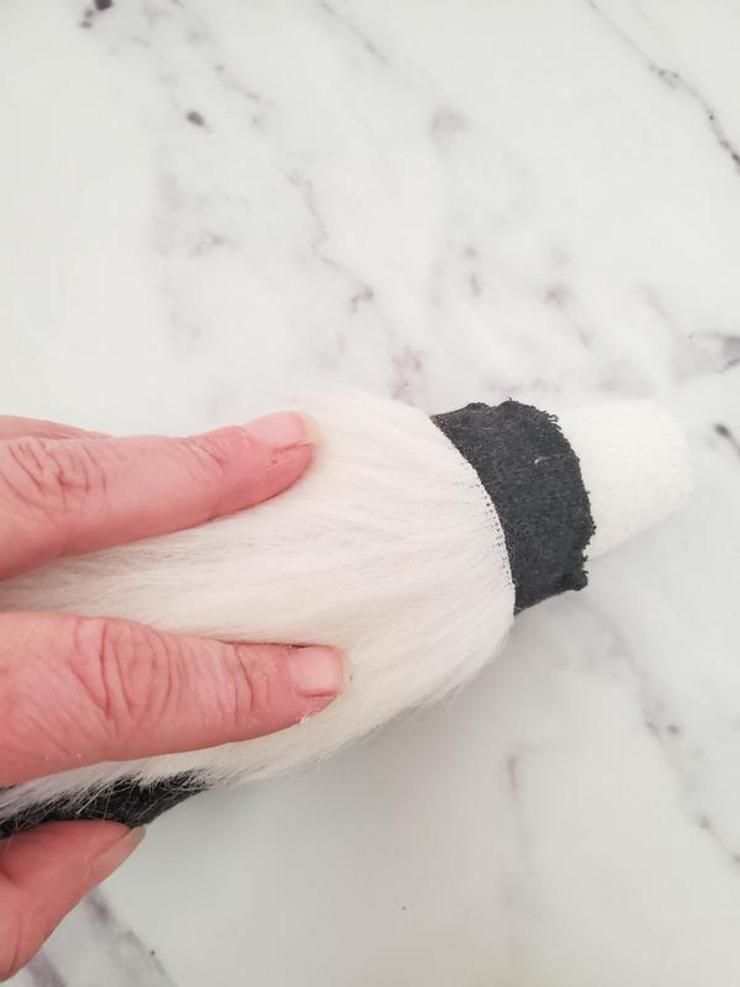
Fit the sock over the top of the cone, overlapping the grey sock by a bit,
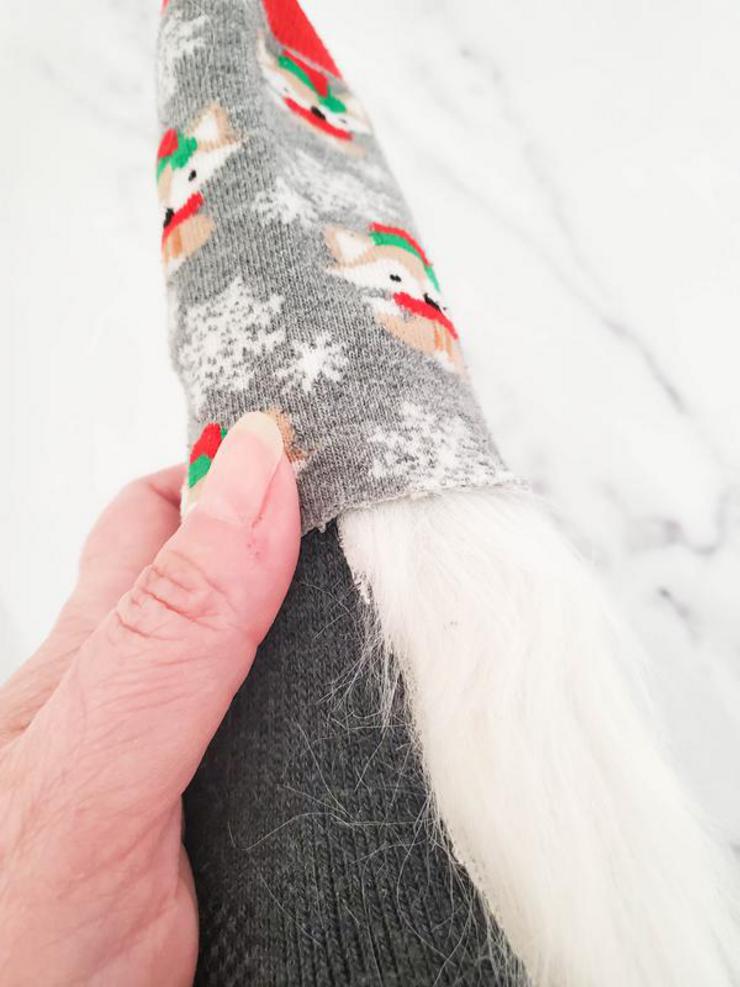
then apply hot glue to the inside of the Christmas sock, and glue it onto the grey sock.
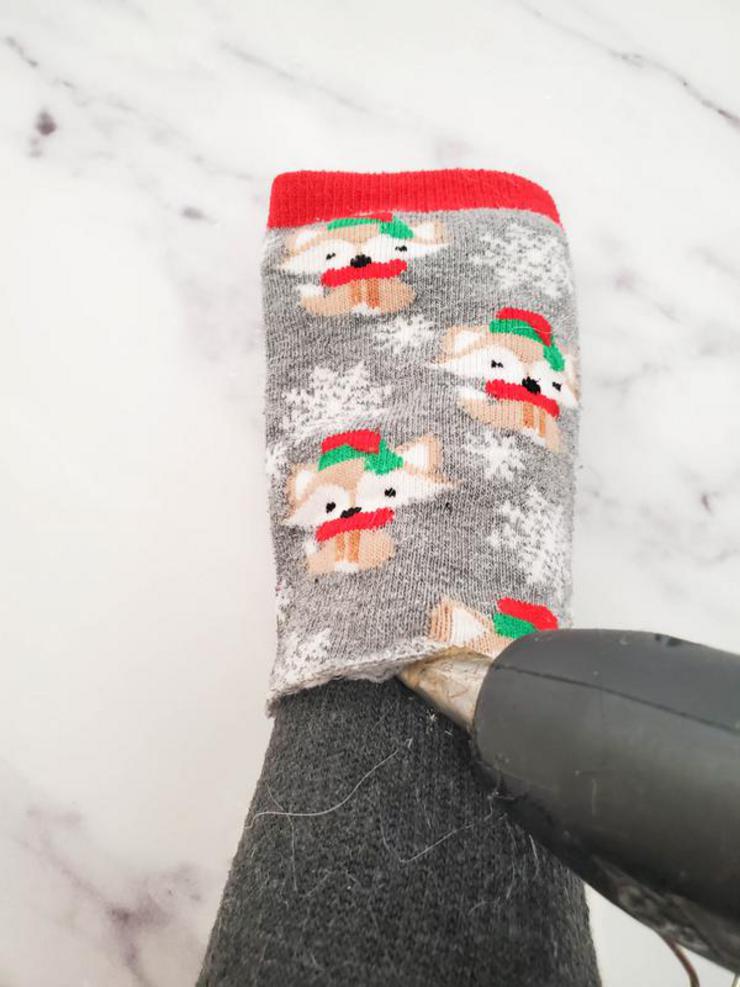
Flip the cone to the back, and cut a slit down the sock, then make small diagonal cuts on each side.
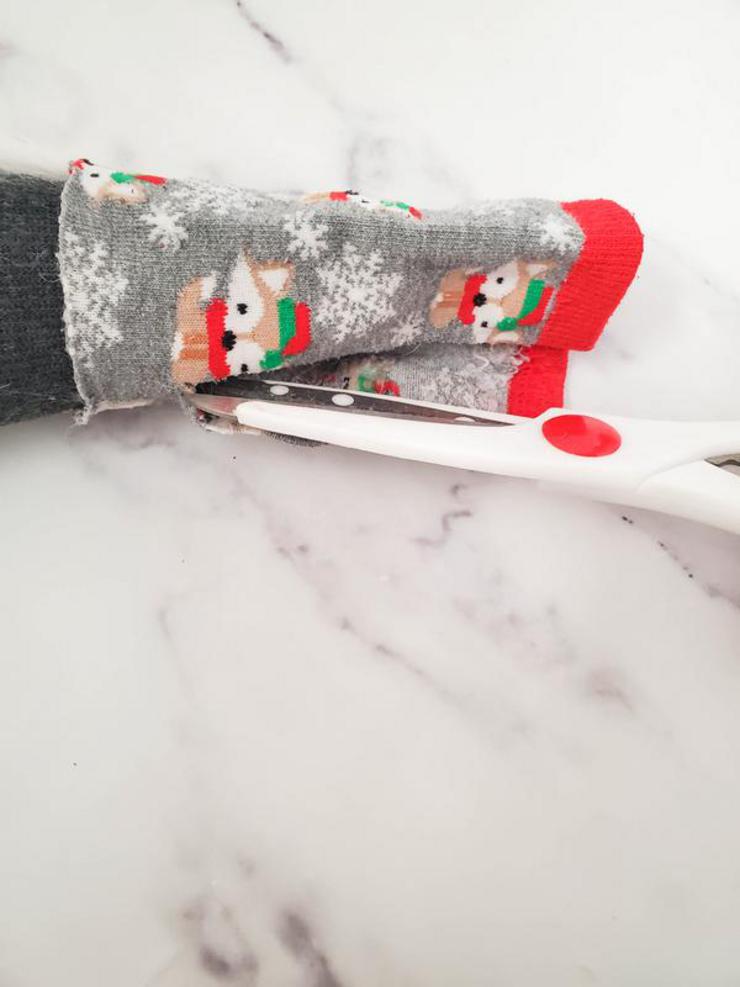
Use hot glue to bond it back together, shaping it to a cone.
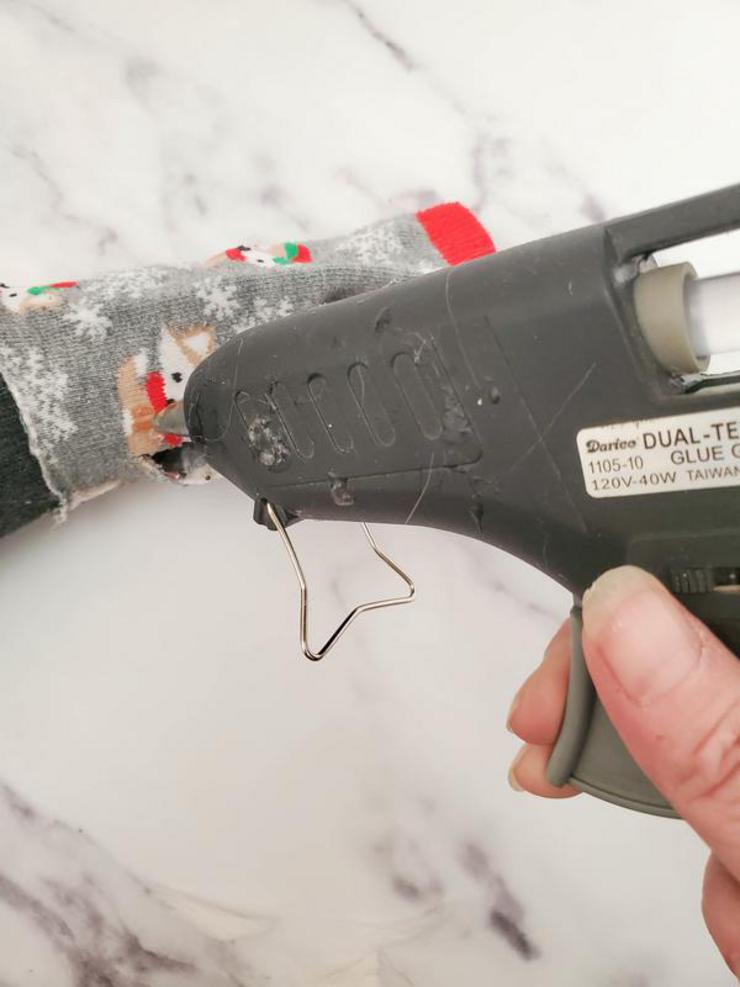
Apply hot glue to the wooden ball,
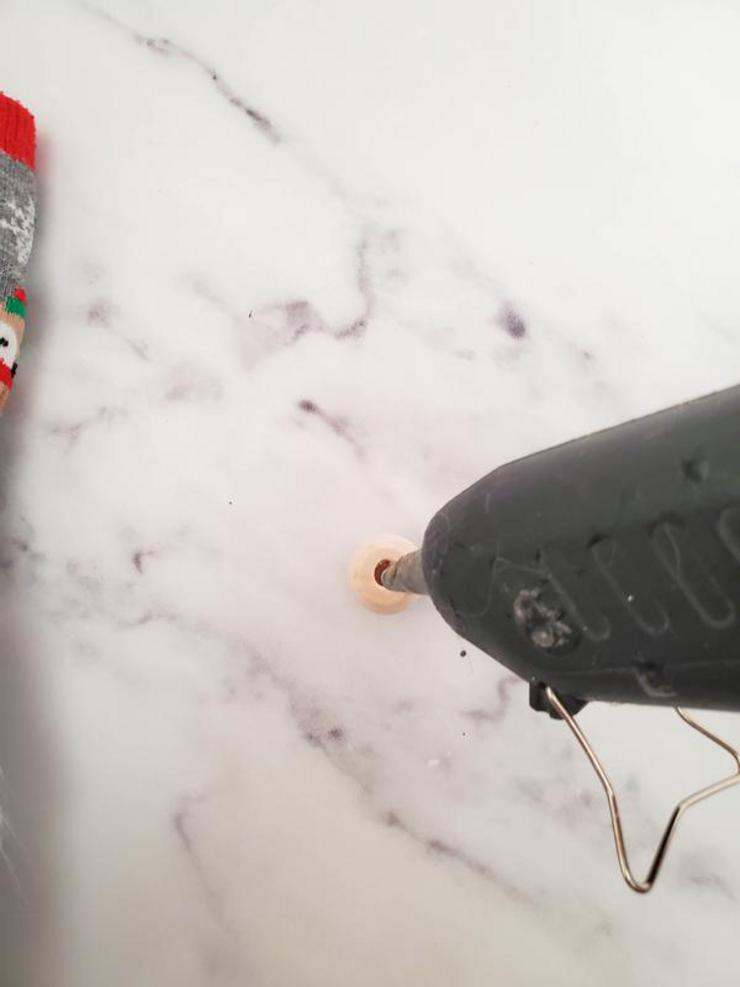
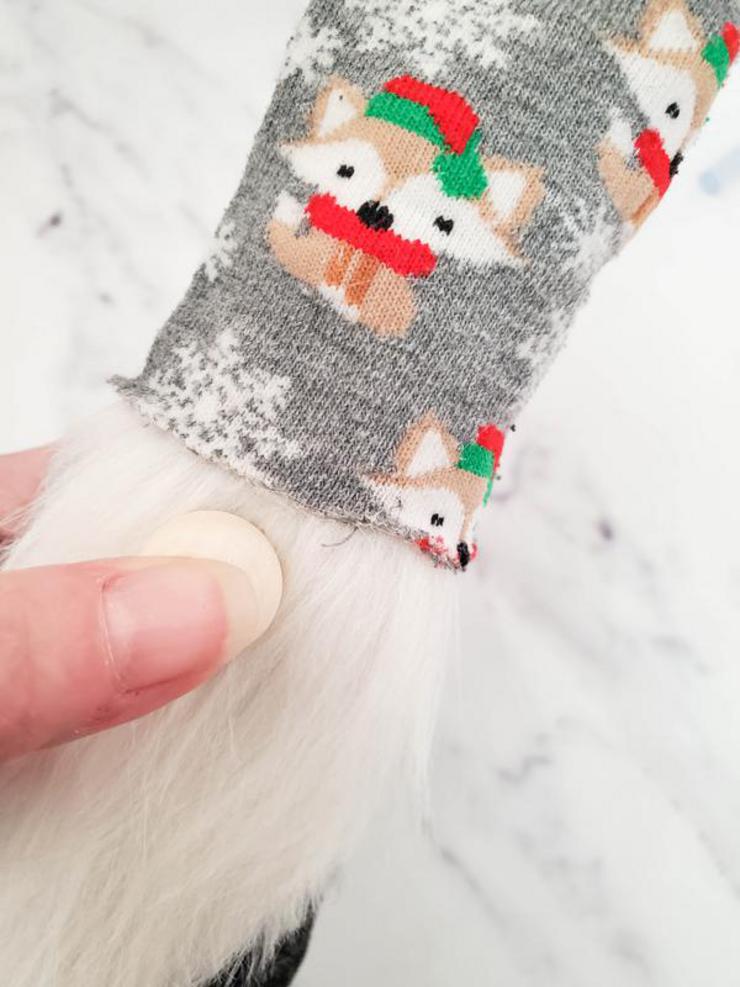
and attach to the center of the beard, about ¼ inch below the Christmas sock line.
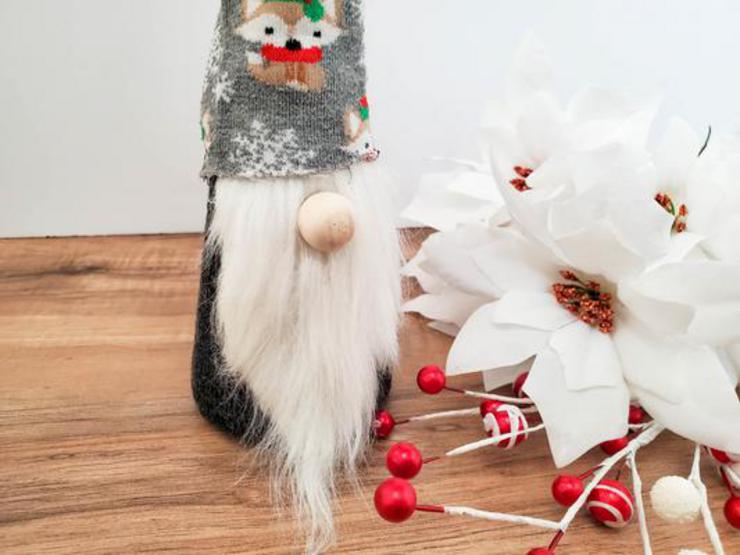
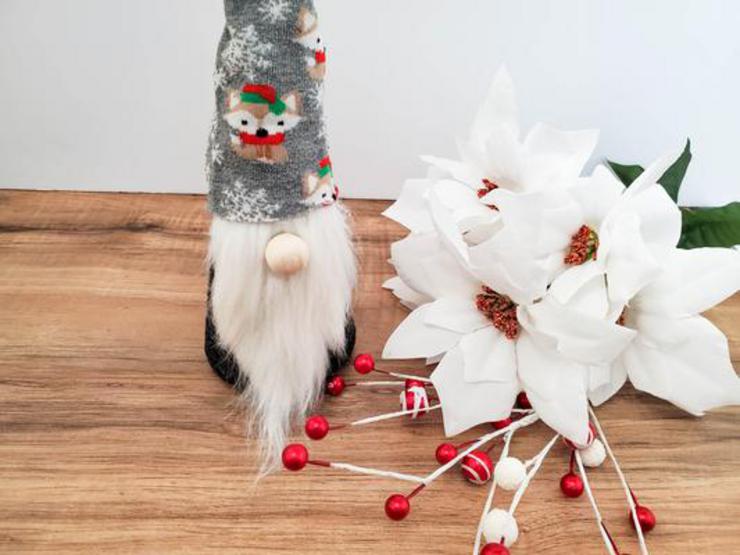
Please remember to SHARE on Facebook and PIN IT 📌
📌 FOLLOW ME ON PINTEREST BY CLICKING HERE
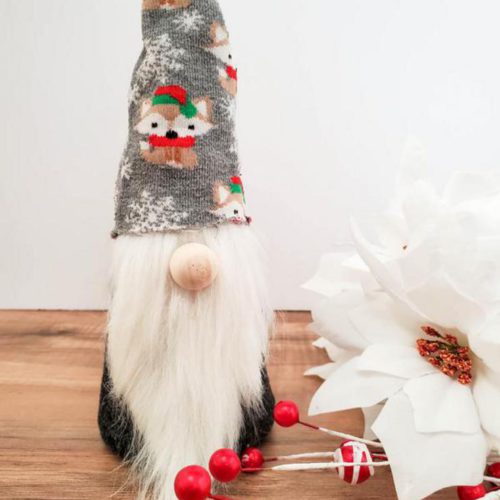
No Sew Sock Gnome
Ingredients
- Foam Cone 2.75 inch x 6 inch
- Adult size Christmas sock
- Adult size dark grey crew sock
- Small wooden ball
- Faux fur fabric
- Scissors
- Hot Glue gun
- Hot glue
Instructions
- Use the scissors to cut the grey crew sock right above the heel. Discard the upper part of the sock.
- Fit the grey sock over the fatter bottom end of the cone, center the crease or “toe line” in the center of the bottom of the cone, pull up, then hot glue around the inside of the sock where you made the cut in step one, then glue to the cone.
- Cut a 5x2.5 inch strip of the faux fur, then make small cuts on the bottom towards the center, leaving about 1 inch in the center.
- Apply hot glue to the back of the faux fur, and glue it on top of the grey sock. This will become the gnome beard.
- Use the scissors to cut the Christmas sock right above the heel. Discard the lower heel and toe part of the sock.
- Fit the sock over the top of the cone, overlapping the grey sock by a bit, then apply hot glue to the inside of the Christmas sock, and glue it onto the grey sock. Flip the cone to the back, and cut a slit down the sock, then make small diagonal cuts on each side.
- Use hot glue to bond it back together, shaping it to a cone.
- Apply hot glue to the wooden ball, and attach to the center of the beard, about ¼ inch below the Christmas sock line.
Do Not Forget To Pin! So you can come back and make this No Sew Sock Gnome!
It is the responsibility of the Reader to assure the products or ingredients they use in any recipes from Kimspireddiy are allergen-free, sugar free, gluten-free, egg-free and/or dairy-free, for example) Weight Watcher friendly, Keto friendly or Vegetarian friendly. Kimspireddiy assumes no liability for inaccuracies or misstatement about products, nutrition, points, opinions or comments on this site. Even though nutritional information is given it is the readers responsibility to calculate points, net carbs & nutritional information. KimspiredDIY holds no responsibility for calculations.
Leave a Reply