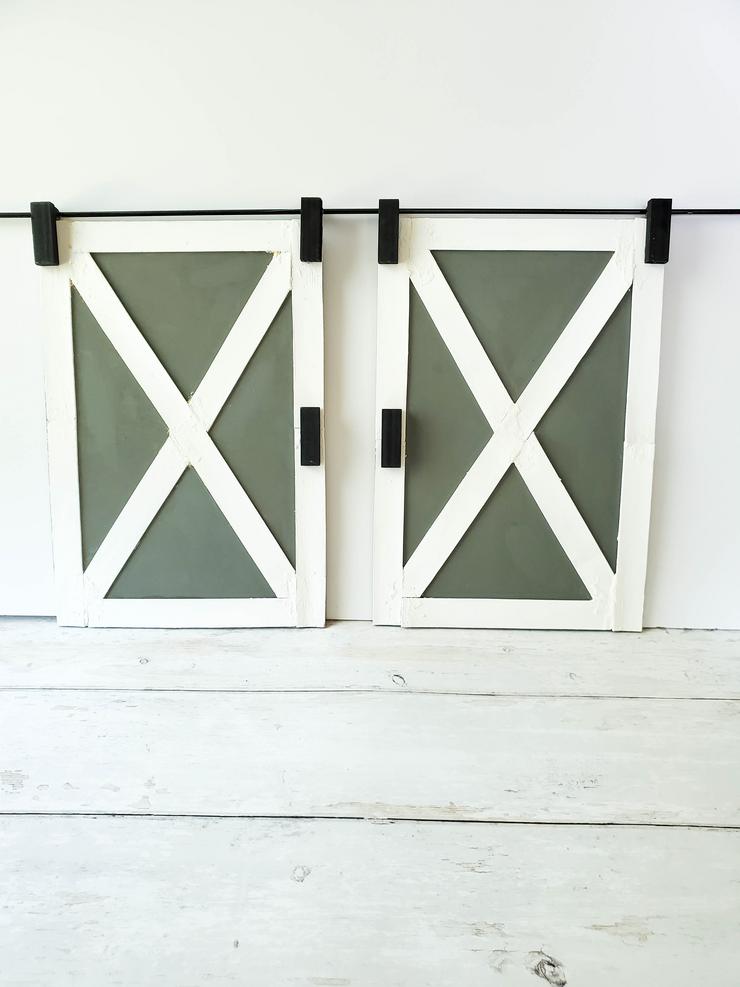
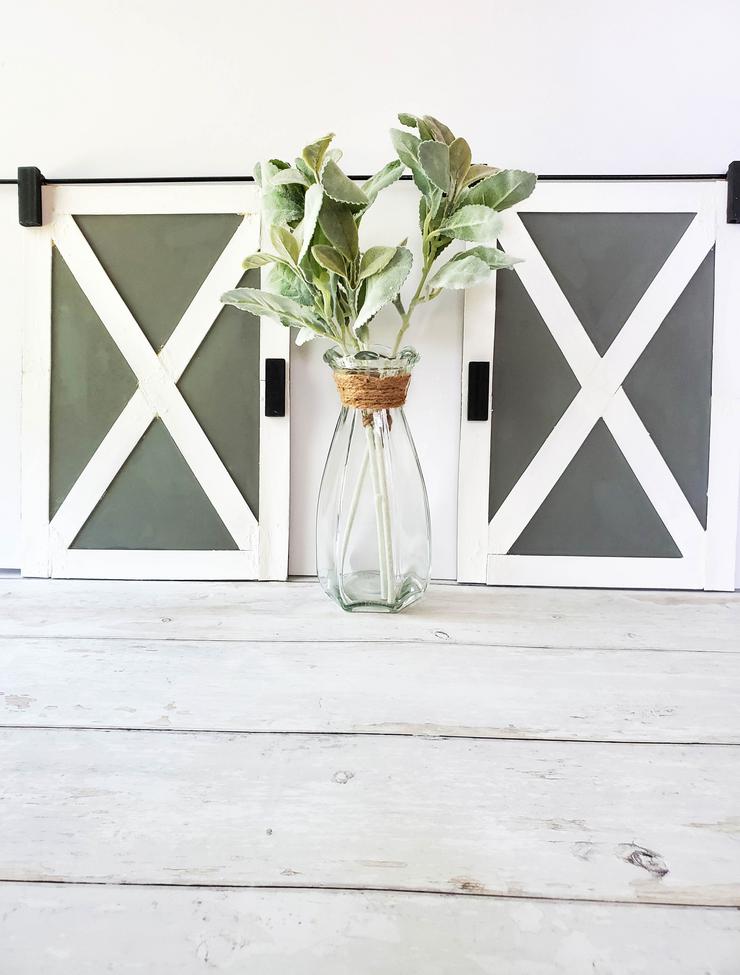
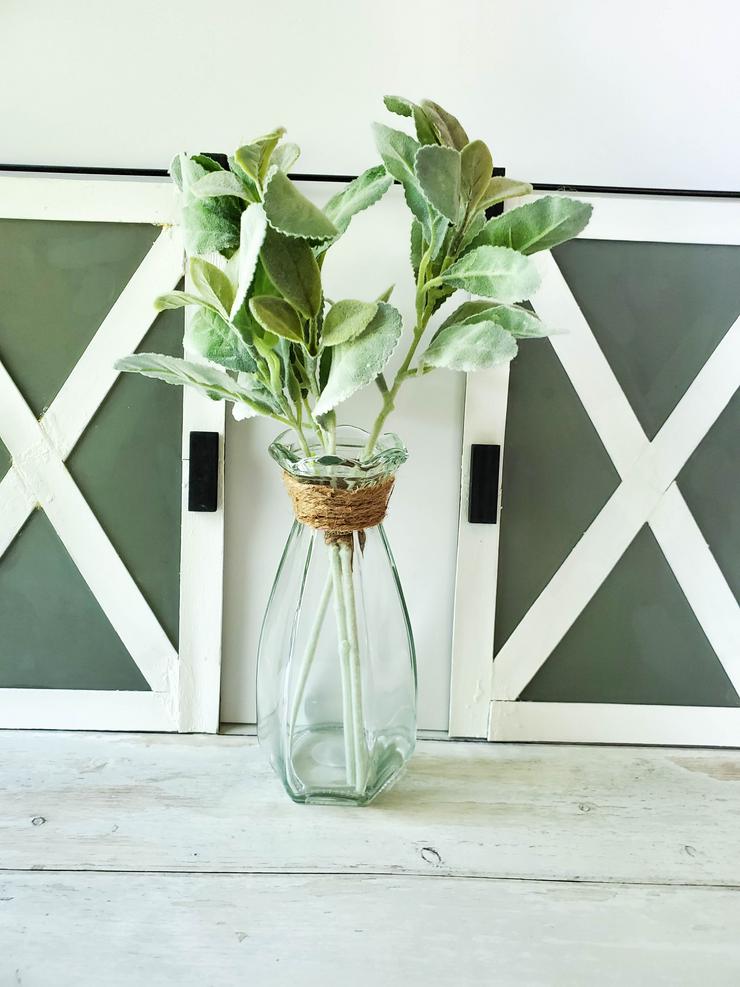
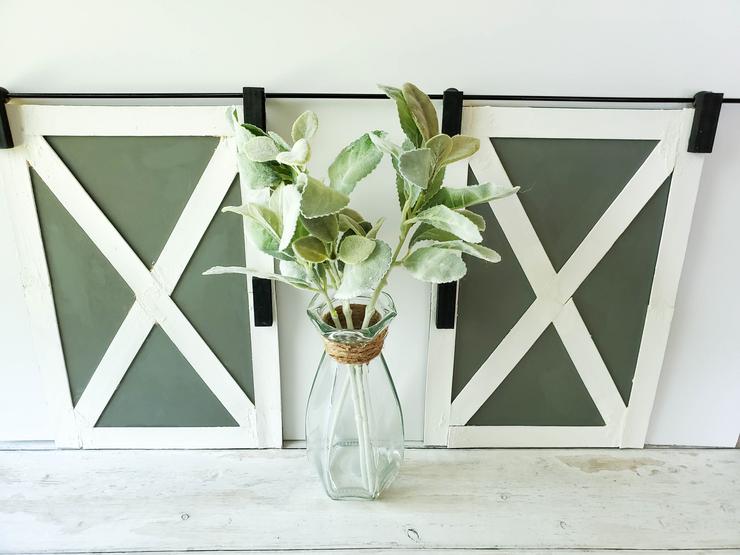
DIY Dollar Tree Farmhouse Barn Wood Doors

Decorate your home with these adorable DIY Dollar Tree farmhouse barn wood doors.
Super fun and cute DIY Dollar Store farmhouse craft project.
You can’t go wrong with this cheap and budget friendly farmhouse decoration for your home.
There is nothing cuter than these barn doors.
Easy DIY Dollar Tree hack to make your home look amazing and give it that farmhouse feel.
Simple DIY Dollar Tree barn doors craft idea using Dollar Store products.
If you are looking for cute farmhouse decoration ideas this is the one for you.
Family and friends will be asking you to make them these barn doors.
Get ready to make the best DIY Dollar Tree farmhouse barn wood doors.
![]()
Check out these other
DIY Dollar Tree Farmhouse Crafts
DIY Dollar Store Farmhouse Decoration Ideas & Hacks
DIY Dollar Store Farmhouse Decorations
DIY Dollar Tree Farmhouse Tiered Tray
DIY Dollar Tree Farmhouse Egg Wreath
DIY Dollar Tree Farmhouse Rabbit Topiary
DIY Dollar Tree Farmhouse Wagon
DIY Dollar Tree Farmhouse Cricut Mini Book Stack
DIY Dollar Tree Farmhouse Stacking Tray
DIY Dollar Tree Farmhouse Pottery Barn Vase Dupe
DIY Dollar Tree Farmhouse Craft Stick Wreath
How to Make DIY Dollar Tree Farmhouse Barn Wood Doors
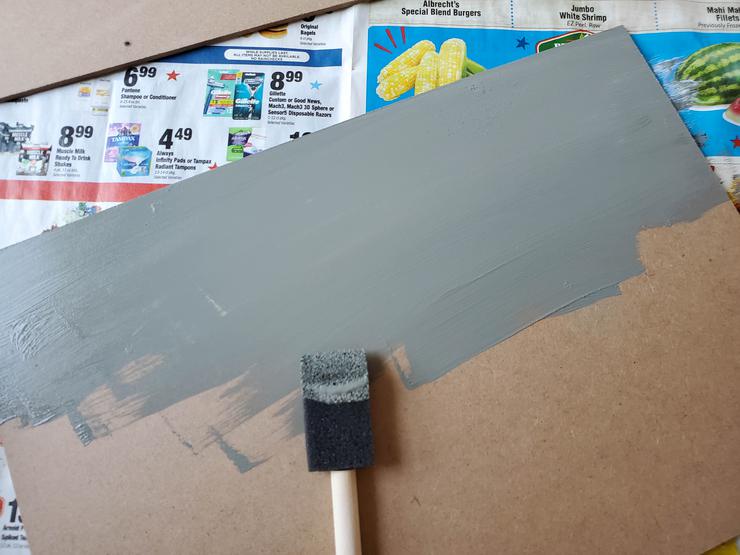
Cut the twine cod from the signs.

Flip them over, and paint the back of both signs gray, using two coats.
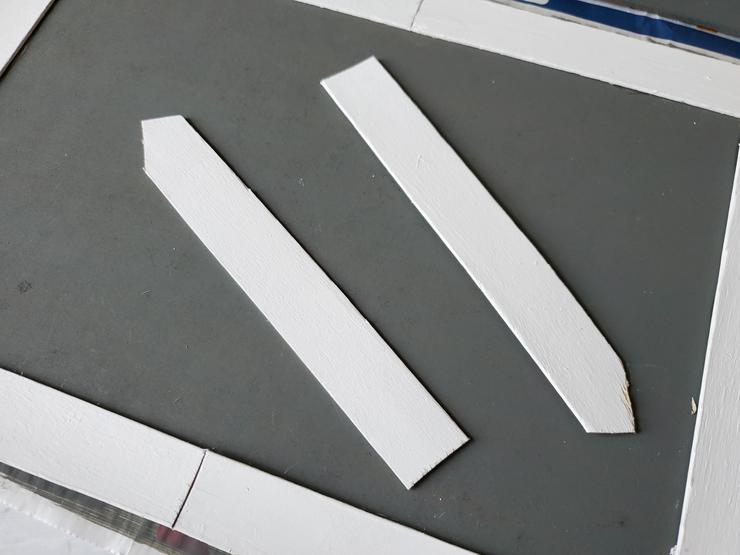
Paint the paint stir sticks white.
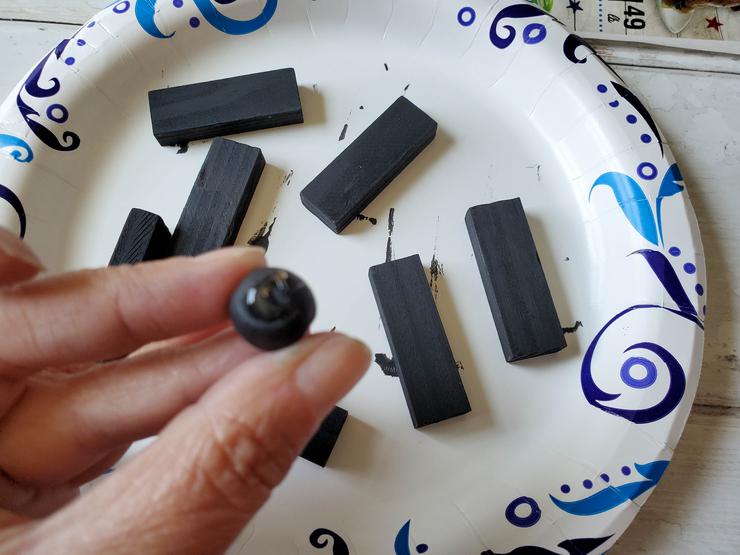
Paint the tumbling tower blocks and wooden beads black.
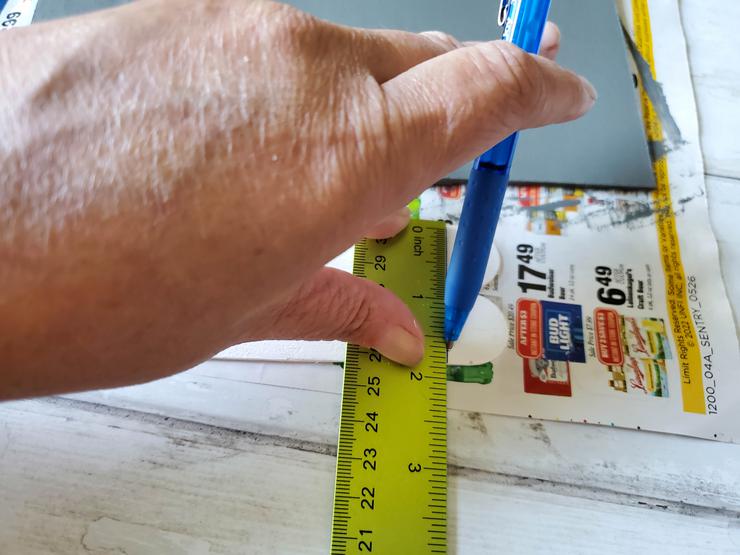
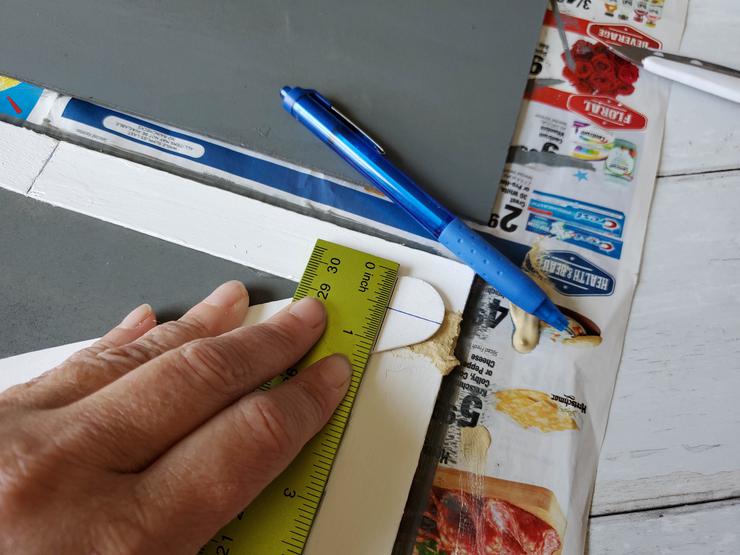
Using the ruler and pencil, draw a straight line after the curve on 6 of the paint sticks.
Use the knife to score it on the pencil line,
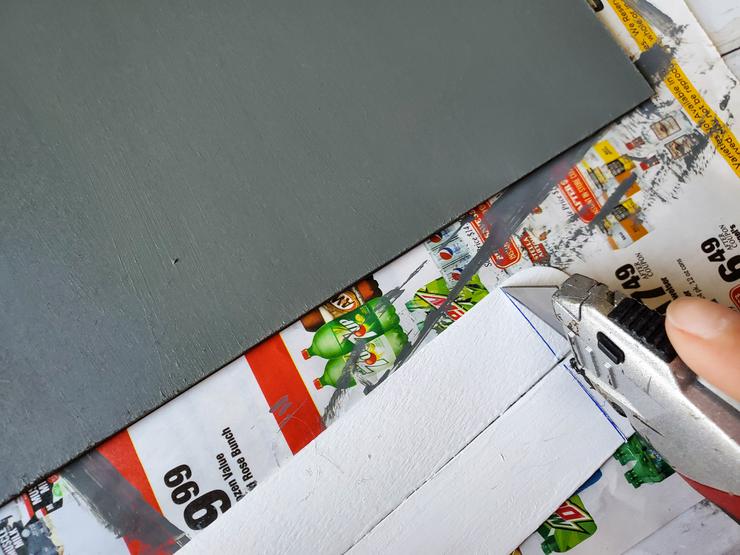
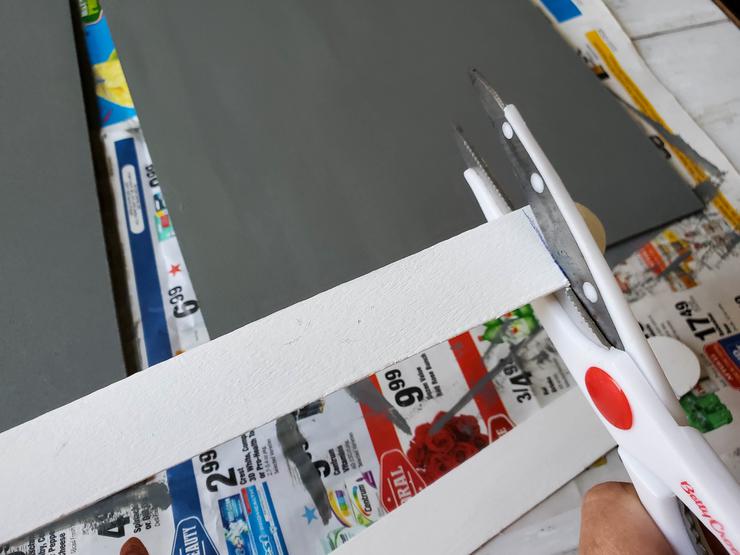
then the scissors to cut it.
Set the signs paint side up, long way, so that the top of the signs are the narrow sides.
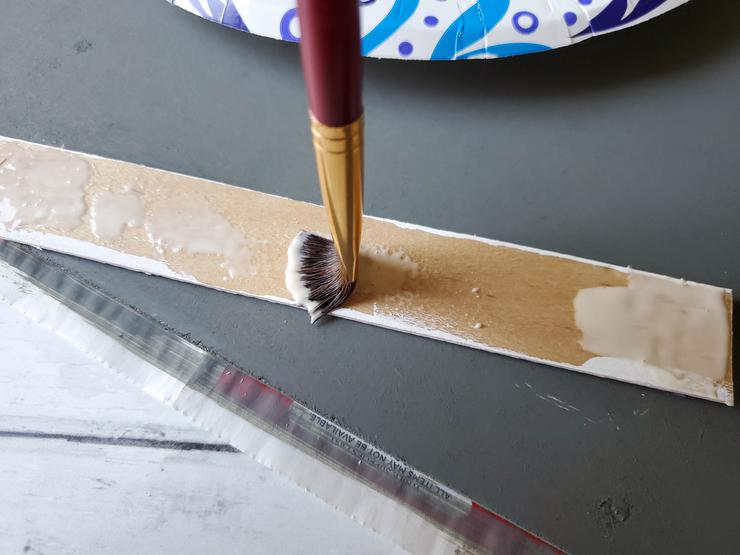
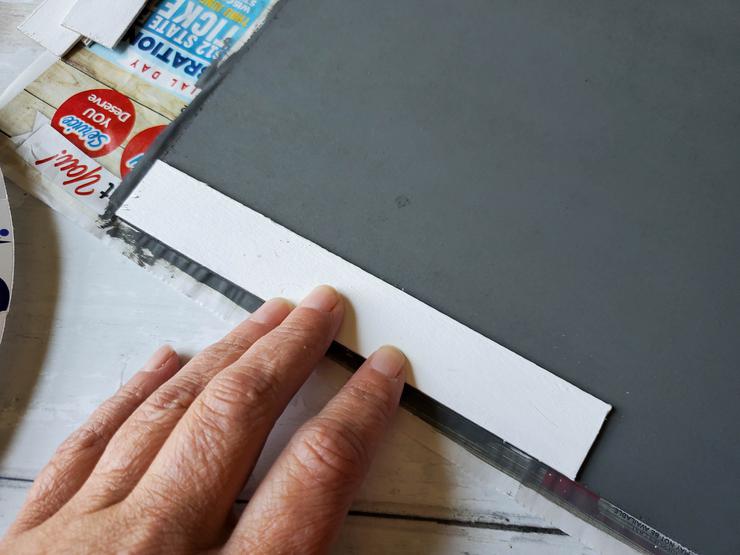
Use the small paint brush to apply wood glue to the back of a paint stick, and glue it in the top left corner of the signs, pointing downward.
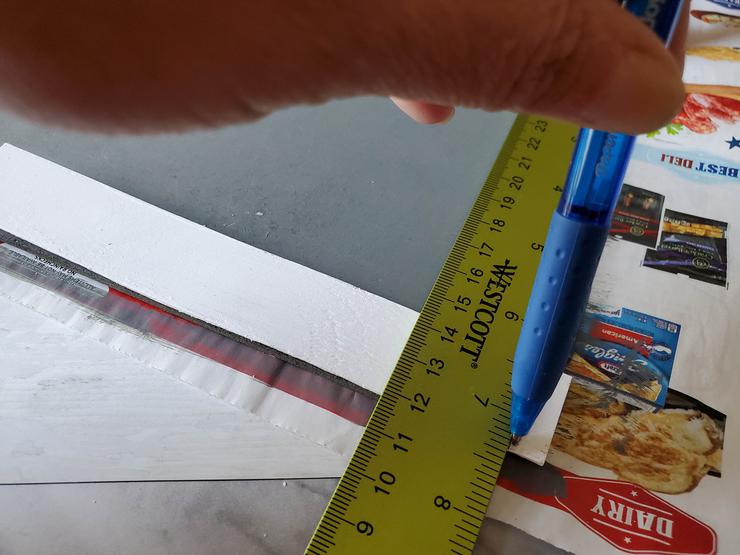
Grab another uncut paint stick, and set it against the edge under the glued one, then use the ruler and pencil to draw a line where it meets the bottom of the sign.
Use the knife to score at the line, and the scissors to cut.
Repeat these steps on the other side of the signs.
Use a cut piece of the paint stick, and glue them at the top and bottom of each sign. (There will be a gap, but wood putty will fill that in.)
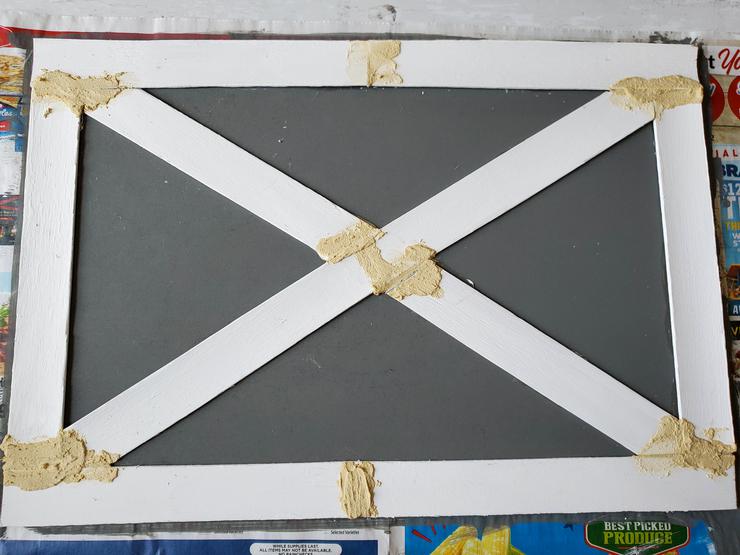
Now arrange two craft sticks diagonally from the top left corner to the bottom right corner of each sign.
Use your ruler and pencil to make marks at the corners to cut. Make your cuts.
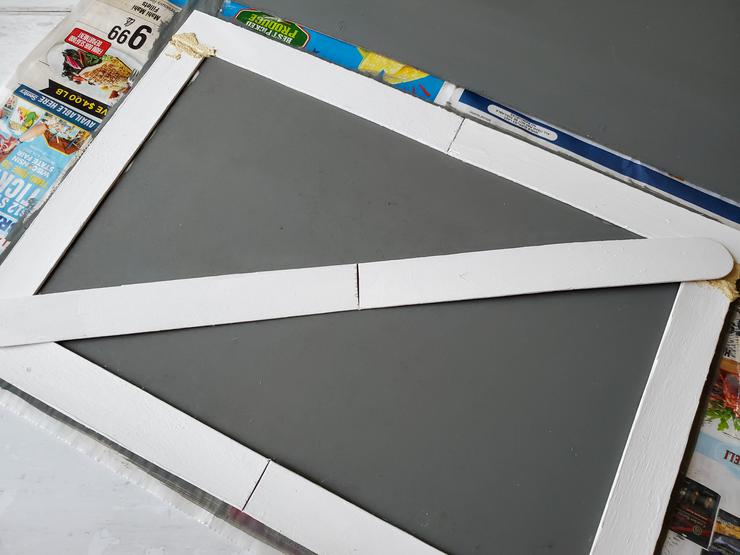
Using the ruler and pencil, draw a straight line after the curve on one stick for each sign, then use the knife to score it on the pencil line, then the scissors to cut it.
Glue that piece in place.
Now arrange the other sticks, then mark where it would meet the other glued one in the middle, and make your cut.
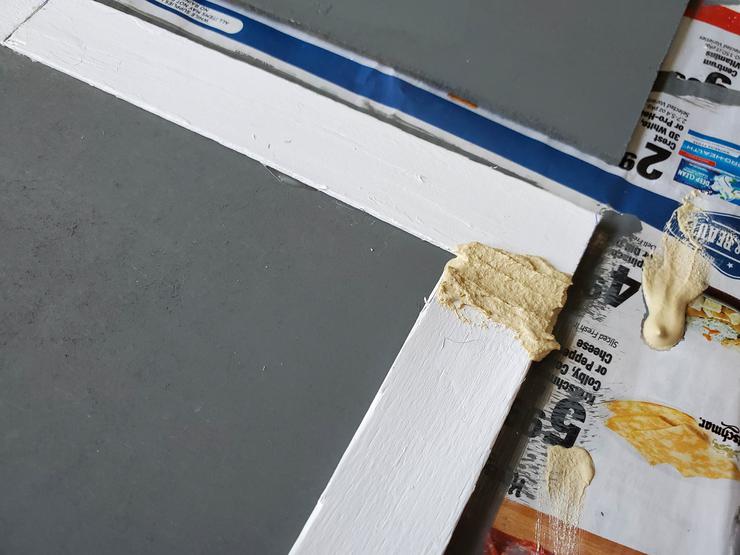
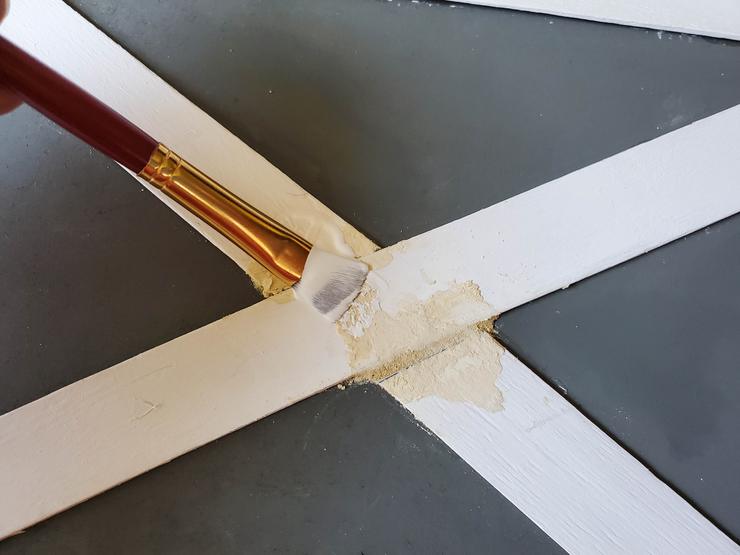
Fill all of the gaps between the wood paint sticks with wood putty.
Allow to dry.
Sand off any excess wood putty.
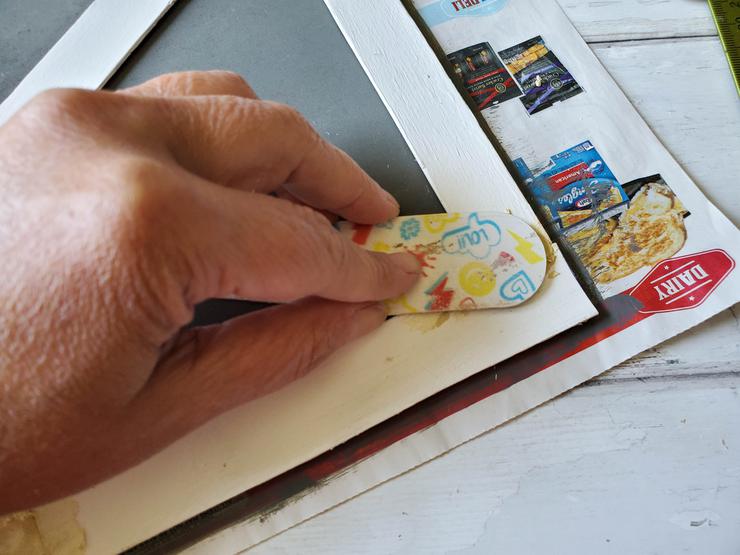
Paint over the wood putty with the white paint.
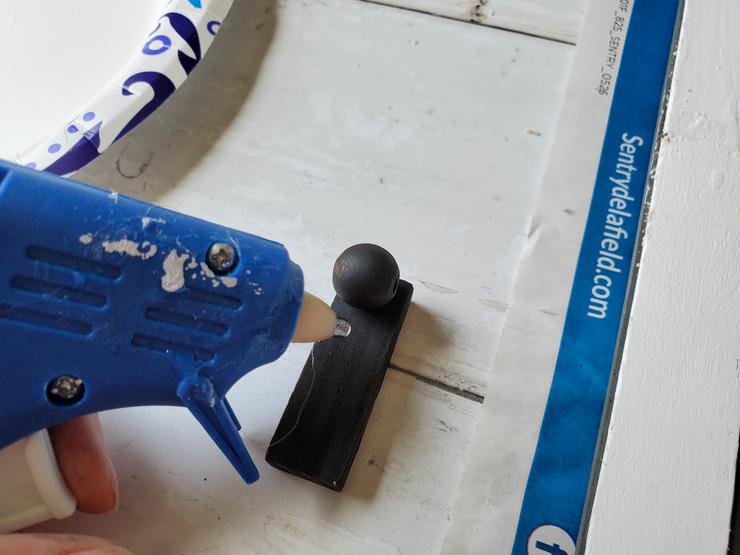
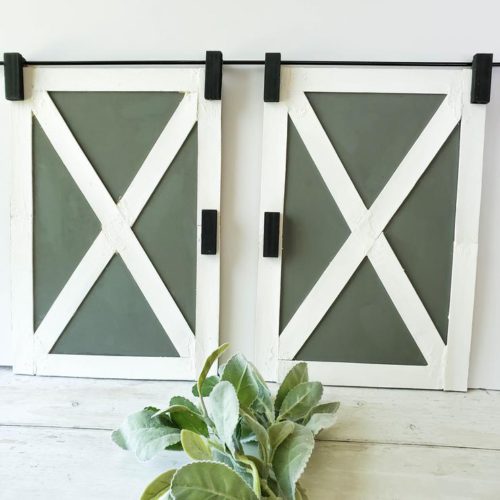
Apply hot glue to 4 of the wood beads, and glue to the top of tumbling tower blocks.
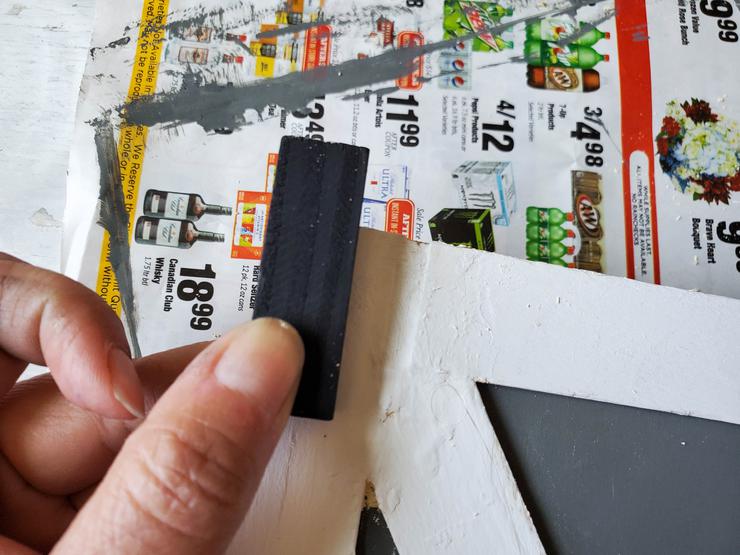
Apply glue to the back of those 4 tumbling tower blocks, then glue to the top corners of each sign.
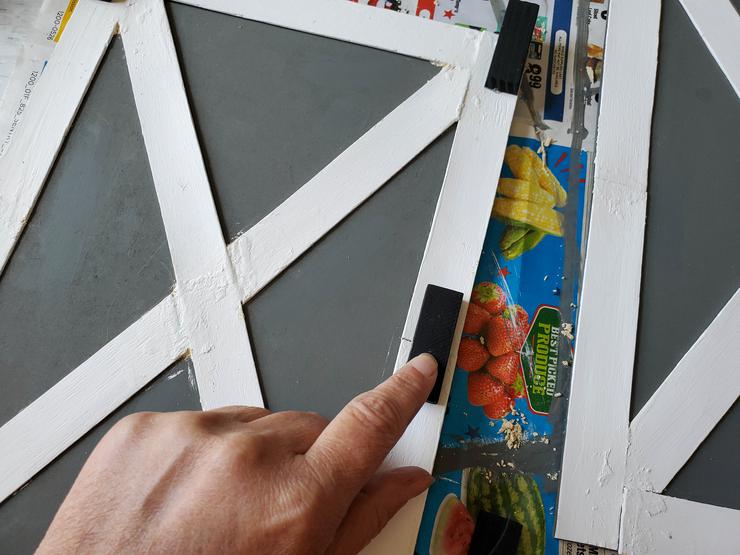
Glue the remaining two blocks to the center of the right side of one sign, left side of the other.
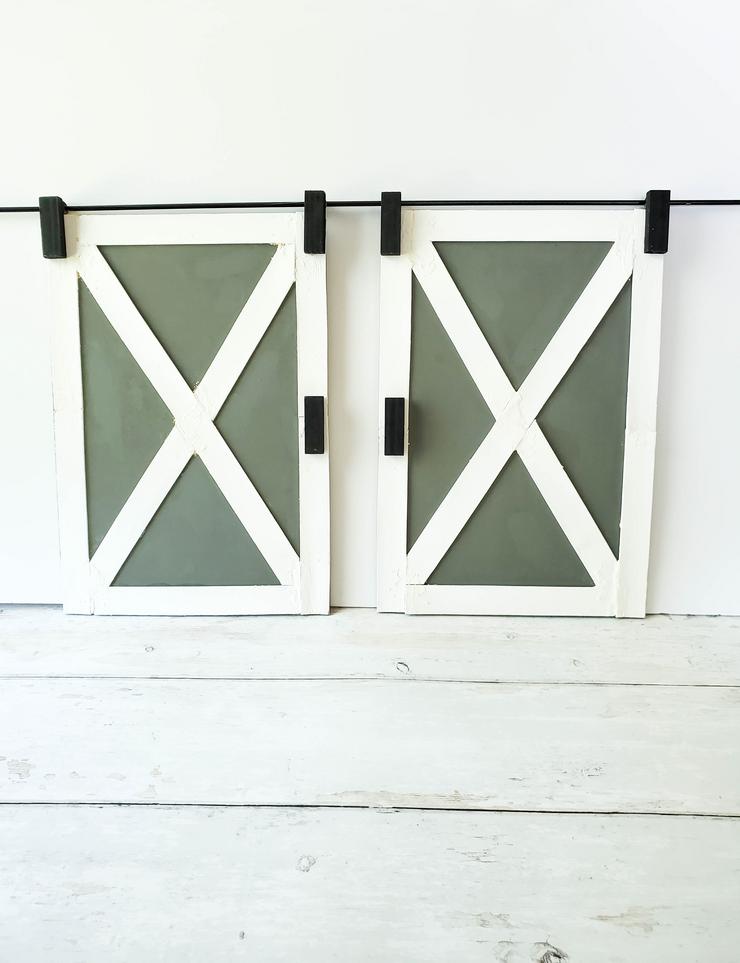
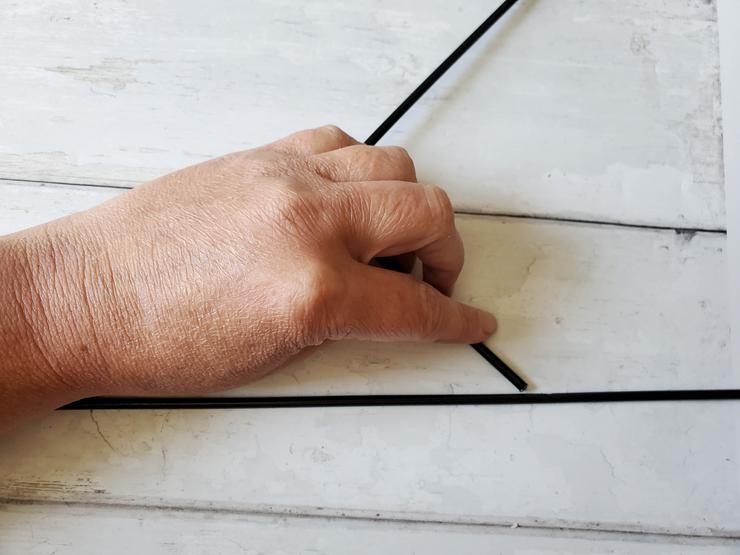
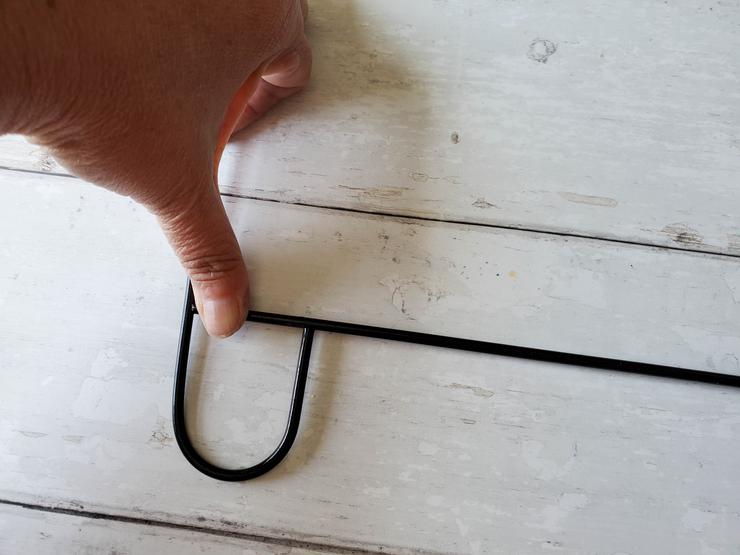
Break the pieces of the flagpole, so that you are left with just the long rod.
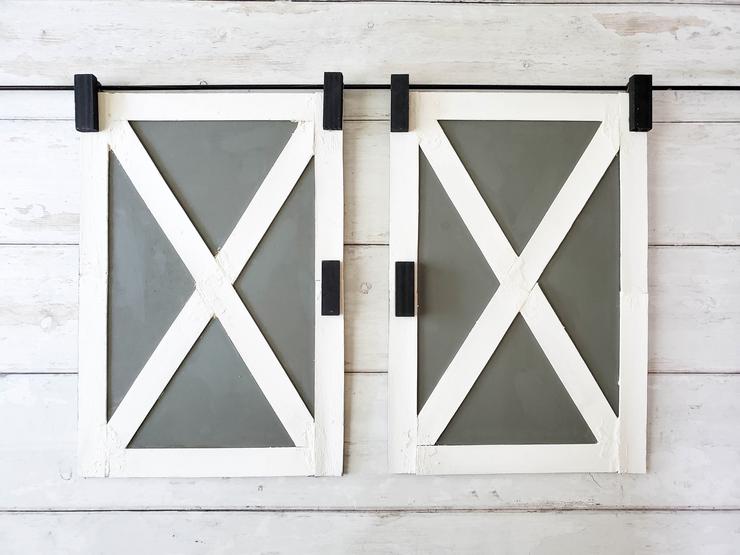
Slide each of the barn doors onto the flagpole.
Add a small amount of hot glue to the remaining two beads, then cap the ends of the pole with them.
Please remember to SHARE on Facebook and PIN IT 📌
📌 FOLLOW ME ON PINTEREST BY CLICKING HERE
DIY Dollar Tree Farmhouse Barnwood Doors
Ingredients
- 2 signs from Dollar Tree approximately 9x13 inches
- 20 Wooden paint stir sticks 1 quart size
- 6 round wood beads
- 6 Tumbling Tower Blocks from Dollar Tree
- Craft paint - gray white, and black
- Paint brushes - 1 inch foam or brush and smaller paint brush
- Ruler
- Pen or pencil
- Utility knife
- Scissors
- Wood glue
- Hot glue gun and glue sticks
- Wood putty not shown
- Sandpaper or coarse nail file not shown
- Metal flag pole from Dollar Tree
Instructions
- Cut the twine cod from the signs.
- Flip them over, and paint the back of both signs gray, using two coats.
- Paint the paint stir sticks white.
- Paint the tumbling tower blocks and wooden beads black.
- Using the ruler and pencil, draw a straight line after the curve on 6 of the paint sticks.
- Use the knife sto score it on the pencil line, then the scissors to cut it.
- Set the signs paint side up, long way, so that the top of the signs are the narrow sides.
- Use the small paint brush to apply wood glue to the back of a paint stick, and glue it in the top left corner of the signs, pointing downward.
- Grab another uncut paint stick, and set it against the edge under the glued one, then use the ruler and pencil to draw a line where it meets the bottom of the sign. Use the knife to score at the line, and the scissors to cut.
- Repeat these steps on the other side of the signs.
- Use a cut piece of the paint stick, and glue them at the top and bottom of each sign. (There will be a gap, but wood putty will fill that in.)
- Now arrange two craft sticks diagonally from the top left corner to the bottom right corner of each sign. Use your ruler and pencil to make marks at the corners to cut. Make your cuts.
- Using the ruler and pencil, draw a straight line after the curve on one stick for each sign, then use the knife to score it on the pencil line, then the scissors to cut it. Glue that piece in place.
- Now arrange the other sticks, then mark where it would meet the other glued one in the middle, and make your cut.
- Fill all of the gaps between the wood paint sticks with wood putty. Allow to dry.
- Sand off any excess wood putty.
- Paint over the wood putty with the white paint.
- Apply hot glue to 4 of the wood beads, and glue to the top of tumbling tower blocks. Apply glue to the back of those 4 tumbling tower blocks, then glue to the top corners of each sign.
- Glue the remaining two blocks to the center of the right side of one sign, left side of the other.
- Break the pieces of the flagpole, so that you are left with just the long rod.
- Slide each of the barn doors onto the flagpole.
- Add a small amount of hot glue to the remaining two beads, then cap the ends of the pole with them.
Do Not Forget To Pin! So you can come back and make this fun DIY ollar Tree Farmhouse Barnwood Doors craft project!

