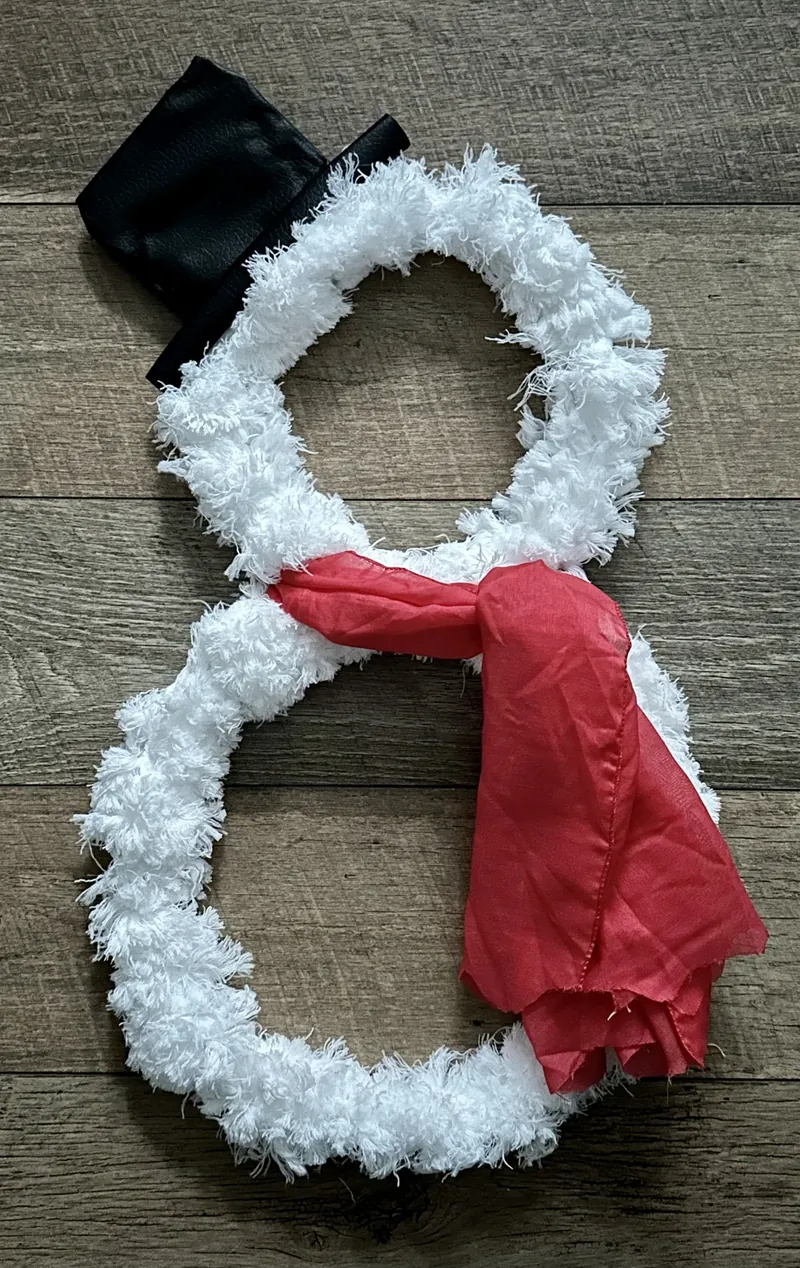
Transform a simple Dollar Tree snowman form into an adorable fluffy winter wreath! This budget-friendly craft uses just a few supplies – microfiber cloths, faux leather, and a red scarf – to create a charming snowman decoration for your door. The fluffy white texture gives this wreath a cozy, winter wonderland feel that’s perfect for the holiday season.
This easy DIY project costs under $5 and takes less than 30 minutes to complete. It’s perfect for crafters of all skill levels and makes a great activity to do with kids. The finished wreath brings instant winter charm to any front door, mantel, or wall display.

How To Make Dollar Tree Fluffy Snowman Wreath
Step 1. Start by preparing your snowman wreath form. You can use wire cutters to clip off the arms or simply bend the wire arm sections until they pop off. This gives you a cleaner base to work with.
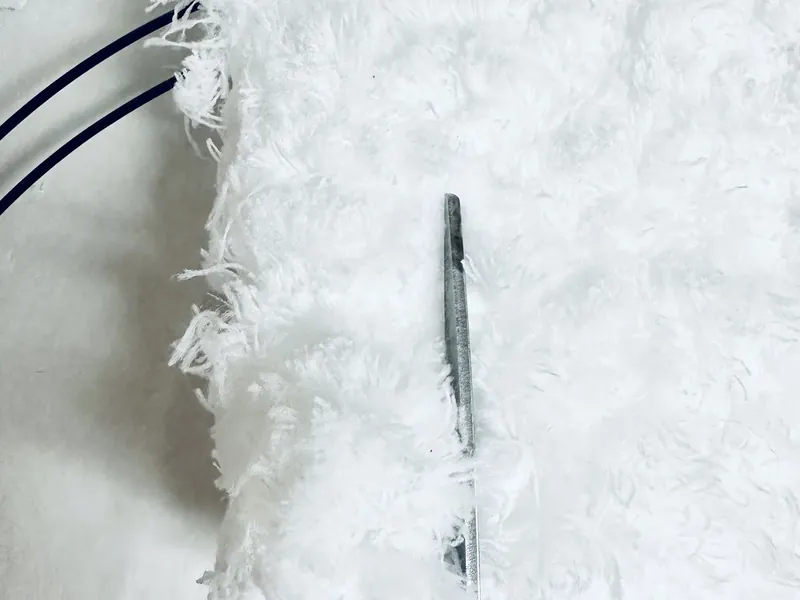
Step 2. Take your microfiber cloths and start by cutting each cloth into 4 sections. If you feel these strips are too narrow for good coverage, you can cut into sections of 3 instead for wider strips.
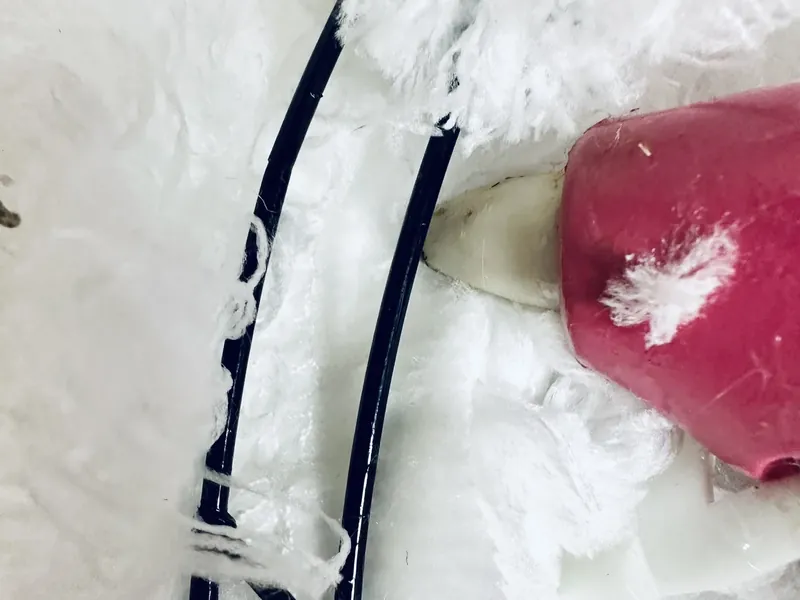
Step 3. Flip over your wreath form so you’re working from the back. Begin wrapping the microfiber cloth strips around the wreath form and use your hot glue gun to secure them in place as you go.
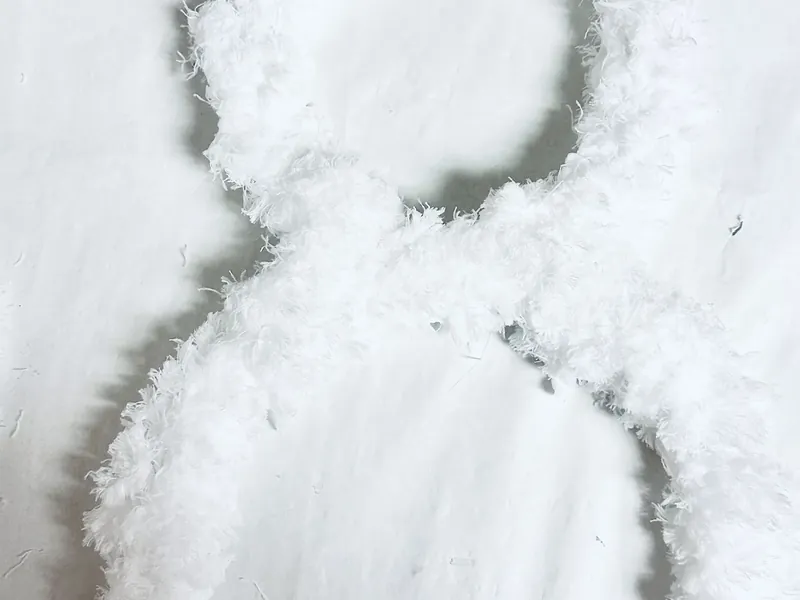
Step 4. Continue this wrapping process, repeating it the entire way around the wreath form until the whole snowman body is covered in fluffy white microfiber cloth.
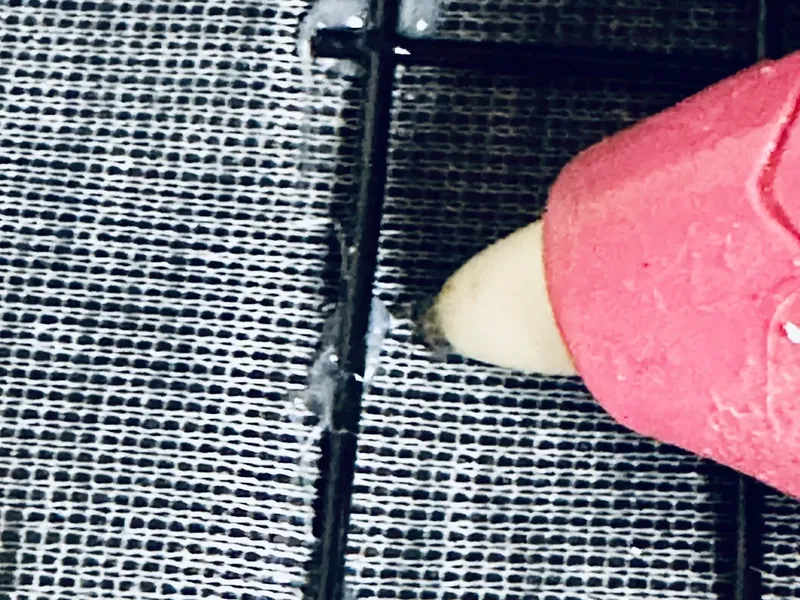
Step 5. Now it’s time to create the hat! Take the piece of faux leather and wrap it around the hat section of the wreath form, then hot glue it to secure it in place.
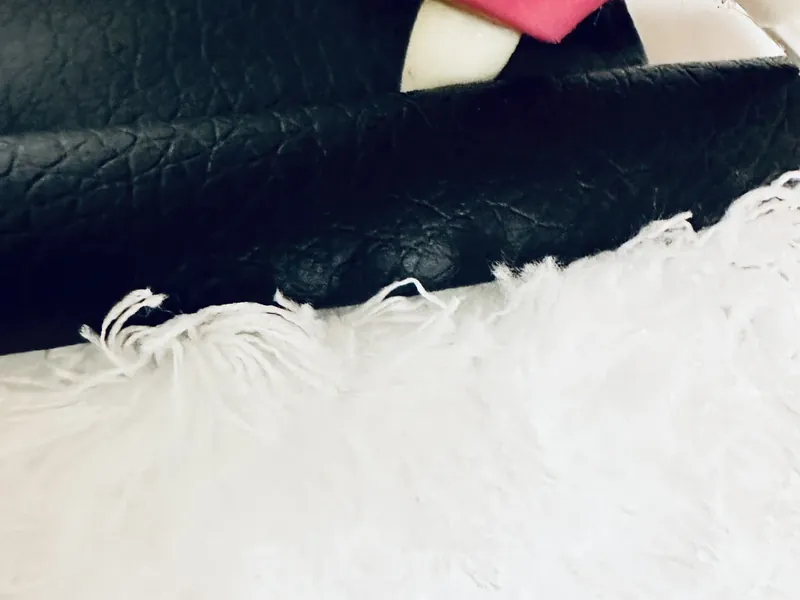
Step 6. For a finished look on the hat, roll a piece of the faux leather into thirds and hot glue it to secure in place. Position this piece so it covers any visible wire on the bottom of the hat section.
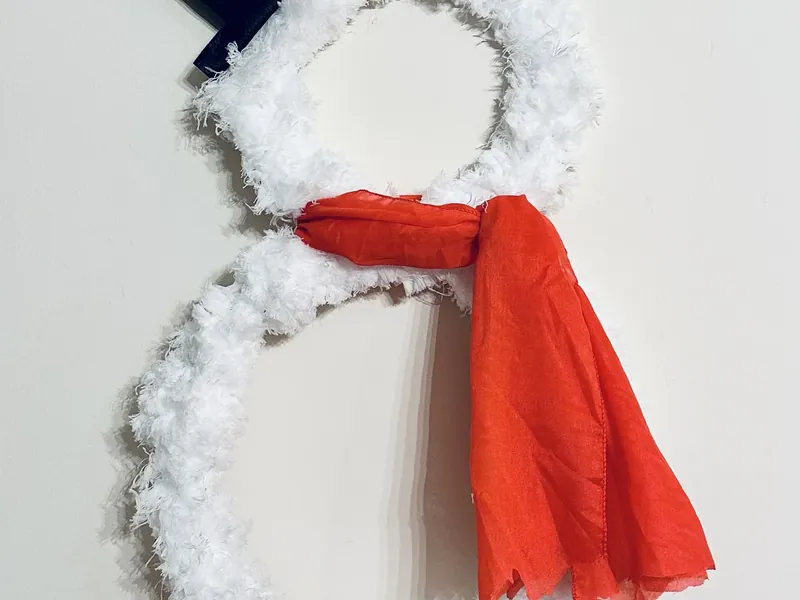
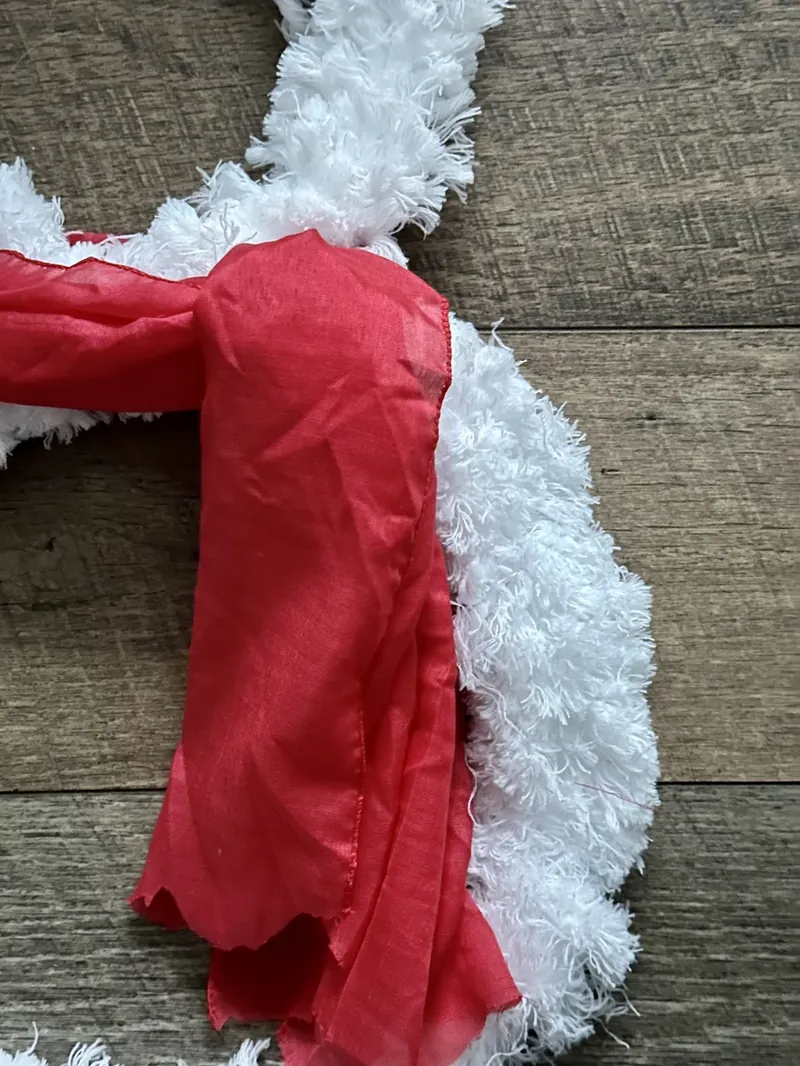
Dollar Tree Fluffy Snowman Wreath
Equipment
- Dollar Tree Snowman Wreath form
- Dollar Tree Faux Leather in Black
- Dollar Tree red scarf (or if you can recycle one that you have)
- 3 Dollar Tree microfiber cloths
- Hot Glue Gun/ glue sticks
- Wire cutter (optional)
- Scissors
Instructions
- Use wire cutters to clip off the arms or bend the wire arm sections until they pop off.
- Start by cutting the cloth into 4 sections. If you feel this is too narrow, cut into sections of 3.
- Flip over wreath form, wrap the microfiber cloths around the wreath form and hot glue to secure.
- Repeat this the entire way around the wreath form.
- Take the piece of faux fur and wrap it around the hat section of the wreath form and hot glue it to secure it.
- Roll a piece of the faux fur into thirds and hot glue to secure in place. Have this piece cover the wire on the bottom of the hat.
- Tie the scarf around the neck section and trim the end.
🌟 Don’t forget to PIN this recipe so you can come back and make it again!
❄️ More Winter Crafts ❄️

Disclaimer: Readers are responsible for ensuring the ingredients and products they use in any recipes from Kimspired DIY meet their dietary needs. Nutritional information is an estimate only.
Kimspired DIY assumes no liability for inaccuracies or issues arising from the use of any recipe on this site.

Leave a Reply