

Transform simple Dollar Tree supplies into a stunning Christmas ornament wreath! This budget-friendly DIY project uses a decorative tile, ornament sign, and festive greenery to create elegant holiday decor for under $5. Perfect for crafters of all skill levels, this easy tutorial shows you how to make a beautiful wreath that looks expensive but costs almost nothing. The blue and white tile pattern combined with classic red ribbon and silver accents creates a sophisticated look that will impress your guests all season long.
This Dollar Tree hack is perfect for anyone looking to decorate on a budget without sacrificing style. The ornament wreath can be customized with different tile patterns and ribbon colors to match your existing holiday decor. It’s also a great project to make with kids or as gifts for friends and family.
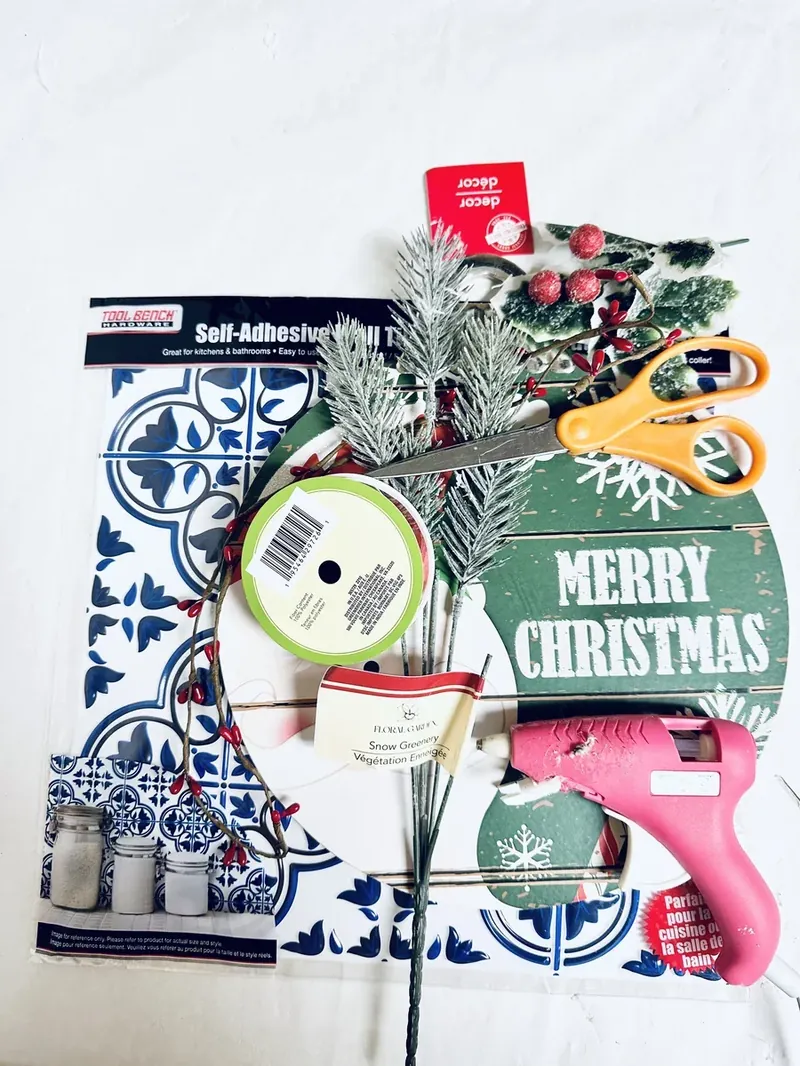
How To Make Dollar Tree Ornament Wreath
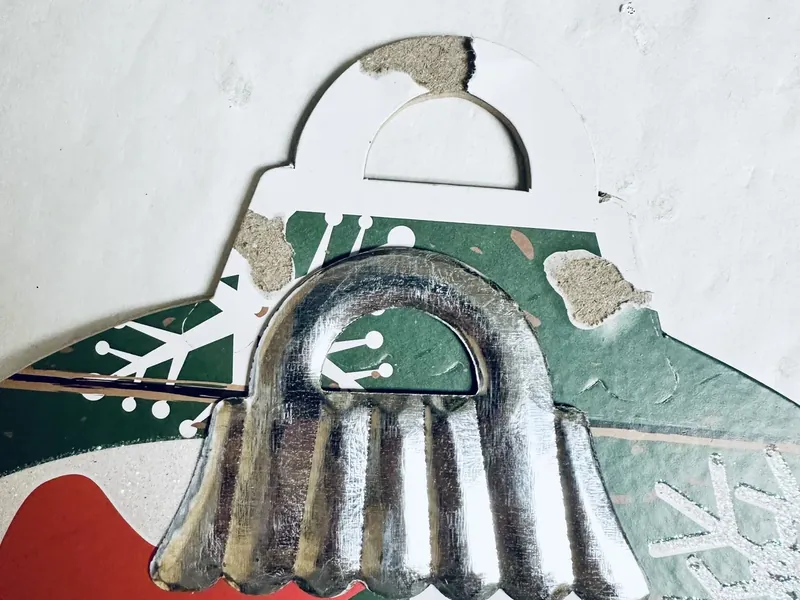
Step 1. Start by removing the metal piece from the ornament (it just pops right off). This metal cap will be reattached later, so set it aside in a safe place.
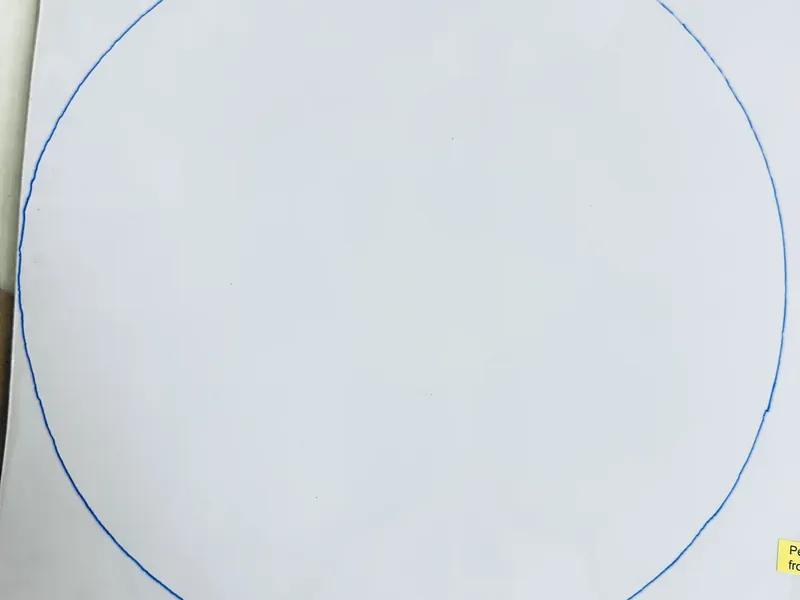
Step 2. Flip the tile over and using a marker, trace the circle shape and cut it out. This will ensure a perfect fit for your ornament base.
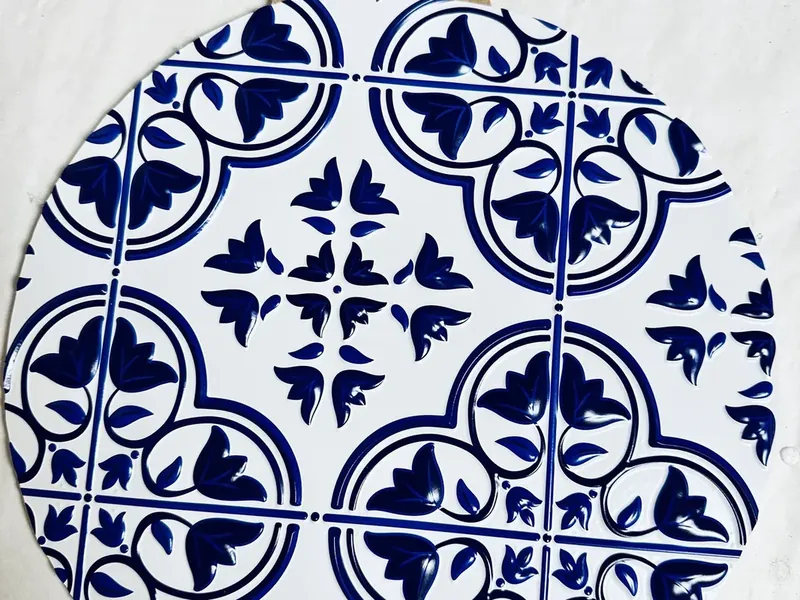
Step 3. Add hot glue to the edge of the ornament and press the tile firmly on top. Make sure it’s securely attached and there are no air bubbles.
Step 4. Hot glue the metal section to the top of your newly covered ornament.
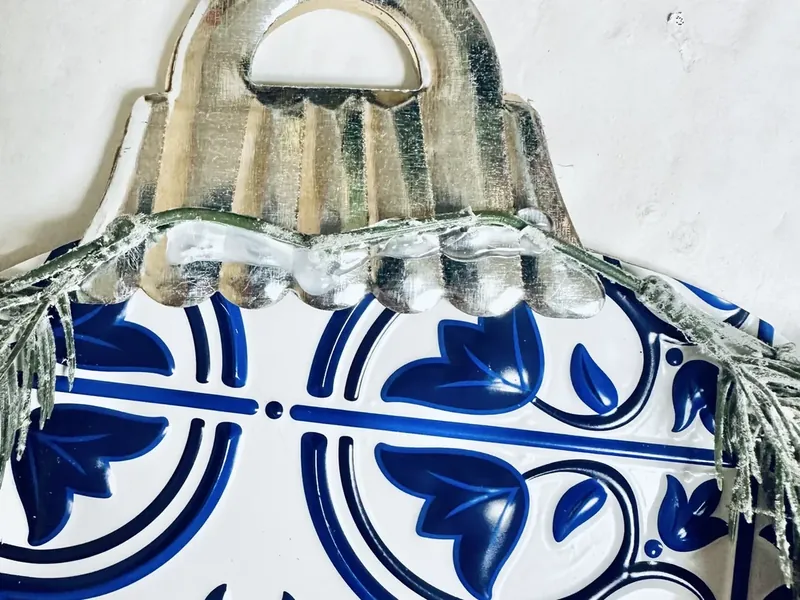
Step 5. I then cut some of the pine pieces off and hot glued them on top of the metal section. This adds texture and helps create that wreath-like appearance.
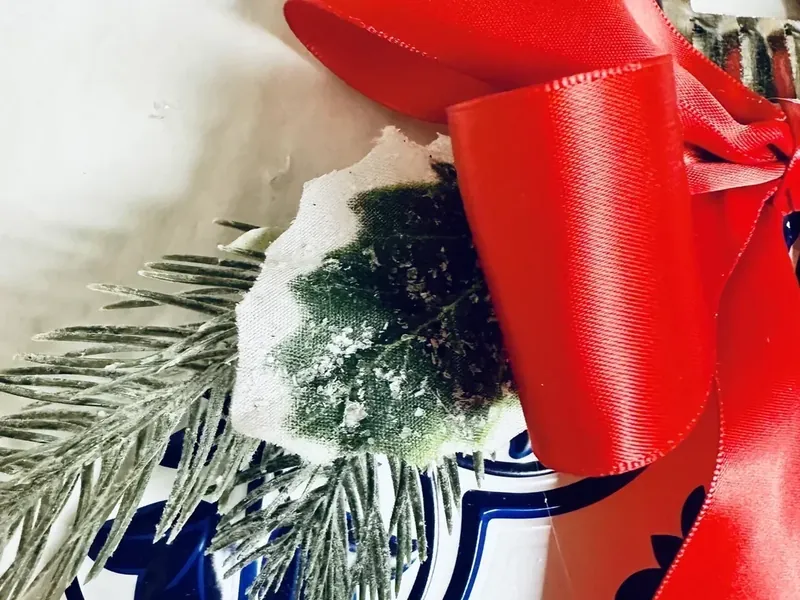
Step 6. I made a simple bow using the satin ribbon with the tails of the bow being about 4 inches long.

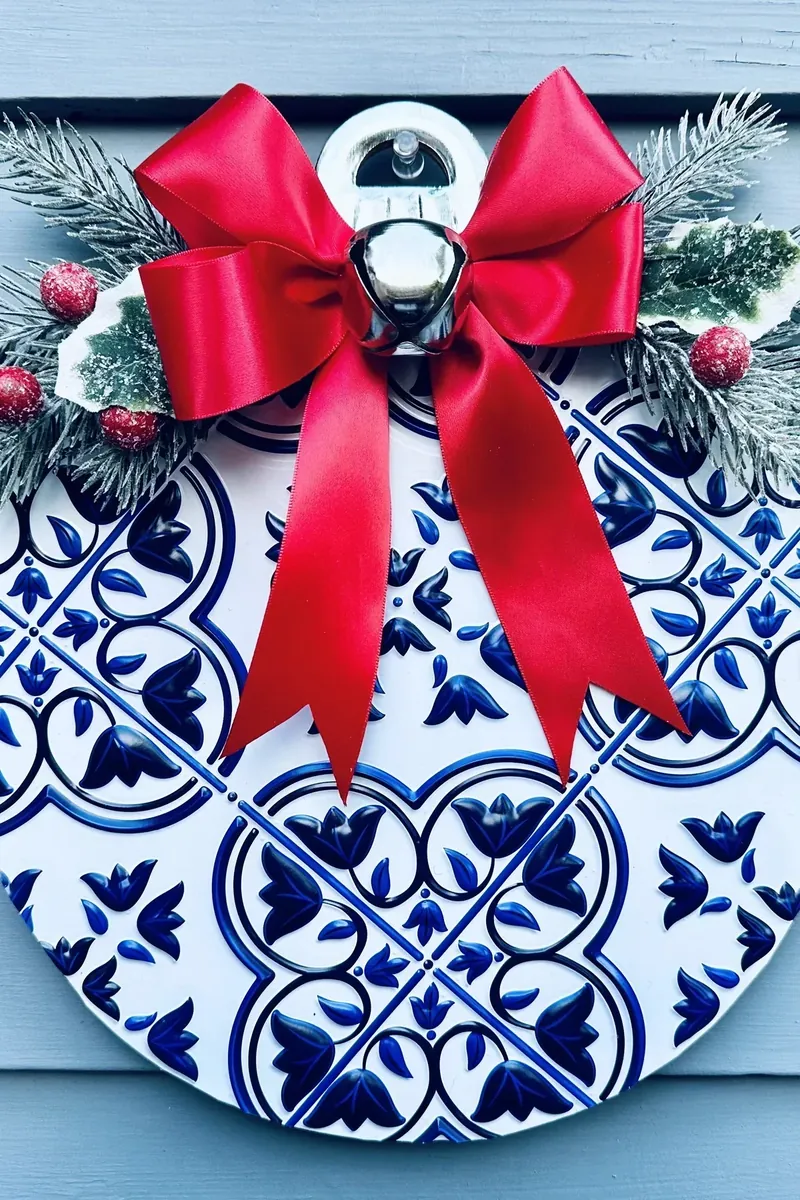

Dollar Tree Ornament Wreath
Equipment
- 1 blue and white tile (dollar tree)
- Scissors
- Hot glue gun
- Dollar tree round sign (it should look like an ornament with the metal piece on top)
- Dollar tree pine pick
- Dollar tree holly berry pick
- Red Satin Ribbon (I got mine from dollar tree)
- Silver Bell (I had some left over in a package from dollar tree)
- Pen or marker
Instructions
- Remove metal piece from ornament
- Trace and cut tile to fit ornament
- Hot glue tile to ornament base
- Reattach metal piece and add pine greenery
- Create ribbon bow and attach with holly berries
- Add silver bell as final accent
🌟 Don’t forget to PIN this recipe so you can come back and make it again!
🎄 More Christmas Christmas Crafts 🎄
Disclaimer: Readers are responsible for ensuring the ingredients and products they use in any recipes from Kimspired DIY meet their dietary needs. Nutritional information is an estimate only.
Kimspired DIY assumes no liability for inaccuracies or issues arising from the use of any recipe on this site.

Leave a Reply